


This guide includes tips and suggestions for using cheese molds, pressing cheese, and making and using a saturated brine solution. Forming and pressing cheese is an important step before it can be aged. The goal with pressing is to have a cheese that is properly dried and prepared for the cheese cave.
Cheese Molds
Different Types
There are many different types of cheese molds, some are for specific types of cheese while others are general use molds. Mold sizes, shapes and drainage will each affect the final cheese. The 'height to width' and 'surface to mass' ratios will also affect ripening, the stability of the cheese when handled, and even distribution.
For example, a washed rind cheese or soft ripened cheese that matures from edge to center would not age properly if it is too thick. But, if too wide, it would be very difficult to handle.
Cheese Mold with Follower
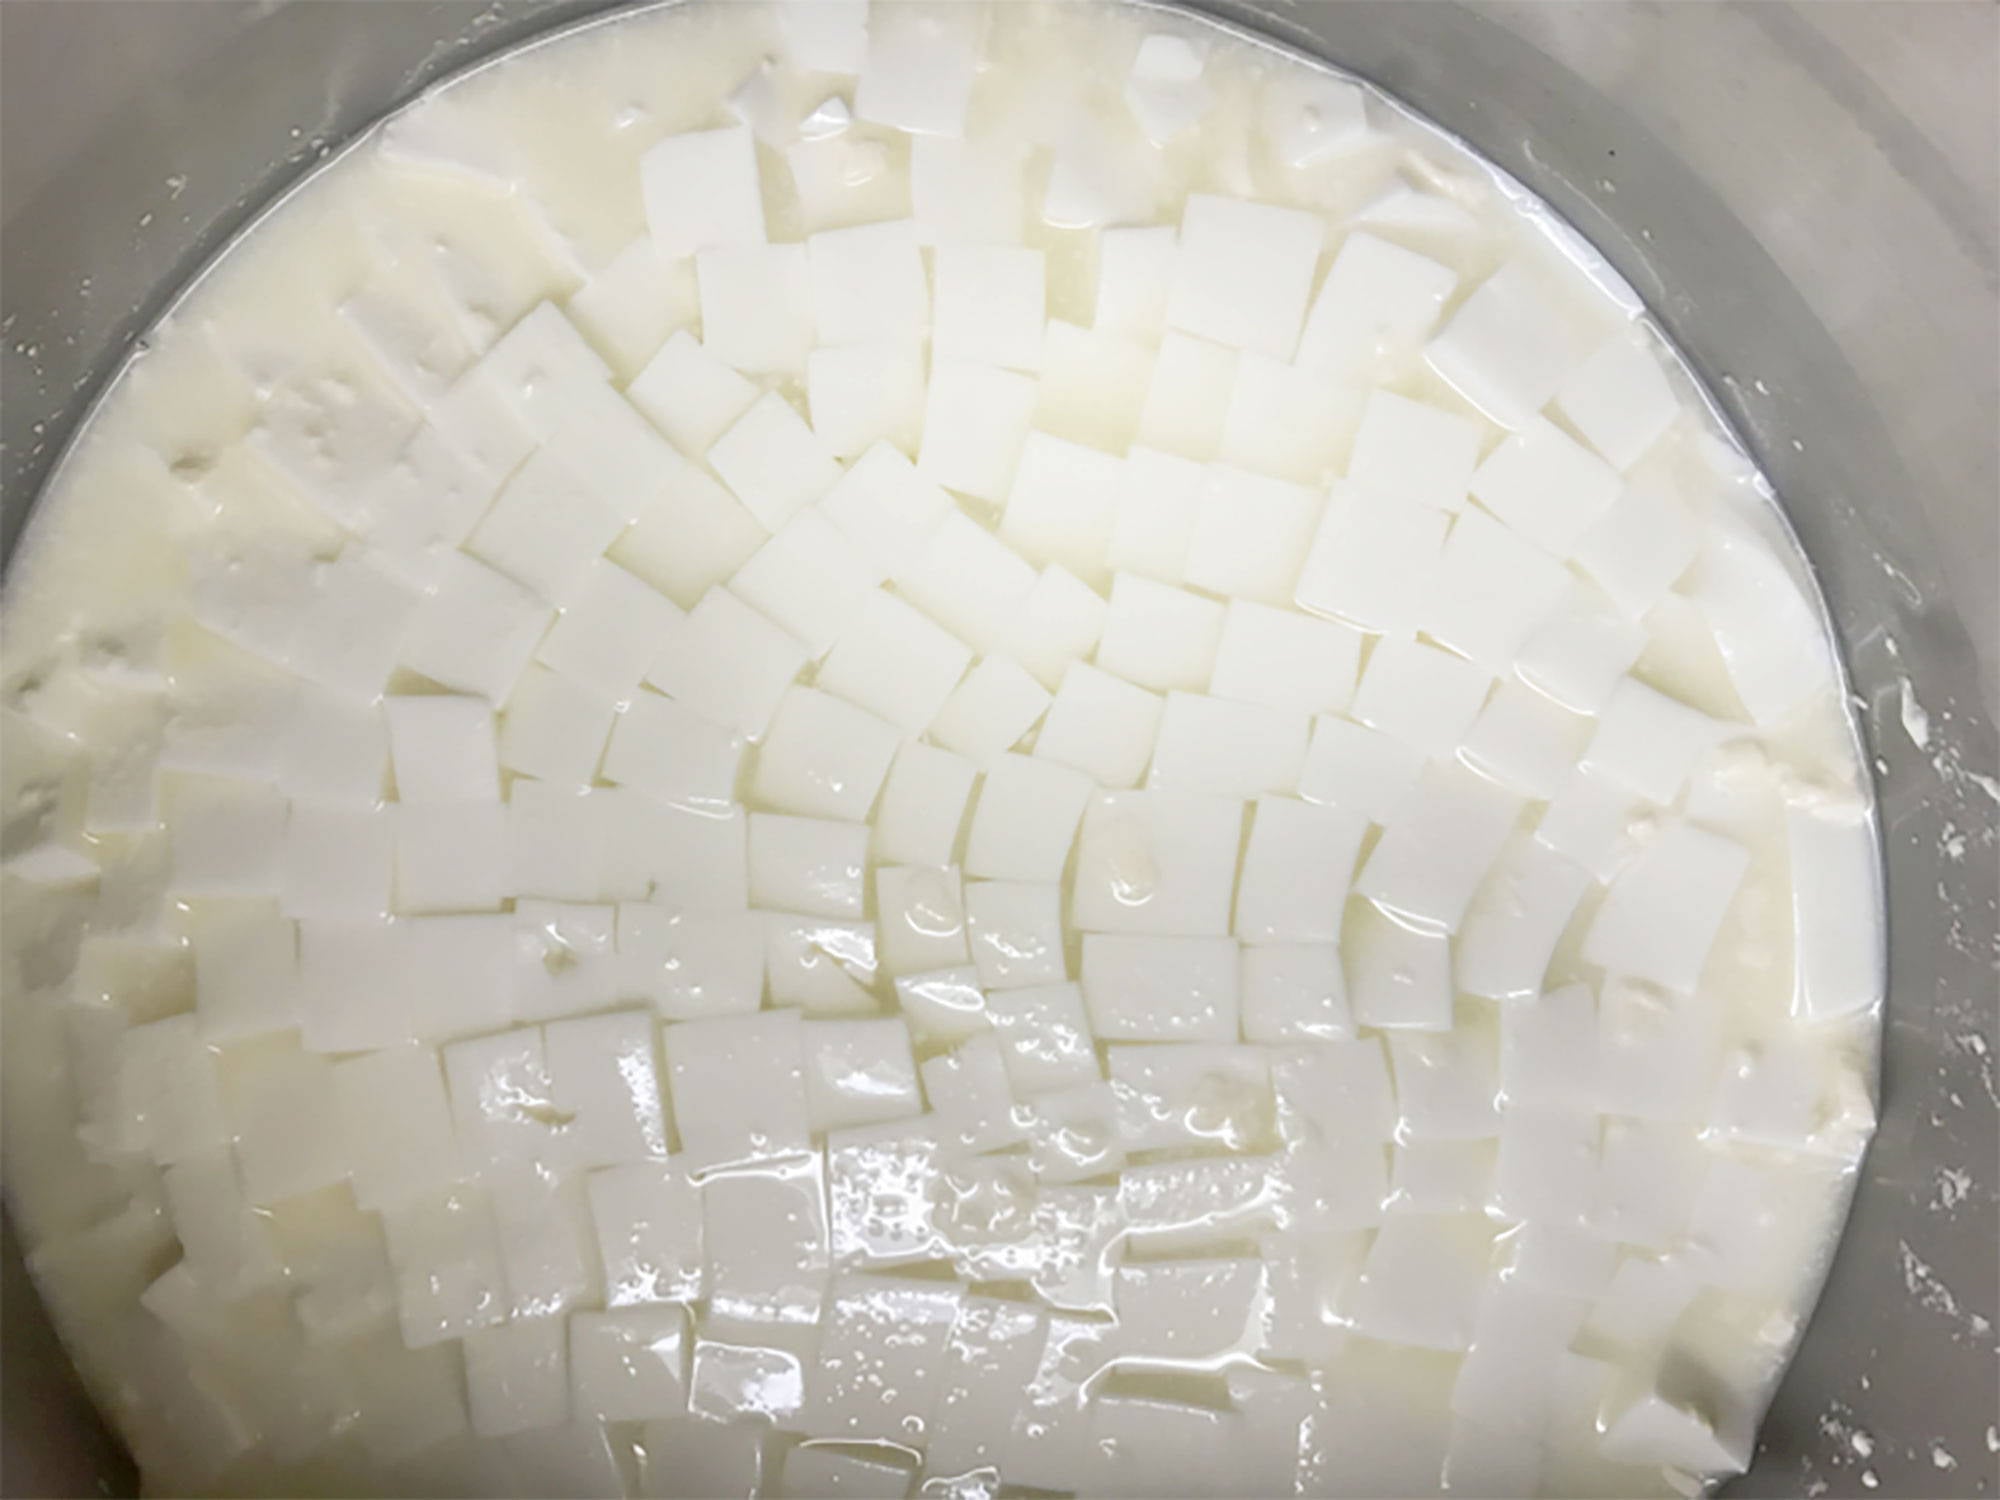
A mold with a follower, is pretty straight forward to use. Simply use cheesecloth to line it, then fill the mold with curds. Once filled, place the follower on-top and press with the specified weight from your recipe.
While pressing, flip you cheese according to your recipe. To do this, remove the curds from the mold, flip them and remold with the cheese cloth lining.
A good rule of thumb for pressing is to apply pressure until droplets of clear whey form in the openings of the cheese mold and drip onto your runoff plate. Do not apply to much pressure, or the draining whey will be milky, this would mean butterfat being squeezed out. As the draining slows, add more pressure. Keep adjusting the weight to get a fully consolidated cheese. Finally, look at the finished cheese. If it is not consolidated completly, apply more pressure to the next batch.
Whey Cheese Molds Have Holes
When pressing, it is important to get residual whey moving from the cheese, before it is aged. This is why cheese molds have holes, to allow whey to be release evenly. Lining the mold with cheesecloth also helps to wick the moisture away as it is pressed out.
Note: We have also seen many cheese molds without holes and we do not recommend them.
Homemade Cheese Mold
Cheese molds need to have proper drainage for whey to drain in a timely manner. Also, proper diameter-to-height ratios are needed for most types of cheese retain the proper moisture while aging.
You can make a homemade cheese mold. We suggest using a hot nail for the holes, to seal the plastic, easier to sanitize. Also, a round mold is better than square since the surface to mass ratio is lower. The corners of square molds tend to dry out faster.
One other consideration is whether the plastic is food grade. Acidic whey tends to extract the undesirable elements from plastic. So do not use plastic piping even if it is plumbers grade. The acidity from the draining when will leach the plastic into your cheese.
Do Not Use PVC Molds
If you made a cheese mold with PVC, this ‘odd flavor' is from the plastic in your mold. We strongly advise not using PVC for any cheese making. Since you are working with an acidic food, leaching of unknown elements is very probable.
Note: Dairy inspectors do not permit the use of PVC for cheese molds.
Kadova Cheese Molds
When using my Kadova cheese molds, the curds can stick to the netting and ruin your cheese.
This is a common problem with these molds. Many cheeses go into the forms at a high pH and much of the acid is still developing. As the ripening continues, it causes the curds to shrink and lose whey. As it does this, it actually pulls the fabric or netting of the Kadova right into the curd mass.
One solution is to soak the Kadova mesh or cloth in saturated brine. This works by slowing the culture activity down, near the surface.
If you still have a problem, un-mold early and do a quick wash of the curd in saturated brine, then flip back into the mold.
Related Supplies
Pressing Cheese
Line Mold When Pressing
When pressing your cheese, it is important to line the cheese mold with Cheesecloth or Butter Muslin. Understanding the intricacies of cheese molds and pressing techniques is crucial, especially when it comes to pressing hard cheeses. The right equipment, including specific molds and presses, can significantly influence the texture and flavor of the final product. The cloth will help wick moisture from the surface of the cheese and allow for proper drainage from the cheese mold. Without cloth lining the mold, the cheese may retain too much moisture and the curds may not knit together properly. For a long aged hard cheese, with very low moisture, it is best to use cheesecloth.
Using Our Cheese Press
Our Cheese Press is a spring loaded press that has a pressure gauge to show the weight being used. To apply a spicific amount of weight, simply compress the springs until it reaches the desired weight. If you are pressing for long periods of time, or the curds are under their first pressing, you may need to come back and reset the press, because as the cheese compresses the tension of the springs becomes less.
Dutch Style Cheese Press
When using the Dutch Style Cheese Press, the weights are hung off the lever to provide the correct pressure. The press provides an increased pressing weight the further out weight is placed on the lever.
A great option for the weight is a gallon jug filled with water, this will weigh eight pounds. Again the pressure applied to the cheese will increase the further out the jug of water is hung.
Bracket for Off The Wall Cheese Press
The off the wall cheese press plans call for a 7/8" wall bracket to attach the arm of the press to the wall. In lieu of the bracket, we have found that a door hinge works nicely-especially the type with a pin. Just separate the halves and screw one to the wall at the appropriate height and the other to the weight arm.
Less Weight in the Beginning
The low press weight at the beginning of the process is to consolidate the curd slowly, so whey is able to be released, and not locked into the cheese. At the end of the process, when using the heavier weight, most of the whey will have already been pressed out.
Cutting Rennet Tablet
You can use a knife to cut rennet tablets. Simply lay the knife on a score mark in the rennet, then give it a quick tap. A pill cutter also works well.
Don't worry if you can't break the tablet into four perfectly equal pieces, simply break it as evenly as you can.
At Least Two Gallons of Milk
We discourage aging cheese made with less than two gallons of milk, because the smaller the cheese the higher the ratio of rind to body. This, among other things, can cause the cheese to become too dry when aging.
If a two gallon batch is too much for you to eat once aged, we suggest cutting the cheese into smaller sections, when it approaches the targeted aging time,, and re-wax the sections you are not using.
If you want to cut a recipe in half, use the same cheese mold as the recipe calls for and the same amount of weight. Because, pressing is more a matter of surface area and and with the same cheese mold being used, that remains unchanged.
More Pressure for Larger Batch
If you are making a larger cheese and keeping the height to width ratio the sam, as you should, increasing the weight proportionately should work. However, many people decide to use a differently shaped mold. So, the height to width ratio is not kept the same. In this case, the important factor is surface area. Keep the press weight proportionate to the change in surface area.
Keeping Cheese Warm When Pressing
When an elevated temperature and humidity is needed, for pressing, you can place the pressing cheese back into the curd pot, if large enough, and immerse that in a large pan or sink of water. Then hold it at 95F until pressing is finished.
Another option is to make insulated hot boxes that have a heater and can be kept warm. This requires a bit of creativity. No air vents are needed, but it will be very humid, especially if you are using pans of hot water to elevate the temperature. The insulation should be something that does not absorb moisture. We find that the foil faced rigid insulation is best.
Curds Did Not Knit Together
If your curds have not knit together, they may have been too dry. This could be from milk that is not fresh, using too much culture, cutting the curds too small, ripening too long, cooking at too high a temperature, or stirring the curds too long.
Try watching the moisture of the curds, for your next batch, keeping in mind the above points and aiming for more moisture in the curds when done.
Cracks in Cheese After Pressing
If your cheese has cracks in it after pressing, it was too moist when going into the cheese molds. For the next batch, stir the curds longer, before molding and pressing.
Cheese is Too Dry
Dry cheese is rarely due to over-pressing. The final curd moisture, before pressing is more likely the cause. Too much stirring or too high a temperature can produce a very dry curd. Low humidity while aging can also cause cheese to become too dry.
Related Supplies
Brine After Pressing
Calcium Needed
Fresh brine needs to have calcium added, low calcium in the brine causes calcium inside the cheese, responsible for binding the proteins, to be leached from the cheese. This will in time cause weakening of the curd structure and softening of the rind. The density of the brine makes the cheese float. Any exposed surface will need to be sprinkled with additional salt when the cheese is placed in the brine. This extra salt will form its own brine with the moisture from the cheese surface. It will also make-up for any salt absorbed by the cheese.
Here is a link for more information on Brining Cheese.
How to Make a Saturated Brine
To make a saturated brine solution (5.2 pH), mix the following ingredients together thoroughly.
- One gallon water
- 2.25 lbs salt,
- 1 tbs calcium chloride (32% solution)
- 1 tsp white vinegar
Once prepared, brine should stay cool (52-54), and be stored in a non-reactive container.
Cool Cheese Before Brining
If the cheese is warm after pressing, let it cool to the temperature of the brine. Brining warm cheese increases the rate of salt absorption and will cause over salting.
How to Measure Salt Content in Brine
Most cheese calls for a saturated brine, so you should not have to worry about measuring the salt content. In a saturated brine, there should always be some un-dissolved salt in the brine.
If your recipe does not call for a saturated brine, you will need a salinometer to read the salt percentage.
Saturated brine is usually 26% but at aging temps (55F) where brining should be done, it drops to 21-23%. Do not let a saturated brine go below 17% because of halophilic molds that will grow.
How Long Cheese Should be Brined
Varying densities and shapes of cheese will require different lengths of time in the brine. A general rule is, one hour per pound per one inch thickness of cheese.
Note: A very dense, low moisture cheese such as Parmesan will need more time in the brine, than a moist, open textured cheese.
How Long Does Brine Last
We typically keep the same brine for 1-2 years. If it gets moldy, simply bring it to a boil and filter. It seems like brine gets better with time.
We filter our brine into gallon jugs using a funnel with cotton balls as the filter, to catch any debris.
In Italy and France we see the recirculation and filtering of brine everywhere. When asked, some cheese makers say they cannot remember the last time they changed the brine. Most people keep brine tanks covered and filter when it looks cloudy. Others use a system of constant recirculation through filters.
Cheese Made with Store Bought Milk
Store-bought milk has less calcium which produces a weaker curd. When you place a cheese in a fresh brine of just salt and water the curd is high in calcium, responsible for holding the curds together, and the brine has none. So, the calcium dissolves and flows into the brine leaving an unstructured mass behind.
One easy way to correct this is by adding calcium chloride to the brine. One or two tablespoons per gallon should be enough. This way, there is a balance between brine and curd calcium and the cheese retains its structure.
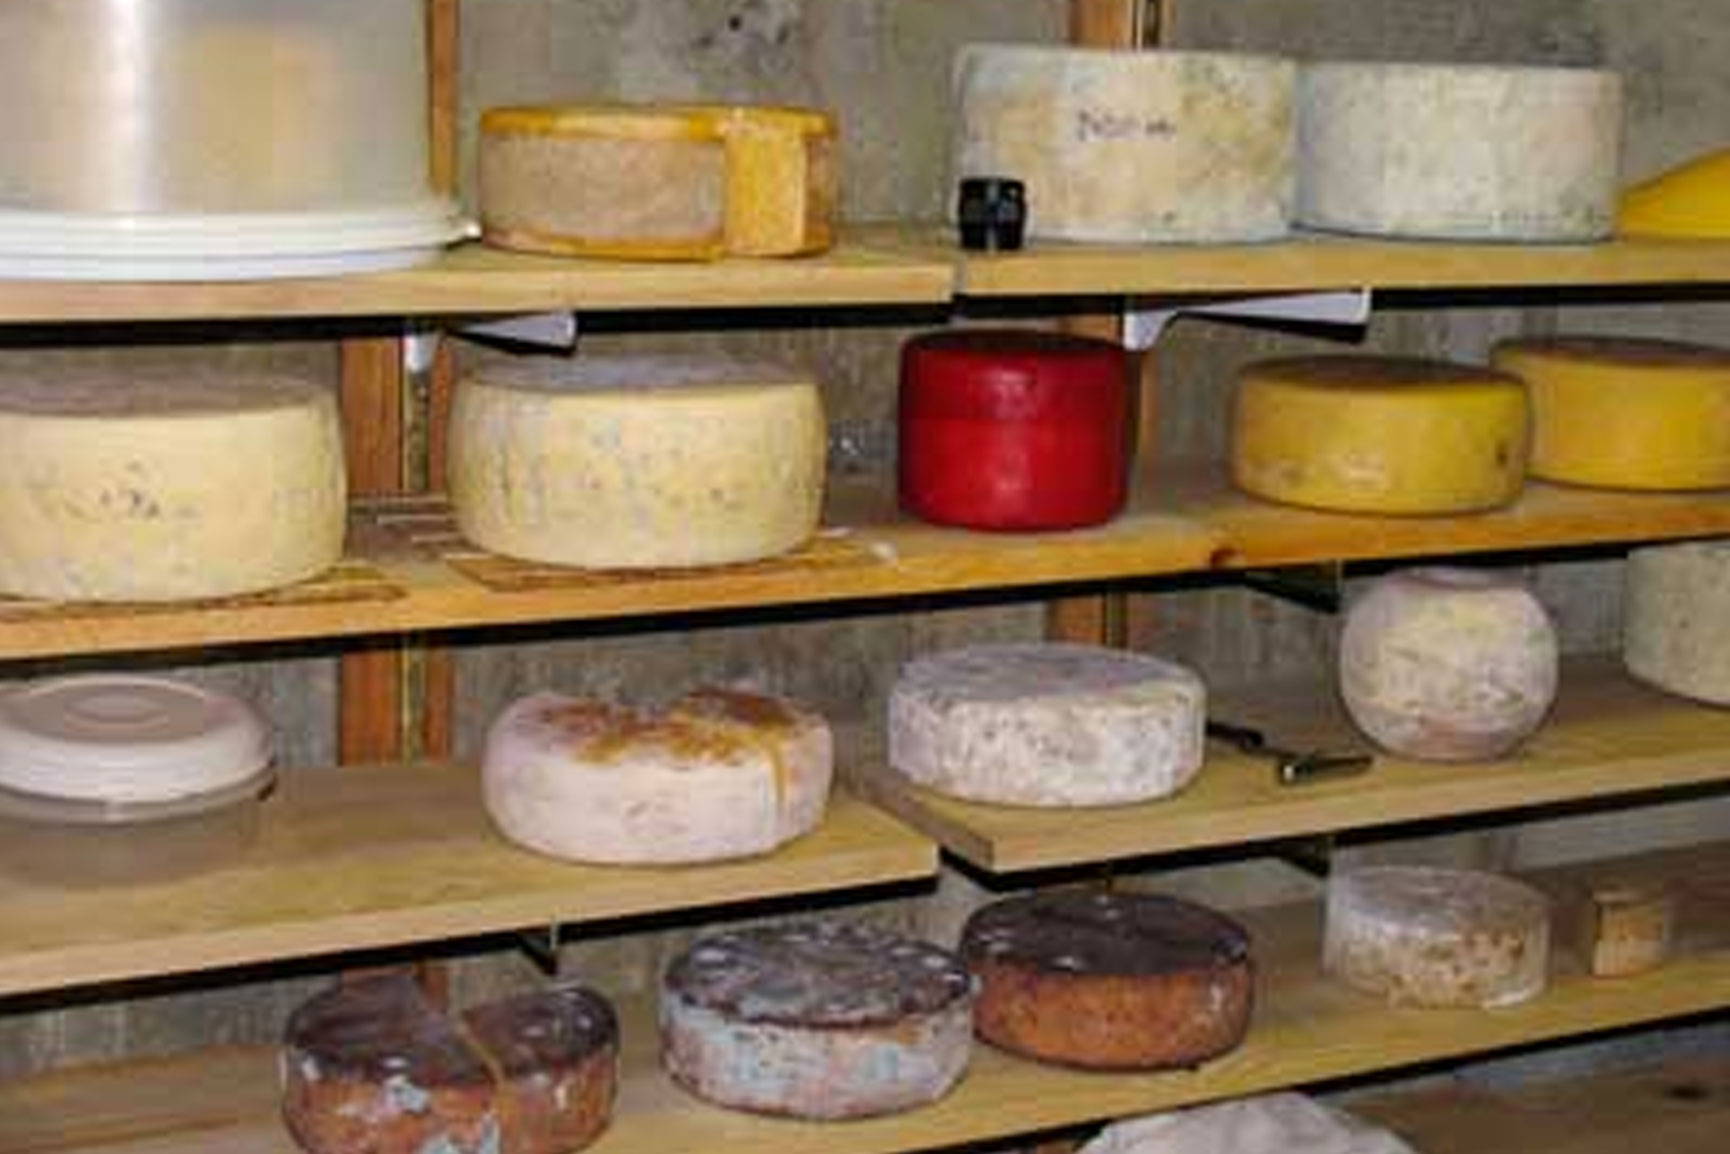
Steps After Brining Cheese
Once the cheese has been brined, it should be drained and allowed to air dry while turning for 1-3 days. Once a dry, firm surface is observed, it is ready for aging and can be waxed or left to develop a natural rind.


