


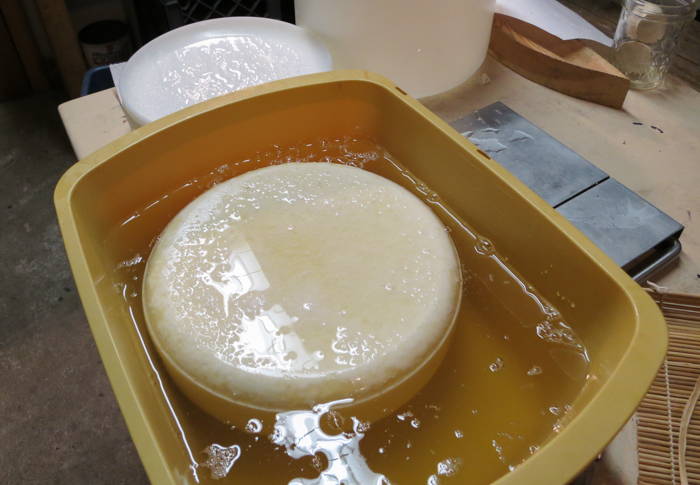
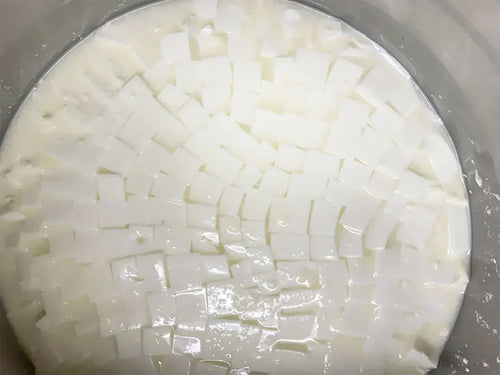
Why Test for Acidity Development
When converting the lactose in milk to lactic acid, using starter cultures, there is no visible way to determine the rate of culture activity within the milk.
Tracking acidity development is one of the best ways to know what the acidity of the ripening milk is and to know if the cultures are working properly.
Equipment for Testing Acidity
Just a few simple supplies are need to test for acidity development when making cheese.
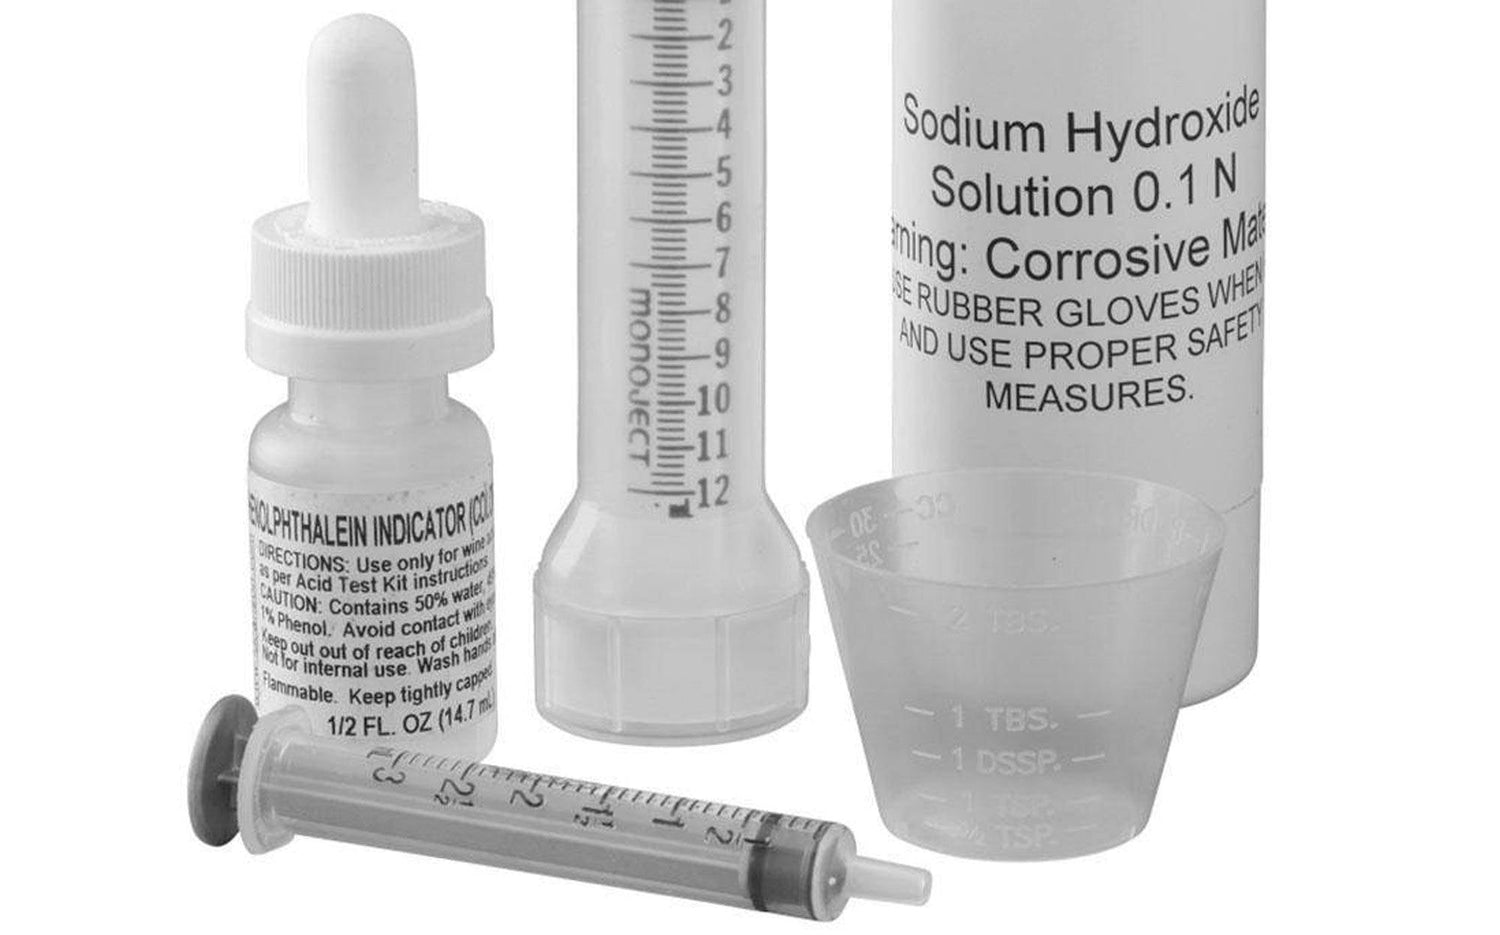
Acid Testing Kit
You can easily test the acidity of milk and whey with our Acid Testing Kit. Using reliable tools such as Hanna Instruments can enhance the accuracy of your acidity testing. Their precise pH and acid testing equipment are ideal for cheese makers who want to ensure that their cultures are performing optimally throughout the process. Increasing acidity levels are an important part of cheese making and this kit makes it easy to monitor this process.
This kit its great for home cheese makers who are occasionally testing for acidity development.
Acid Meter
If you are making multiple batches of cheese, an Acidimeter is a good choice. These burettes make taking titration readings a snap. Small screw clamp lets you preset the drop speed for repeat titration and a quick squeeze of the bottle will refill the burette to the zero point.
We suggest this apparatus for the serious home cheese maker or farmstead cheese maker who will be testing on a frequent basis.
How to Test Acidity
Acid Meter
- Fill the glass reservoir with .1N NaOH (Sodium Hydroxide Solution).
- Fill the graduated column with the NaOH by applying pressure to the rubber pump. It will go to zero, with any excess draining back into the reservoir.
- Using a syringe or a pipette, measure 9 ml of milk/whey.
- Pour the milk/whey into a test tube or beaker, preferably held against white surface.
- Add 5 drops of phenolphthalein to the milk/whey sample, stir gently.
- Open the tap (stopcock) to let the NaOH run drop by drop into the sample while stirring gently
- Continue until a light pink coloring persists for 10-20 seconds
- Look on the column to see how many ml of NaOH were used
- Multiply this by .1 then move the decimal point 1 place to the left, for the actual TA%
Example: If the amount of NaOH used is 1.6ml, the titratable acidity is .16 %
Some books refer to Dornic acid degrees, this is achieved by moving the decimal point 1 place to the right, i.e. graduation is 1.6 = 16 Dornic degrees.
Note: The shelf life of Sodium Hydroxide Solution is approximately one year in a sealed bottle.
Acid Testing Kit
- Fill the provided syringe with 3 ml of .1N NaOH
- Fill the graduated column with the NaOH by applying pressure to the rubber pump. It will go to zero, with any excess draining back into the reservoir.
- Using a syringe or a pipette, measure 9 ml of milk/whey.
- Pour the milk/whey into a test tube or beaker, preferably held against white surface.
- Add 5 drops of phenolphthalein to the milk/whey sample, stir gently.
- Use syringe to let the NaOH run drop by drop into the sample while stirring gently
- Continue until a light pink coloring persists for 10-20 seconds
- Look on the column to see how many ml of NaOH were used
- Multiply this by .1 then move the decimal point 1 place to the left, for the actual TA%
Example: If the amount of NaOH used is 1.6ml, the titratable acidity is .16 %
Some books refer to Dornic acid degrees, this is achieved by moving the decimal point 1 place to the right, i.e. graduation is 1.6 = 16 Dornic degrees.
Note: The shelf life of Sodium Hydroxide Solution is approximately one year in a sealed bottle.


