


 |
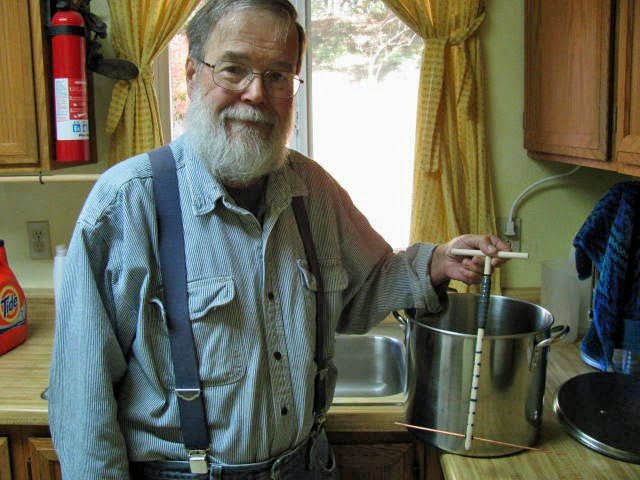
| Frank Masciulli |
Whatever Works!
Frank Masciulli of Chelmsford, Massachusetts just started making his own cheese 5 or 6 months ago. He’s an engineer and he told us that he overheard a fellow he works with talking about a cheese making class he had taken.
Frank had been making his own wine for 16 years (a white Zinfandel) and his own bread, so he knew he had to try making his own cheese.
He ordered the supplies and he made Cheddar and Mozzarella. But, he
wanted his cheese to be more colorful. So, he took a recipe for Swiss
cheese and merged it with a Colby recipe to make his very own “Swissby.”
 |
| The label on Frank’s homemade wine. |
We love to see this, because, as we keep saying to all of you – making cheese is fun and creative! Take a chance and do whatever you want with your cheese – it’s yours! (And, as far as we know, the Cheese Police are busy elsewhere!)
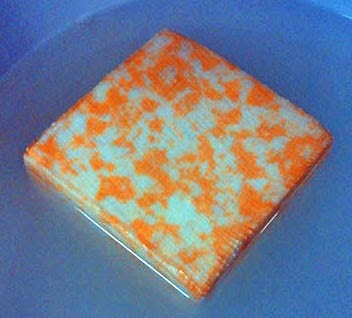 |
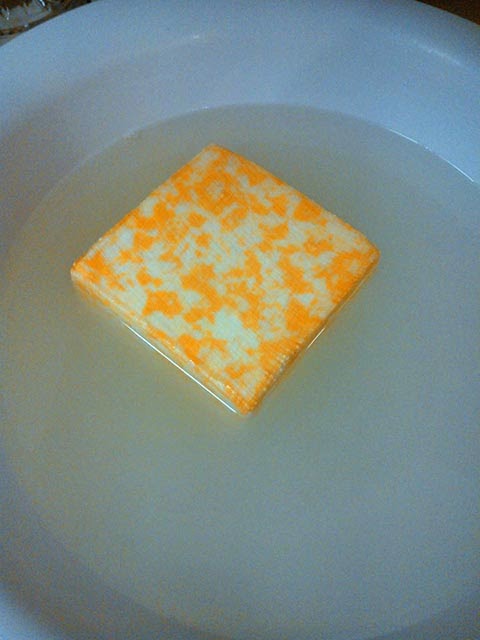
| Frank’s cheese in brine |
Swissby Cheese
By Frank Masciulli
Ingredients:
1 1/2 gallons milk (I used Hood, full fat)
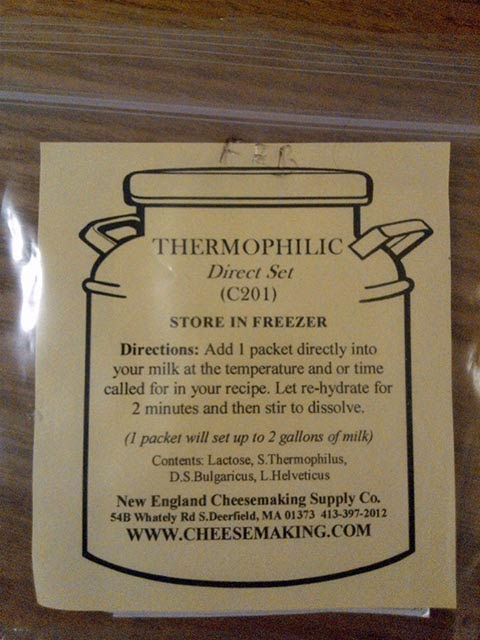
Thermophilic culture (1/8 tsp)
Propionibacterium 50 culture (1/8 tsp)
Calcium chloride (5/8 tsp)
Annatto coloring (10-12 drops)
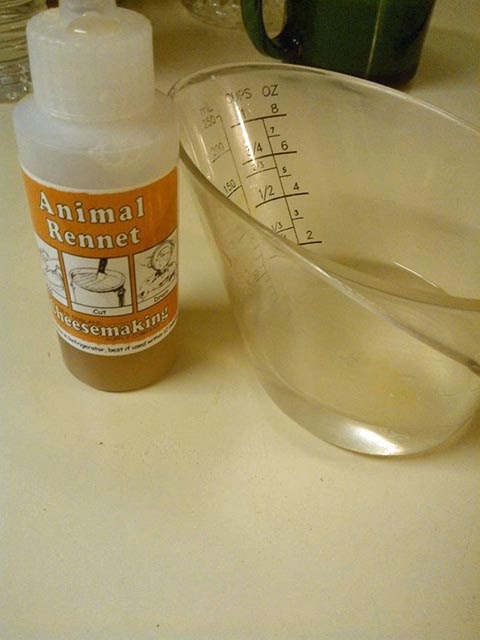
Liquid rennet (1/2 tsp) (I used animal rennet, vegetable rennet would be 1/4 tsp)
Salt for brine (3-5 lbs)


Directions:
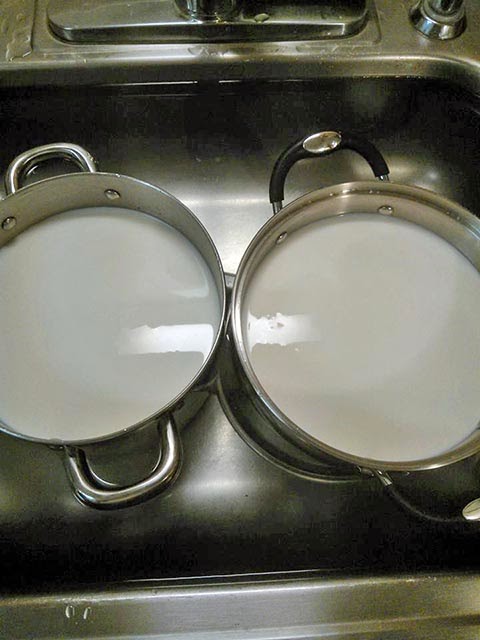
1. Sanitize all pots and utensils. (Since this a MARBLED cheese, you need TWO pots. Just remember to divide all the ingredients equally in each pot. If you want to make it one color, go ahead and just use one pot for everything.)
2. Dilute the calcium chloride in 1/4 cup of water, per directions on the bottle. Then add to each pot of milk (even amount in each).

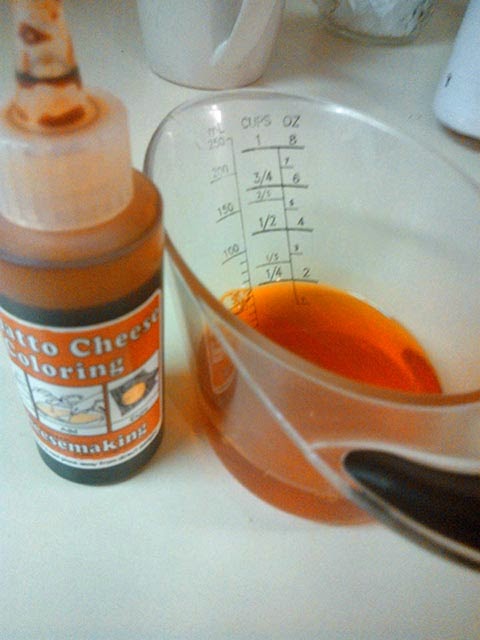
3. Dilute about 10-12 drops of annatto coloring in water. Then add this to ONE of the pots. Add more drops directly to the milk if you want a more orange color. (Careful, it will get more of an orange color as the final cheese ages.)
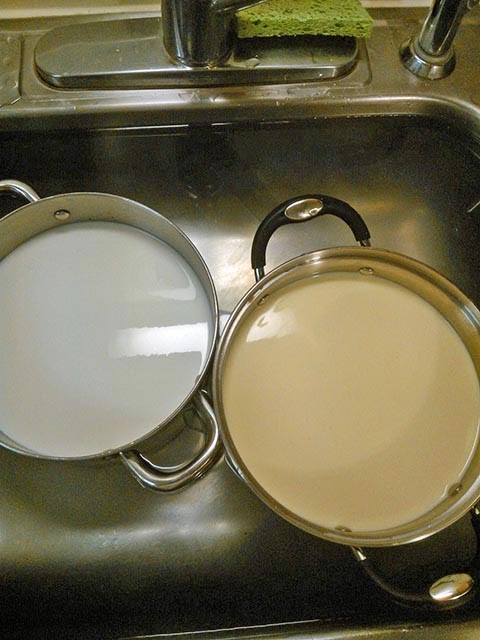
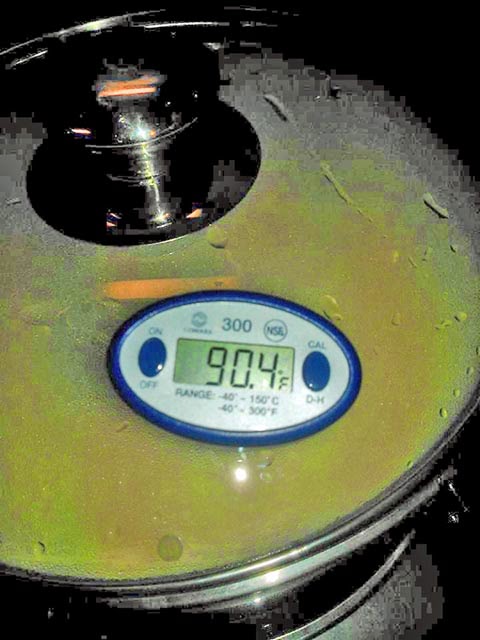
4. Fill the sink with water to heat the milk to 90F. This requires a bit of time. Fill the sink with water about 5-6 degrees higher than what you want, and keep checking the temperature of each pot until you get to about 90F. You will have to empty the sink and refill it about every 10 to 15 minutes as the water cools, so you can maintain the temperature of the milk.
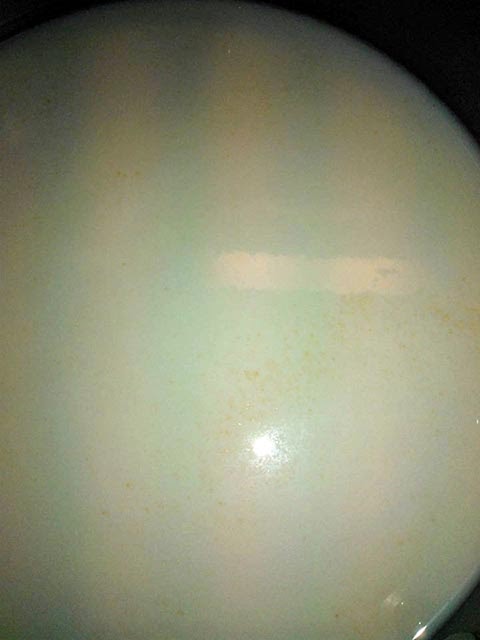
5. When you reach the 90F, prepare the cheese cultures. For this recipe, 1/8 tsp of each are combined on to a piece of tin foil then they are sprinkled (even amount in each pot) over the milk. (It may be difficult to see the cultures on the surface in this picture.) Let it sit like this for about a minute then stir it in. Now let the pots sit covered to allow to ripen for about 10 minutes. Maintain the 90F temperature.
6. Add 1/2 tsp of rennet in 1/4 cup of water. Add evenly to each of the pots of milk. (Make sure you split it fairly evenly.) Not an issue if you’re making one color cheese, just add the whole thing to the pot. Using a slotted spoon, stir the rennet using an up and down motion.
7. After about 20 minutes to a half hour, the cheese will have a firm texture to it. You can tell if it is ready by puncturing it with a knife and seeing that it’s fairly solid. This is what is referred to as having a ‘clean break.’ There will still be liquid coming through, but it should be fairly firm throughout. (The temperature has to be maintained during this whole process at 90F +/- a degree or two.)
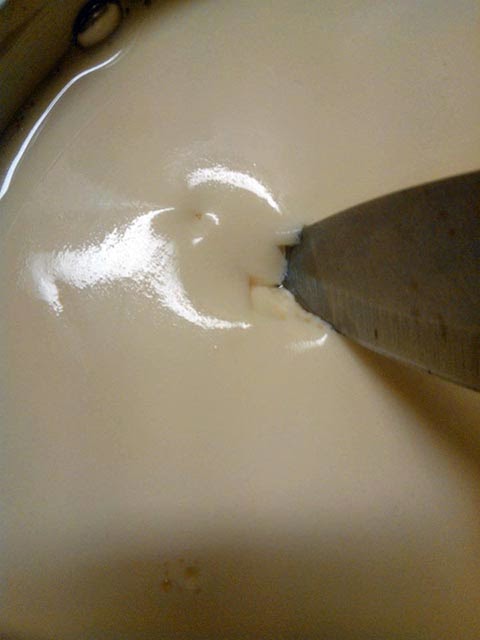
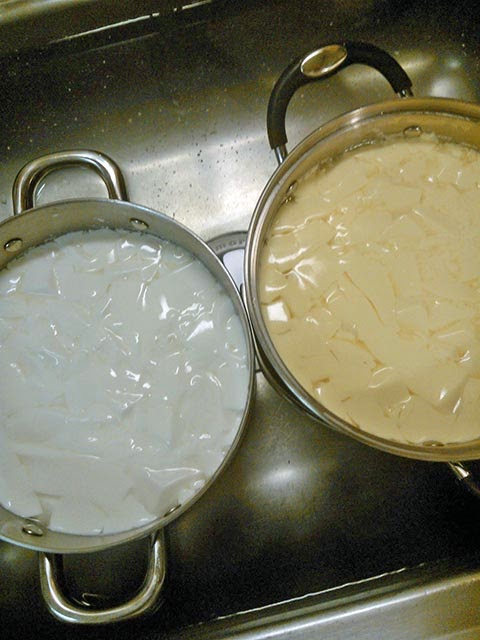
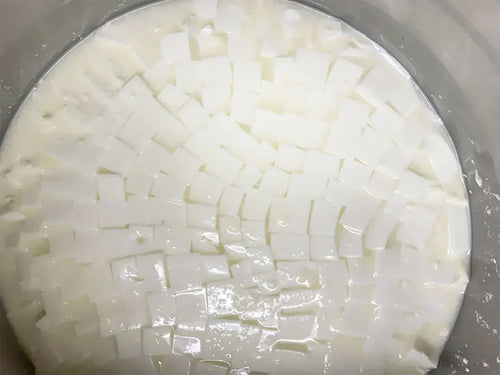
8. When it has reached the state in the last picture, the curd is ready to be cut. Take a long knife and make vertical and horizontal cuts all the way through to the bottom of the pot, cutting the curd into small ½ – ¾ inch cubes. Then, give one or two stirs to keep it from matting. (Don’t stir too much or your cheese will dry out when it’s done.)
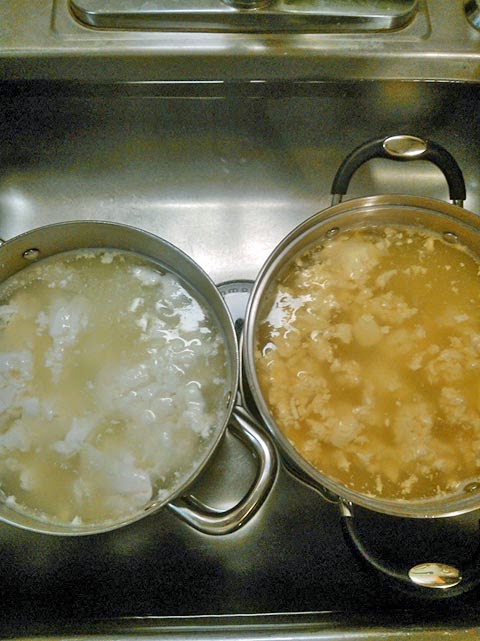
9. Raise the water temperature to bring the cheese up to 118F. The bath water in the sink will have to be about 125F to maintain this. Keeping the temperature at this temperature is a bit more challenging. You have to drain the sink and refill more often. You need to cook the curds at this temperature for about 30 minutes. This picture shows the result of the cheese after 30 minutes. (Yes, there is that much water in a gallon of milk.)
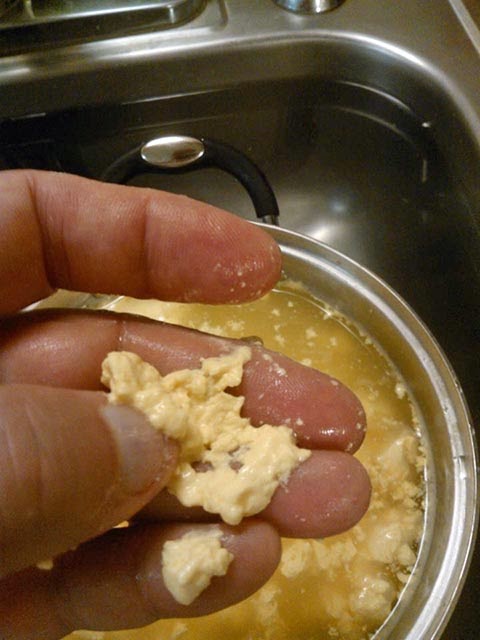
10. The cheese is cooked when you take some of it in your hands and it crumbles into separate pieces and will not stay mashed together. If you’re not there yet, keep it covered and cook it longer, maintaining the 118F temperature.
11. Next, drain the water (whey) out and refill each pot with cool water about 85F. When the temperature of each pot gets to about 85F, drain and refill each to make it even cooler. You want the final temperature of each pot to be about 75F. The cooler the temperature, the more moisture the cheese will have. If you want a dryer cheese, don’t bother with these cooling steps.
12. Drain all the whey out of each pot into a colander lined with butter muslin cheese cloth. You can use cheese cloth, but it has bigger holes, so you will want to double up on cheese cloth to make a finer mesh. Combine both the colored and uncolored cheese curds together. This is how marbled cheese is made.
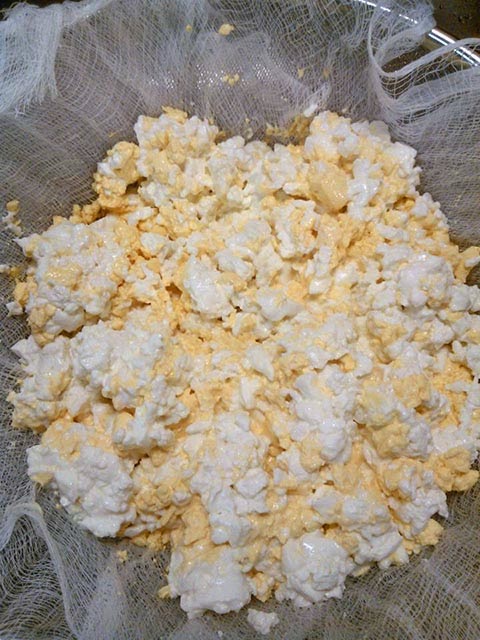
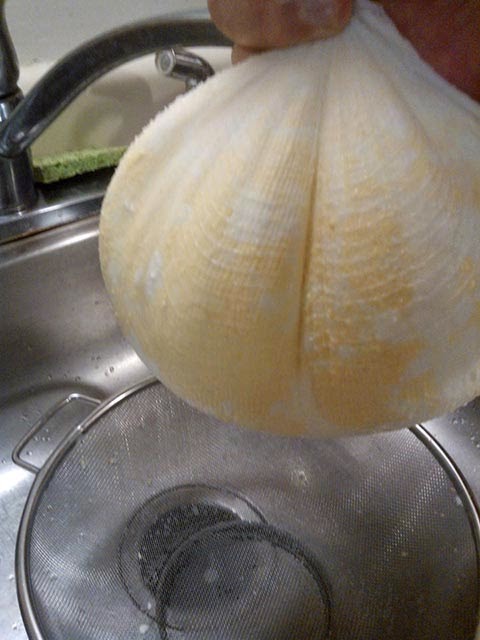
13. Drain as much of the whey out as you can.
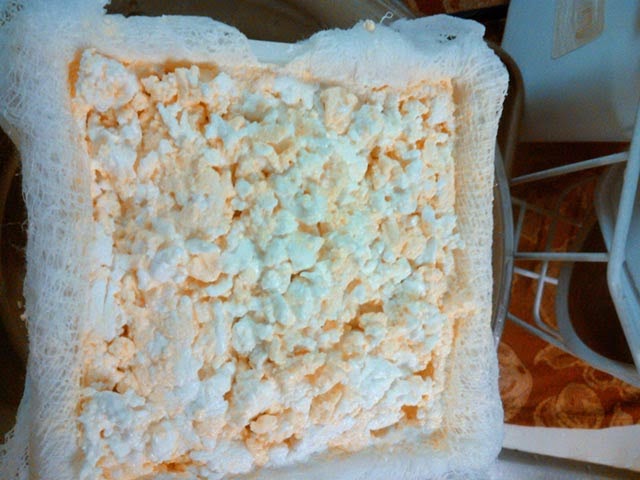
14. Line the cheese mold with more cloth.
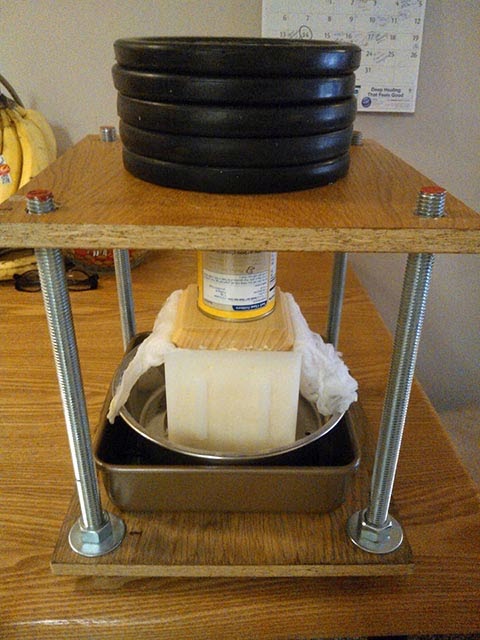
15. This is my cheese press. The round pan has holes and it is placed into the square pan. This allows the remaining water to drain away from the cheese and keeps the cheese from sitting in it during the pressing.
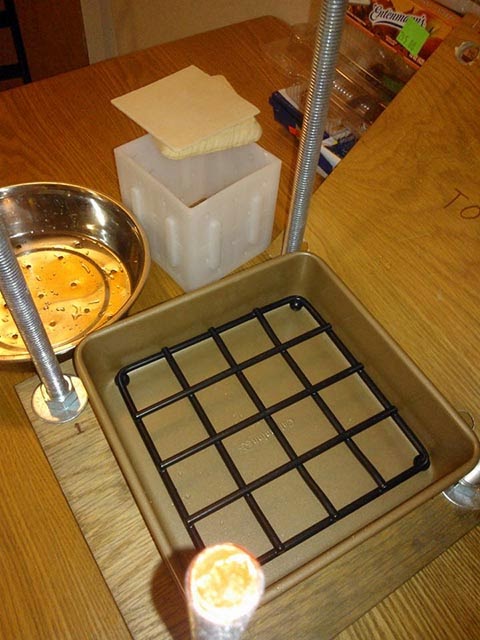
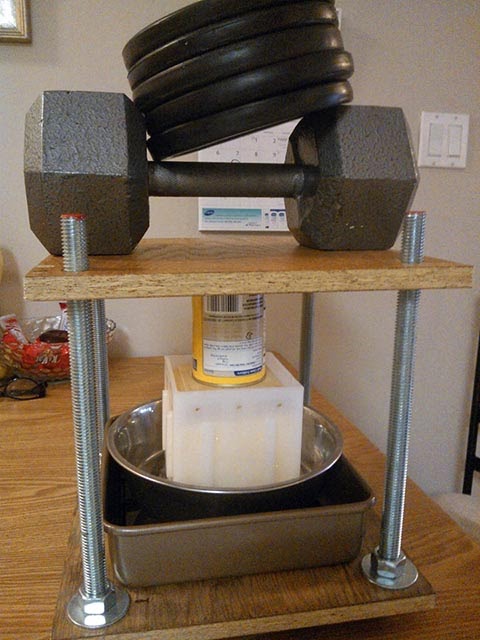
16. The cheese goes in the press with about 12 lbs of weights. Press for one hour, remove the cheese and turn it over in the mold and re-press. Keep this one hour pressing / turning over process going for about three hours.
17. Add more weight to about 30-35 lbs for an additional three hours. Then, remove the weights back down to about 12 lbs and keep overnight or about 12 hours more.
18. Fill a bowl with about 3 – 5 lbs of salt. Franks creativity with cheese reminds us of the variety that exists in cheese making, including unique styles like Norwegian Style Cheese. This cheese, with its distinct flavors and textures, showcases the endless possibilities when experimenting in the kitchen. Franks adventurous spirit in cheese making reminds us of the creativity involved in crafting various cheese types. For those looking to expand their cheese repertoire, trying out a Tomme de Savoie can be a rewarding challenge. This cheese offers a unique flavor profile and is perfect for those who have experimented with other recipes. Place cheese in this for about 5 hours (maximum – 12 hours if you want more salty cheese). I find the 4-5 hours to be a nice flavor and not too salty. Turn the cheese over after each hour while it is in this solution. After this, pat dry the cheese and air dry for about a week, covered with cheese cloth and turning over each day. After that, place the cheese in a fairly cool dry place (not the fridge) for about 4 weeks.
As the cheese ages, it will swell up slightly. This is due to holes being formed, as it is a Swiss cheese recipe. However, the holes will not be very large when you cut into it. To get the large holes like regular Swiss cheese recipes, you’d have to make a large quantity like 4-5 lbs. The holes that will appear will be pin hole size.
The longer it ages, the more flavor it will have. Enjoy!
For Printing:
Swissby Cheese
By Frank Masciulli
Ingredients:
1 1/2 gallons milk (I used Hood, full fat)
Thermophilic culture (1/8 tsp)
Propionibacterium 50 culture (1/8 tsp)
Calcium chloride (5/8 tsp)
Annatto coloring (10-12 drops)
Liquid rennet (1/2 tsp) (I used animal rennet, vegetable rennet would be 1/4 tsp)
Salt for brine (3-5 lbs)
Directions:
1. Sanitize all pots and utensils. (Since this a MARBLED cheese, you need TWO pots. Just remember to divide all the ingredients equally in each pot. If you want to make it one color, go ahead and just use one pot for everything.)
2. Dilute the calcium chloride in 1/4 cup of water, per directions on the bottle. Then add to each pot of milk (even amount in each).
3. Dilute about 10-12 drops of annatto coloring in water. Then add this to ONE of the pots. Add more drops directly to the milk if you want a more orange color. (Careful, it will get more of an orange color as the final cheese ages.)
4. Fill the sink with water to heat the milk to 90F. This requires a bit of time. Fill the sink with water about 5-6 degrees higher than what you want, and keep checking the temperature of each pot until you get to about 90F. You will have to empty the sink and refill it about every 10 to 15 minutes as the water cools, so you can maintain the temperature of the milk.
5. When you reach the 90F, prepare the cheese cultures. For this recipe, 1/8 tsp of each are combined on to a piece of tin foil then they are sprinkled (even amount in each pot) over the milk. (It may be difficult to see the cultures on the surface in this picture.) Let it sit like this for about a minute then stir it in. Now let the pots sit covered to allow to ripen for about 10 minutes. Maintain the 90F temperature.
6. Add 1/2 tsp of rennet in 1/4 cup of water. Add evenly to each of the pots of milk. (Make sure you split it fairly evenly.) Not an issue if you’re making one color cheese, just add the whole thing to the pot. Using a slotted spoon, stir the rennet using an up and down motion.
7. After about 20 minutes to a half hour, the cheese will have a firm texture to it. You can tell if it is ready by puncturing it with a knife and seeing that it’s fairly solid. This is what is referred to as having a ‘clean break.’ There will still be liquid coming through, but it should be fairly firm throughout. (The temperature has to be maintained during this whole process at 90F +/- a degree or two.)
8. When it has reached the state in the last picture, the curd is ready to be cut. Take a long knife and make vertical and horizontal cuts all the way through to the bottom of the pot, cutting the curd into small ½ – ¾ inch cubes. Then, give one or two stirs to keep it from matting. (Don’t stir too much or your cheese will dry out when it’s done.)
9. Raise the water temperature to bring the cheese up to 118F. The bath water in the sink will have to be about 125F to maintain this. Keeping the temperature at this temperature is a bit more challenging. You have to drain the sink and refill more often. You need to cook the curds at this temperature for about 30 minutes. This picture shows the result of the cheese after 30 minutes. (Yes, there is that much water in a gallon of milk.)
10. The cheese is cooked when you take some of it in your hands and it crumbles into separate pieces and will not stay mashed together. If you’re not there yet, keep it covered and cook it longer, maintaining the 118F temperature.
11. Next, drain the water (whey) out and refill each pot with cool water about 85F. When the temperature of each pot gets to about 85F, drain and refill each to make it even cooler. You want the final temperature of each pot to be about 75F. The cooler the temperature, the more moisture the cheese will have. If you want a dryer cheese, don’t bother with these cooling steps.
12. Drain all the whey out of each pot into a colander lined with butter muslin cheese cloth. You can use cheese cloth, but it has bigger holes, so you will want to double up on cheese cloth to make a finer mesh. Combine both the colored and uncolored cheese curds together. This is how marbled cheese is made.
13. Drain as much of the whey out as you can.
14. Line the cheese mold with more cloth.
15. This is my cheese press. The round pan has holes and it is placed into the square pan. This allows the remaining water to drain away from the cheese and keeps the cheese from sitting in it during the pressing.
16. The cheese goes in the press with about 12 lbs of weights. Press for one hour, remove the cheese and turn it over in the mold and re-press. Keep this one hour pressing / turning over process going for about three hours.
17. Add more weight to about 30-35 lbs for an additional three hours. Then, remove the weights back down to about 12 lbs and keep overnight or about 12 hours more.
18. Fill a bowl with about 3 – 5 lbs of salt. Place cheese in this for about 5 hours (maximum – 12 hours if you want more salty cheese). I find the 4-5 hours to be a nice flavor and not too salty. Turn the cheese over after each hour while it is in this solution. After this, pat dry the cheese and air dry for about a week, covered with cheese cloth and turning over each day. After that, place the cheese in a fairly cool dry place (not the fridge) for about 4 weeks.
As the cheese ages, it will swell up slightly. This is due to holes being formed, as it is a Swiss cheese recipe. However, the holes will not be very large when you cut into it. To get the large holes like regular Swiss cheese recipes, you’d have to make a large quantity like 4-5 lbs. The holes that will appear will be pin hole size.
The longer it ages, the more flavor it will have. Enjoy!


