


 |
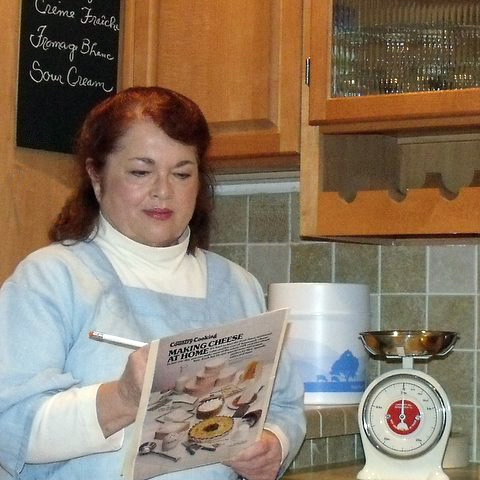
| Gayle Starbuck |
Portland, Oregon has all the luck!
At least it has Gayle Starbuck and that’s a lot. Gayle makes cheese, teaches cheese making classes and sells cheese making supplies to lucky folks in Oregon. (Curds on the Way)
Gayle knows her whey around a curd press and she’s a fun little red-headed ball of energy, so her classes are wildly popular. (If you’re planning to register, do it soon because some of her fall classes are already filled.)
Recently, Gayle offered to share her recipe for Creamy, French Style Feta with us and we leaped at the opportunity to share it with you. We asked her a few questions, by way of an introduction:

How did you get started making cheese?
I was raised on a farmstead in California, so helping to milk and watch my mother make cheese and butter was just part of what I always did and still continue to do (no milking anymore).
As time went on and I had a family on a ranch, I began to branch out into making all types of cheese. It really helped to make a more consistent cheese when cultures /rennet’s/ additives became more readily available.
I started teaching home preserving / cheese making in about 1970 for the school district.
Where do you teach?
I teach beginning cheese making for: Portland Homestead Supply Co. in Portland, Oregon and a more advanced class in my own Beavercreek, Oregon kitchen. They are both on a continuing basis.
Creamy Feta Cheese in the French Style
By Gayle Starbuck of Curds on the Way
My French Great-Grandfather had plenty of sheep’s milk available to make his creamy French style Feta in 1900. Although he was gone long before I could taste some, my mother fondly remembers her stays on his Farmstead and the different types of cheese, wine and preserved olives he taught her to make. The tradition continues, but I rarely have access to sheep’s milk, so I have developed this method using cow’s milk from the market dairy case.
Creamy and mild, this is a favorite with my cheese class students. Unlike the salty store bought type, it’s a real treat served in cubes or in a simple herbed marinade with wine preserved olives.
This many years later, I know Grand-Papa would approve of my undertaking!
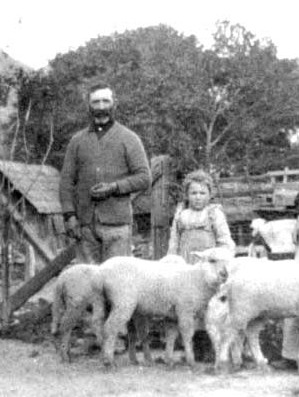 |
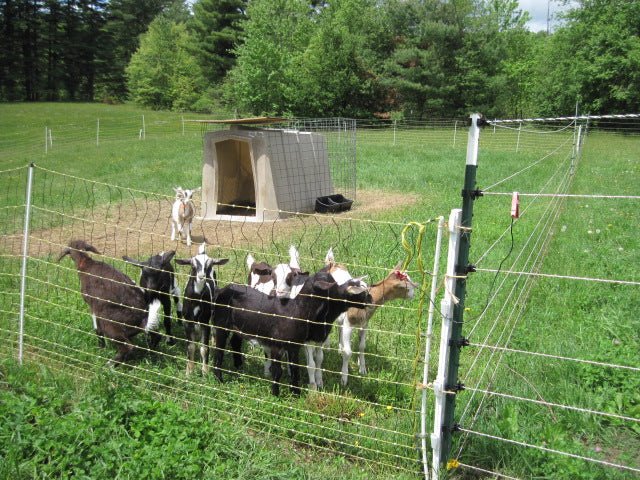
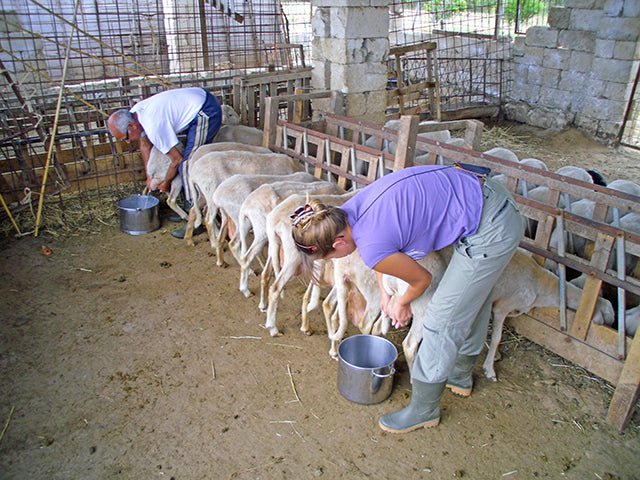
| Grand-Papa with his sheep. |
This Feta recipe is made in a small, manageable batch, ideal for the home kitchen. There is no need to use a press, as it firms up under its own weight while hanging, making a great semi-firm cheese.
The only “cheese aging cave” you need is a covered container with a bottom insert and your own refrigerator!
This type of container is usually available in the home wares section of your local large market. It’s labeled as a Produce/Saver container from the Rubbermaid Co. and has two very small vent holes that allow the cheese some air. They are also available online from Amazon.
Use non-ultra pasteurized cow’s milk (you may substitute goat’s milk) and some heavy cream from the dairy case. You may also use Jersey milk, sold as cream top in glass bottles. With it’s high fat content you won’t need to add the extra cream.
The extra ingredients needed are available from: https://cheesemaking.com/
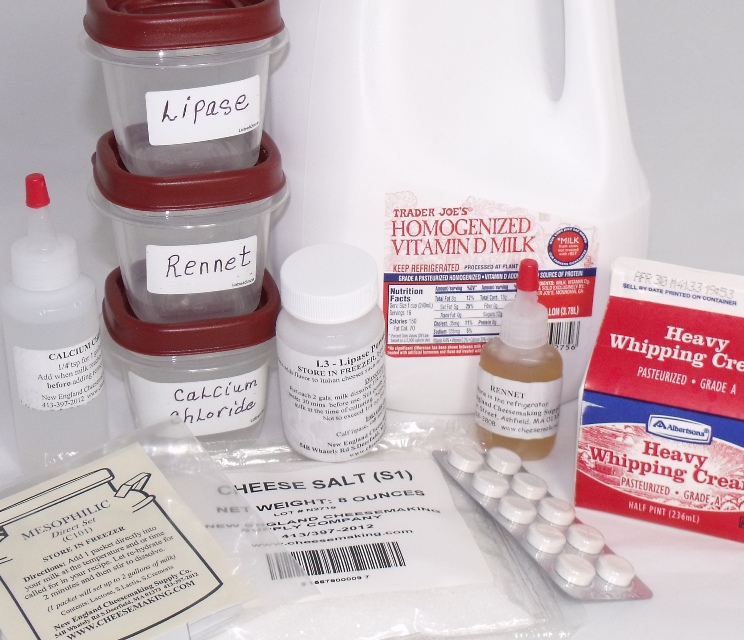
Gather up everything you need to make this cheese.
Note: Make sure any milk you use is not ultra-pasteurized.
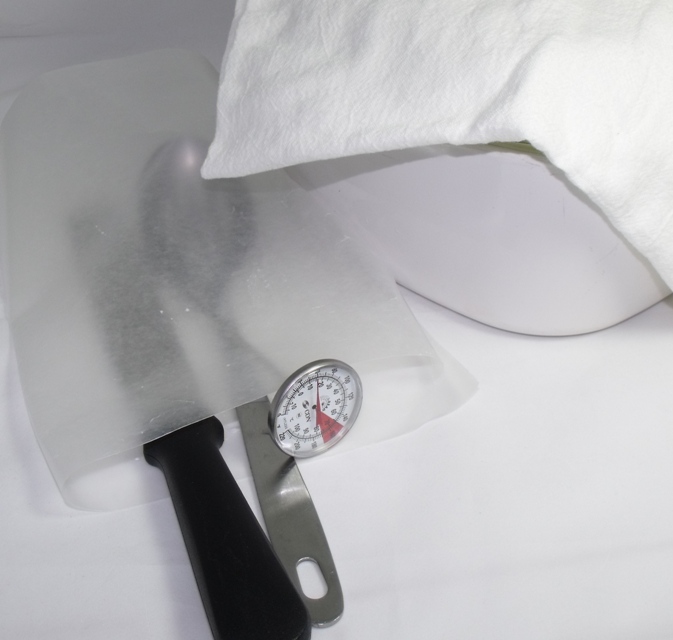
Using boiling water, sanitize all of your equipment, pan, slotted spoon, spatula, ladle and a 20″ x 20″ piece of butter muslin (U2).
Ingredients:
1 gallon whole cow’s milk (homogenized, but not ultra-pasteurized)
½ pint heavy cream
½ tsp calcium chloride (C14) dissolved in ¼ cup filtered water
1/6 tsp. lipase powder (L3) dissolved in ¼ cup filtered water. This is where the mini measuring spoons comes in handy ( E20 – a pinch spoon is 1/6th tsp.)
1 packet of direct set mesophilic starter (C101)
½ tsp. liquid rennet (R7) dissolved in ¼ cup filtered water (NOTE: Do not prepare rennet solution any more than ½ hour before using.)
2-4 tablespoons cheese salt (S1)
Keep it clean hint: Keep your used utensils clean inside of a folded piece of wax paper during cheese making. Also, use some extra pieces of it later to move cheese around. It keeps your bare fingers off of the cheese, because that can lead to mold spots during aging.
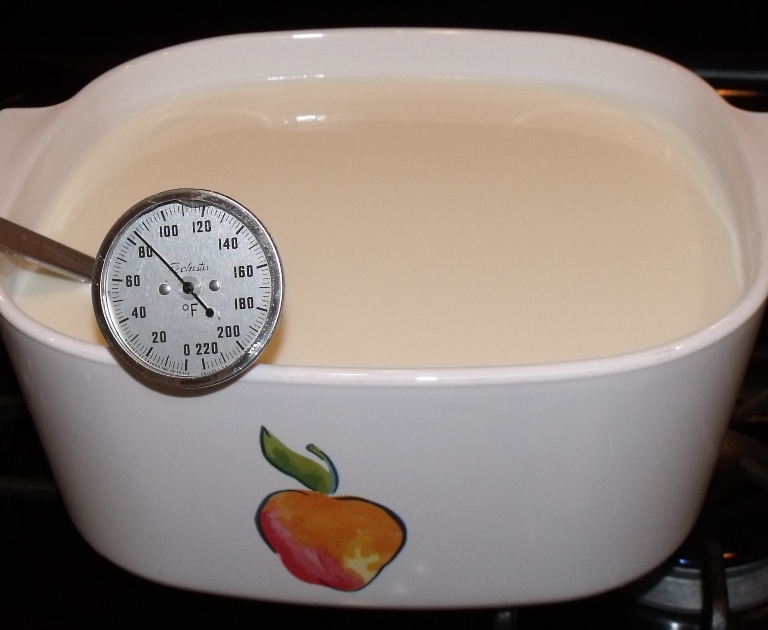 |
| Heat the milk. |
Use a heavy non-aluminum pan, that will hold 1 gallon of milk. Over very low heat, warm the milk and cream to 86° stirring gently and constantly.
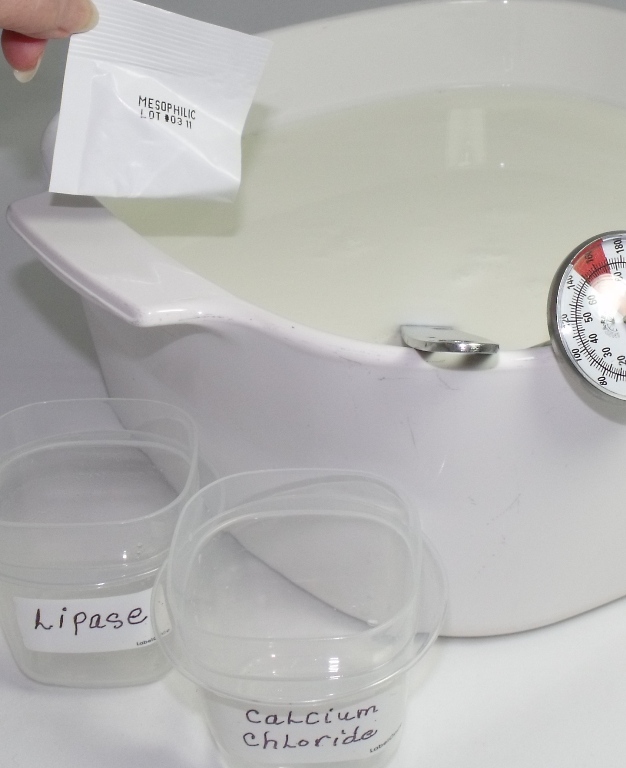 |
| Add the culture. |
Add in this order and stir in well:
1. Lipase mixture
2. Calcium chloride mixture
3. Sprinkle the mesopholic culture over the milk and let re-hydrate for 1 minute. Stir into the milk until completely dissolved.
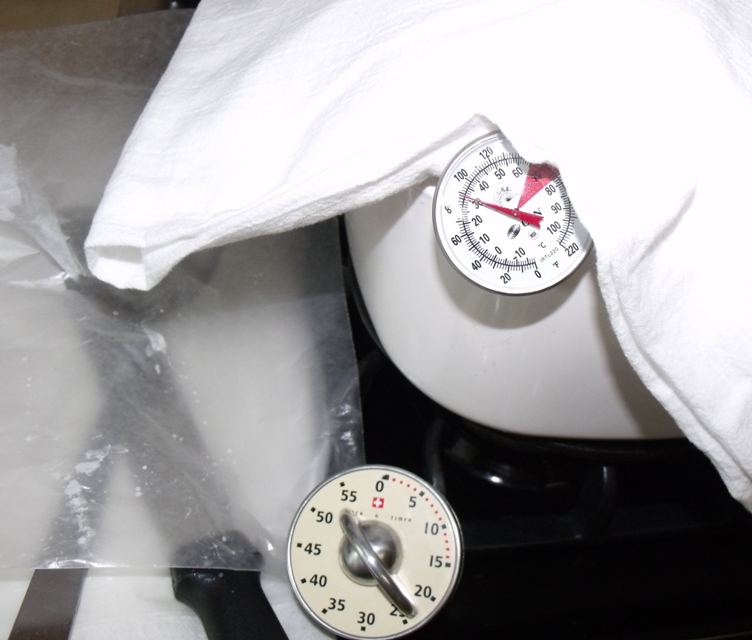 |
| Keep warm. |
Cover with a lid and towel to keep in warmth. Periodically check the milk temperature. If it drops, place the pan with milk in a warm water bath. Using a heavy pan and covering the milk will usually hold in the warmth needed.
Allow to culture for 1 hour.
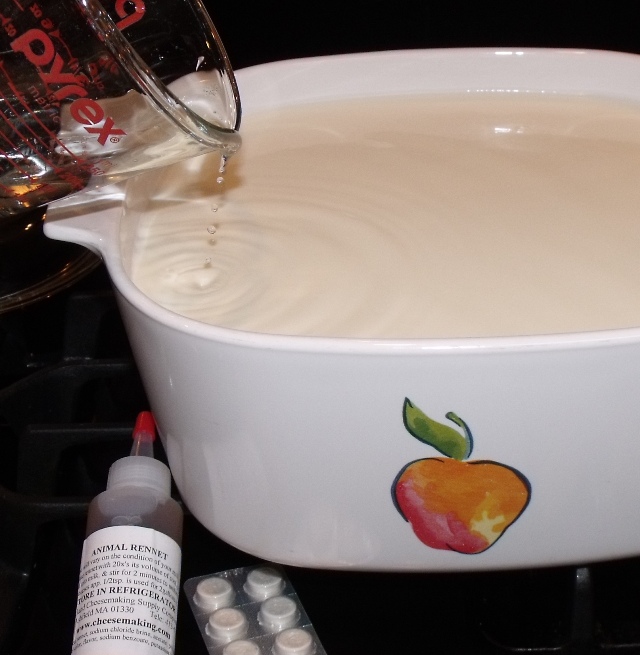 |
| Add the rennet. |
Note the culturing time, and then mix your rennet solution. Mix the solution into the milk, stirring with a slotted spoon for 1 minute. Continue to keep the milk at 86.°
 |
| Get a clean break. |
Cover as before and keep warm, 86° for about 45 minutes to 1 hour, or until you get a “clean break”.
You can check for a clean break by sticking your cutting/curd knife into the curd and making a small cut. Insert blade of the spatula under the cut and lift up. If the curd breaks cleanly, and whey runs into the crack that is made; you will have a “clean break.”
 |
| Cut the curds |
Cut the curds (see Basic Procedures) into 1/2″ pieces, using a long spatula.
Let the curds heal for 10 minutes without disturbing.
Then, stir the curds and cut any larger pieces that you missed when you first cut the squares. Always use a gentle stirring motion.
Hold the curds at 86° for 20 minutes. Stir every few minutes to prevent the curds from sticking together.
This process shrinks the curds as well as releases some of the whey.
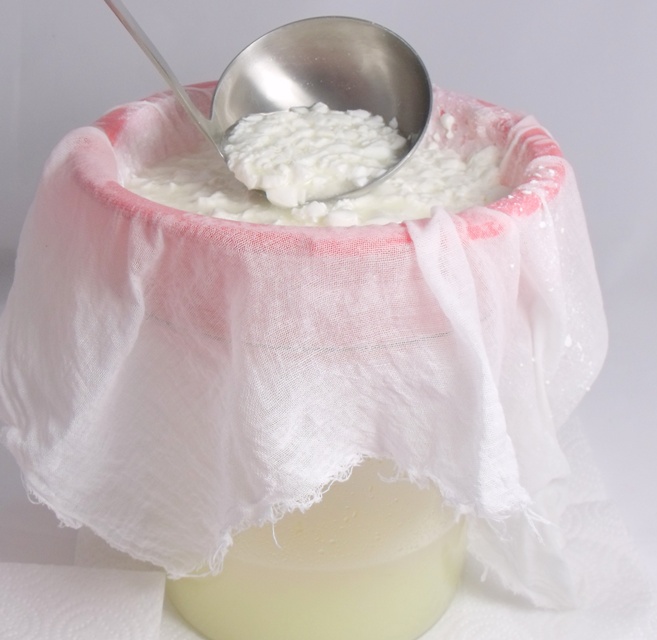 |
| Ladle the curds |
Place a large colander over a container to catch the whey. Line the colander with the sanitized butter muslin.
Ladle the curds into the colander. Let drain for 20 minutes. Reserve the whey for other cooking uses.
Hint: This is what I do with so much whey generated from my cheese classes. It gets poured around the base of the blueberries. They love the high acid in the liquid.
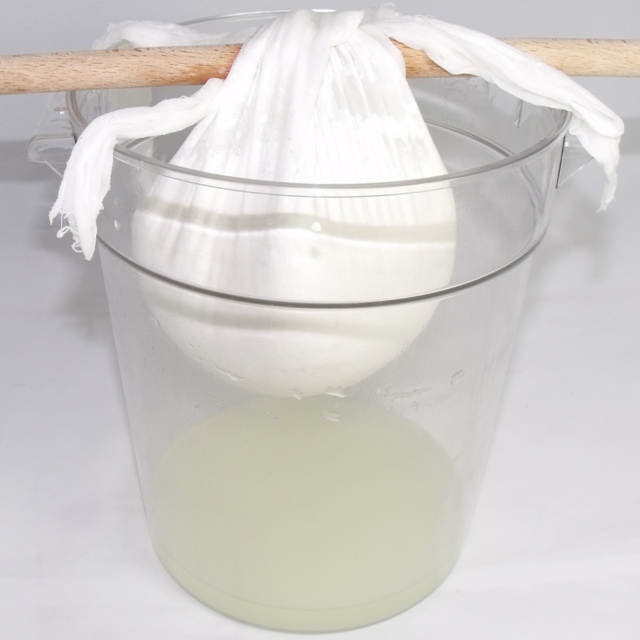 |
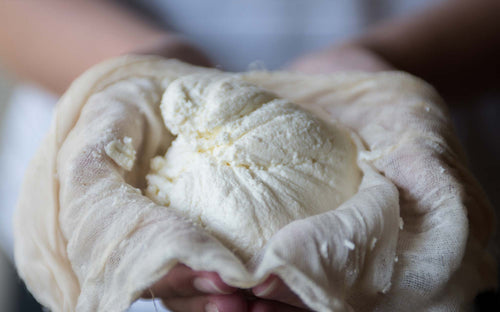
| Let curds hang to drain. |
Tie the opposite corners of the cheesecloth together over a wooden spoon and hang the bag to drain.
After 3-4 hours, un-tie the bag and set cheese on a large piece of wax paper. Very carefully turn the cheese over in the cheesecloth. This will create a nicer form when cut into blocks.
Re-wrap the cheese in the muslin, then hang and drain for 24 hours at room temperature. It will start to develop a distinctive Feta odor.
 |
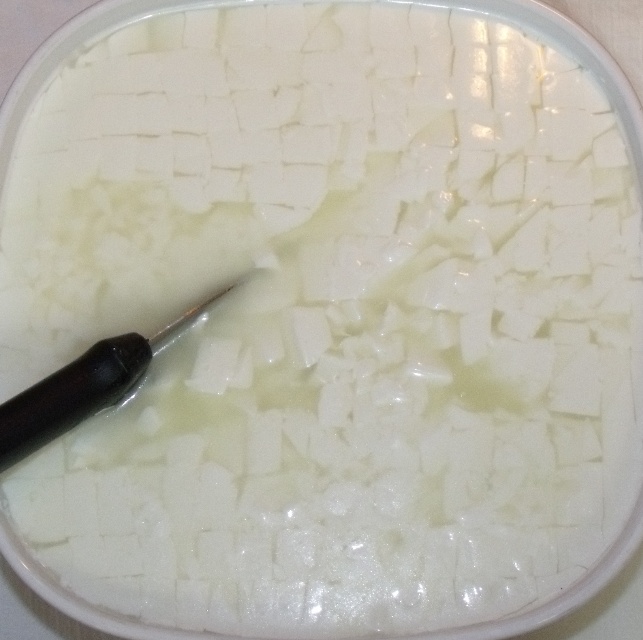
| Cut and salt. |
Line the bottom of your container with several layers of clean white paper towels.
Remove Feta from the cloth, place on a sheet of wax paper and cut it into usable size blocks (about 2-3 inches).
Sprinkle all the sides of the cubes evenly with cheese salt. (I like to use a salt shaker for even distribution and then place the blocks in the container.)
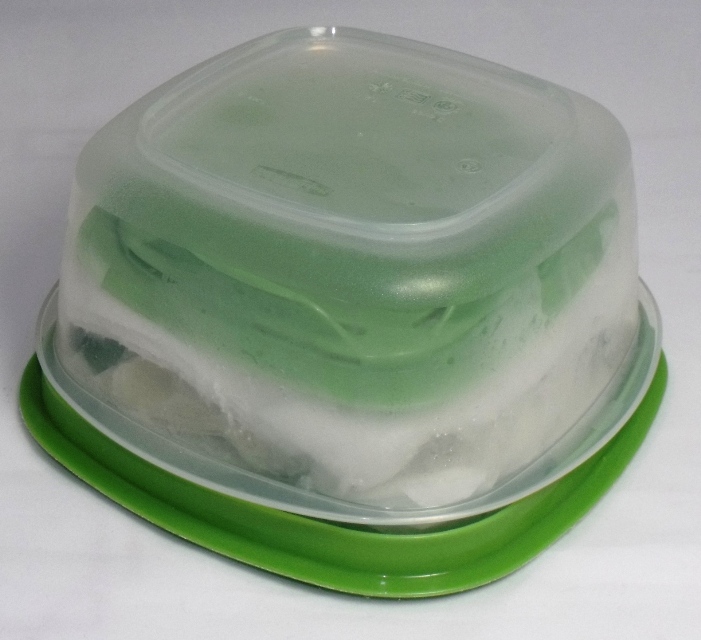 |
| Flip container. |
Cover with several more layers of paper towels. Let sit at room temperature for 24 hours, turning twice a day. To do this, lightly cover with the lid and flip the whole container over.
 |
| For storage and aging. |
For storage: I like to keep mine dry salted in the covered container under refrigeration. Discard the previously used paper towels and re-line as before. Sprinkle cheese with a little more salt and cover with more paper towels. Turn every 12 hours by turning the container over as before. Do this for an additional 2 days. Keep the same damp, salt infused paper towels in place during refrigeration, as this acts as a preservative.
Hint: Another little cheese keeping hint that you might want to use is this one, after the turning process is finished:
Mix together:
1 teaspoon cheese salt
1 teaspoon white vinegar
1 tablespoon filtered water
Pour solution under the Feta container shelf and replace with new solution every 7 days.
The ingredients are embossed on my vintage glass cheese keeper.
It really does work.
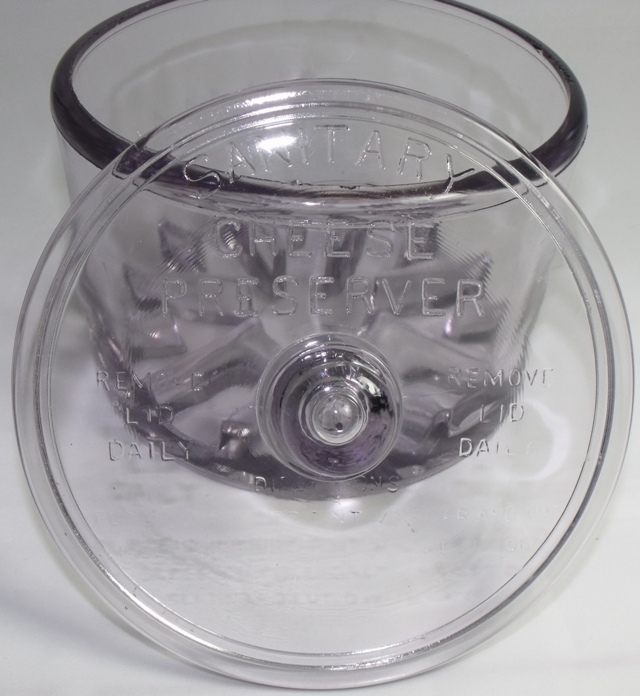 |
| My vintage cheese preserver |
Taste the Feta after 5-8 days, it will be creamy and mild at this stage and become firmer and drier with more aging. Use your own taste as to what aging stage you enjoy it most.
Feta will keep 30 days using this method.
 |
| Marinated Feta |


