


We’re big fans of this master gardener!
Why? Well, to put it simply – he’s just someone you want to know – you know? He’s a cutie pie!
Kevin’s officially a gardener by trade, but he delves into all aspects of home life including birds, decorating, bread, flower arranging, desserts, preserving and, of course, cheese making.
When he gave away a free Mozzarella Kit recently, he received almost 500 comments from hopeful participants!
That’s more responses collected than anyone else we know. (Apparently quite a few of us enjoy his website!)
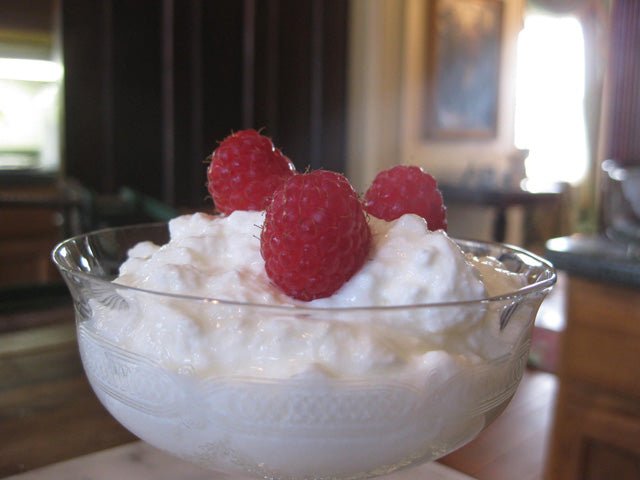
Kevin began making cheese a year ago, and, so far, he has made cottage cheese, cream cheese, ricotta, 30 minute mozzarella and Greek-style yogurt (shown below). As you can see, he appears to be a master of photography along with everything else…
Greek-Style Yogurt
By Kevin Lee Jacobs at A Garden for the House

I CAN’T SING THE PRAISES of Greek-style yogurt loudly enough. It’s luxurious. It’s thick and creamy. It’s rich in pro-biotics. I love it for breakfast, either all on its own or topped with berries (or with my homemade granola). It’s great on a baked potato, too, in place of sour cream. Yet for all these healthy, delicious attributes, this yogurt (and all yogurt) is unbelievably easy to make. My method, and a little science:
Greek-Style Yogurt
Ingredients for 8-10 cups of yogurt:
1 gallon milk (any fat content you like; I happen to like whole milk)
3 Tbsp prepared yogurt with live active cultures (check label to be sure) (or, you can use 1 packet of one of our yogurt cultures)

1. To start, pour a gallon of milk into a heavy-bottomed, non-reactive, 6-quart pot. (I like my enameled Le Crusette pot for once-a-week yogurt-making.) Slowly heat the milk to 180F. This is the temperature which will kill off any bad organisms, while creating a sterile environment in which the yogurt bacteria can grow.
The moment the milk reaches 180F, move the pot to a cooling rack, and let the milk cool, uncovered, to 110F. You want the milk to be warm enough to encourage the yogurt culture to grow, but not so hot as to murder the culture. Yes, I’m giving you not just a recipe here, but a science lesson. A science lesson you can eat.

2. Ladle into a small bowl a 1/2 cup of the warm (110F) milk. Then mix into the bowl the “starter” — 3 tablespoons of plain, store-bought yogurt which contains live, active cultures. Do not add more than 3 tablespoons of yogurt, or you’ll be sorry. Yogurt bacteria does not appreciate being crowded, and adding too much will thin, not thicken, the milk.
And by the way, if you plan to make yogurt regularly, you will never need to buy commercial yogurt again. Just save 3 tablespoons of your homemade yogurt, and use that for your next batch.
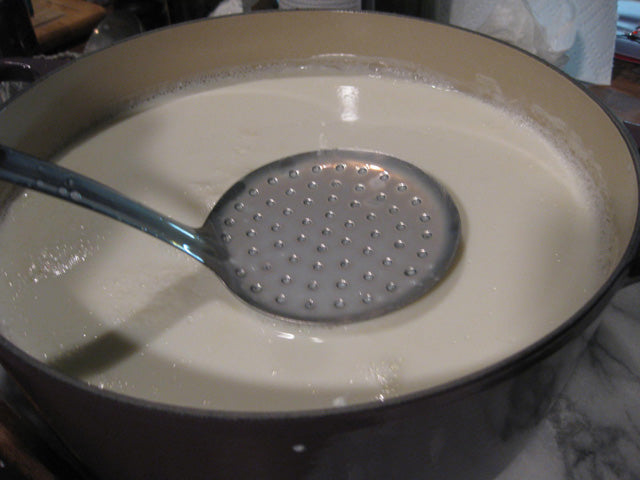
Pour the milk-and-yogurt starter into the big pot. Then, with a slotted spoon or slotted spatula, stir the milk for 30 seconds. Stir with an up-and-down motion, just as you do when making mozzarella.

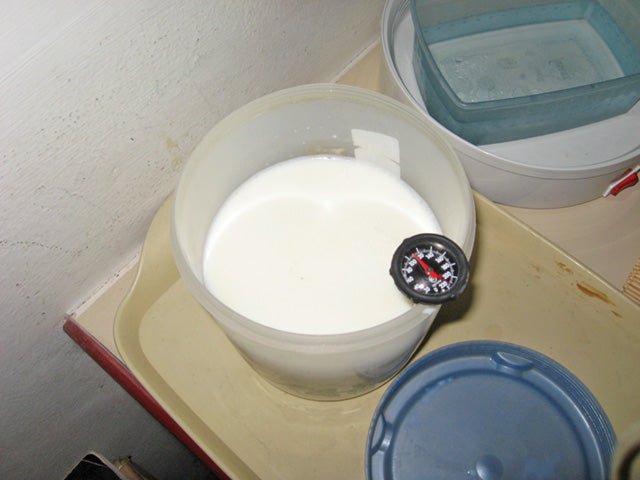
3. Here’s the only tricky part. The milk must be kept between 105F-110F for the next seven hours. You can wrap a towel around the pot and place it your oven, with no extra heat except that of the turned-on light bulb. Or, do what I do, and place the pot on a heating-pad, set to the lowest setting. For extra insulation, place a bath towel over the pot.

4. The next morning (assuming you made this at night), remove the bath towel and lid, and voila! — you’ve got yogurt.

But it ain’t Greek-style until you drain off some — though not all — of the liquid, or “whey.” To do this, lay a piece of butter muslin or a cloth napkin in a colander set over a large bowl. Pour the yogurt into the colander, and let it drain until a thick (but still very creamy) texture is achieved — 1 to 2 hours.
What to do with the leftover whey? Save it! Then you can use it in place of water during your next bread-baking adventure.

Storage — Homemade yogurt will keep for 7 days in the refrigerator. I store mine in the little PABA-free plastics tubs pictured above. Remember to save 3 tablespoons of your yogurt, so you can use it as the starter for your next batch. And I promise…you will definitely be making a second batch!
Need a cut-and-paste version of this recipe? Here goes:
Greek-Style Yogurt
Ingredients for 8-10 cups of yogurt
1 gallon milk (any fat-content you like; for better taste, use whole milk)
3 Tbsp plain, prepared yogurt with live, active cultures (check label to be sure)
1. In a 6-quart, non-reactive pot, slowly heat milk to 180F. Remove from heat; let cool to 110F.
2. In a small bowl, mix 3 Tbsp (not more!) prepared yogurt with 1/2 cup cooled (110F) milk. Using an up-and-down motion, stir the milk-yogurt blend into the big pot of milk. Stir for 30 seconds.
3. Set the pot someplace where it can be kept at a warm temperature (between 105F and 110F) for seven hours. An unheated oven, with the light bulb turned on, is one option; otherwise set the pot on a heating pad set to the lowest setting. Cover the pot with a bath towel for added insultation.
4. When 7 hours has past, ladle the yogurt into a colander that you’ve laid with butter muslin or a big cloth napkin. Let drain until the yogurt reaches the desired consistency — it should be extra-thick, but still creamy — 1-2 hours.
Ladle into airtight containers and refrigerate for up to 7 days. Be sure to save 3 Tbsp yogurt to use for your next batch.


