


 |
| Enola G. |
Making cheese is a survival skill to this family.
There is really no excuse for any of us to say that we “don’t understand” why some folks believe this or that or live this or that lifestyle – it’s all there in the blogs. People from all different “walks of life” are sharing their lives online.
Enola and her family are Christian “survivalists” living in Idaho. This is about as far as you can get from our lifestyle here in New England. But, when we take the time to read about their day-to-day struggles and triumphs, we realize that they are paying a big price for their beliefs.
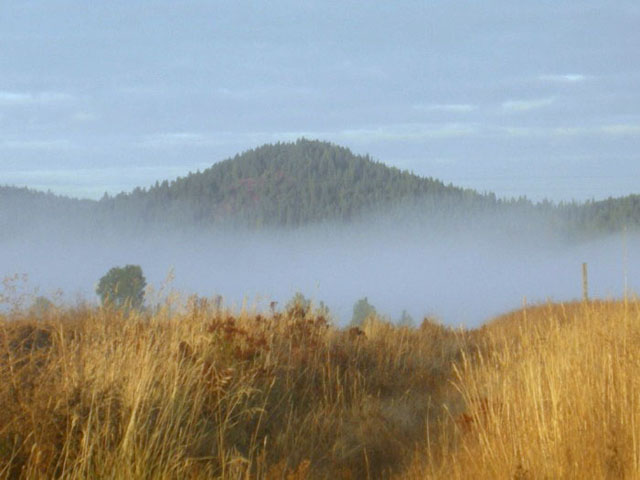
It’s not easy to live off the grid in the “middle of nowhere.” The first year and a half spent on their 30 acres of land, they had no electricity of any kind. Their house was 300 square feet and they had 3 young children! Their ingenuity is amazing.
For example: They don’t own a cow, but when Enola gets raw milk from one of her neighbors, she makes cheese. She doesn’t have a good aging cellar, so she sometimes cans her cheese- yes, in jars!
She explained it to us:
 |
| Canned cheese |
The only time I can cheese is when I buy it rather than make it. Always, when I make cheese, I wax it (who would want to ruin a perfectly perfect round of cheese?!). That being said, I don’t have the optimum location to age cheese at the correct temperature, so I am picky about what time of year I make it. To get us through the lean times (especially since we have no way of freezing cheese – which I don’t like to do anyway) I can the cheese instead.
 |
| Out of the jar |
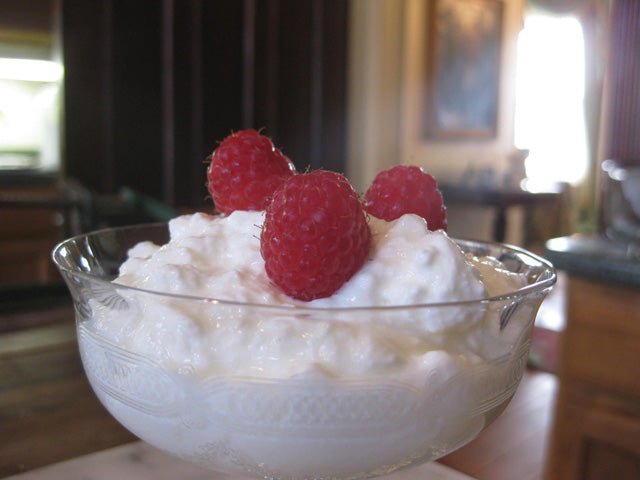
Canning works tremendously well with hard cheeses. When you open a jar, they cut just like a fresh brick of cheese, unlike freezing, which makes cheese horribly crumbly. The cheese does continue to age, so I always buy mild (which is less expensive anyway) and by the time I open a jar, it has become pleasantly sharp.
Canned cheese lasts just about indefinitely on the pantry shelf and I have used it for everything. Often, we will open a jar just to cut and have alongside of crackers and salami. Other times it is grated and goes on pizza or in sauce for Mac & Cheese.

Because the cheese is melted prior to putting into jars, the melting temperature is higher after the cheese has been canned, so it retains it shape longer.
Something to note is that when cheese is canned, a small layer of fat is deposited on the top of the cheese. I always just wipe it off and discard if I am using the cheese for plain eating, however, if I am melting the cheese, I will add the fat in with the rest of the grated cheese.
Enola and her family have lived in a rural area of Idaho for 9 years, but they would like to move closer to Enola’s parents. So, they have listed their property at Survival Realty.com. It seems like an incredible deal when compared to real estate prices in our area (western Massachusetts), so, if you’re interested, contact them at providencefarms@rezmail.com.

Cheese in a Fortnight
By Enola G. at Paratus Familia Blog

We spent the weekend with some friends who were kind enough to send us home with 2 gallons of fresh, raw milk. Knowing that to drink it right up would quickly end our enjoyment, we chose instead to make cheese.
Over the years, we have made many different varieties of cheese including Farmhouse (cheddar), Gouda (an all-time favorite), Caerphilly and Parmesan (we aged it for 9 months – it was out of this world!). Being somewhat greedy for a brick of homemade cheese, this time we opted for Caerphilly, which only takes two weeks to properly age (although in England and Wales (were it originated) they age it for up to two months).
My recipe came with my cheese press, which was imported from England. About 14 years ago, Sir Knight bought the Wheeler Cheese Press (I don’t believe the Wheeler is imported any longer, however, New England Cheese Company seems to now make the same press) for me for Mothers Day. Since then, wheel upon wheel of cheese has been pressed, aged and enjoyed by this family. We have learned the importance of sterilizing everything that touches the cheese. We have learned that cheese must be tended, even after it is out of the press. We have learned that the quality of milk that goes into the cheese has everything to do with the quality of cheese that comes out of the press. We have learned which cheeses we like and which are a waste of milk. We have learned that experience is the best teacher.
What you need to make this cheese:
A dairy thermometer
A set of stainless steel measuring spoons
A long knife or palette knife for cutting curds (curd knife)
A bucket or vessel to contain the milk. (Stainless steel is best; plastic of good quality will do if it can be sterilized; never use galvanized steel or iron)
Cheese cloth
A good supply of hot water is necessary for bringing up the temperature of the milk by standing the container in a sink or wash boiler
A cheese press
Starter (Thermophilic)
Rennet (not junket)
All equipment must be very clean and be sterilized by scalding with boiling water.
Caerphilly Cheese
Use 2 gallons of milk, 1/2 morning and 1/2 evening milk. For this cheese, up to one third of the total quantity can be skim milk.
Heat to 90°F (goat’s milk 85°F) (I heat the milk by putting my pot in a sink full of hot water), add 4 oz. starter (either direct set or cultured), stir well, cover and leave for 30 minutes.
 |
| Heating water in the sink |
 |
| At the right temperature |
 |
| The starter (which I keep in the refrigerator) |
Add 1/2 tsp. of liquid rennet (if your rennet is in tablet form, dilute with 2 tsp. cold water) stir well right down to the bottom of the bucket for at least one minutes, cover and leave for 45 minutes.
With a long knife, or palette knife, cut the curd at 1/2″ intervals, then at right angles again, cutting it across and across. Using the ladle, cut spirally downward, starting in the middle at the top. Now turn the curds right over, cutting any large ones, and continue this stirring for 40 minutes while heating rapidly to 92°F.
 |
| Cutting the curds |
 |
| Stirring in a spiral motion |

 |
| Quickly heating (and stirring) to 92° |
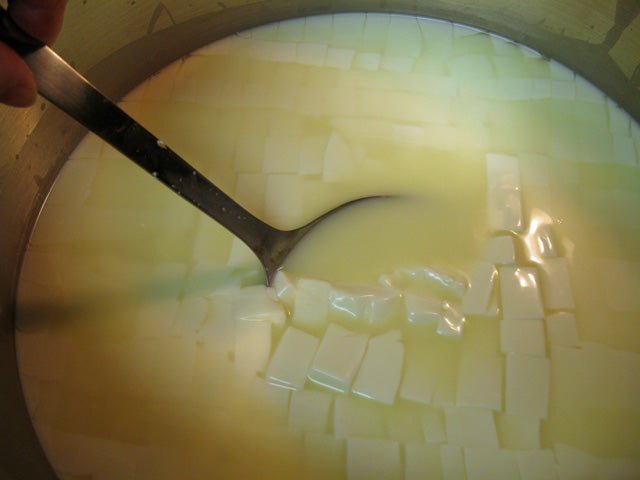
Now allow the curds to settle in the bottom of the pail then pour off all the whey.
Cut the curds into slices like a cake, turn them over and pile them up for more whey to drain away. Do this 2 or 3 times more at 5 minute intervals.
 |
| The whey has been drained and the curds cut in “cake-like” chunks |
Now break the curd into walnut sized pieces and add salt at the rate of 1 oz to 4 lbs. of curd.
 |
| Ready to weigh the walnut-sized pieces of curd |
 |
| Adding the salt (2 Tablespoons) |
Have the press ready: line the mold with scalded cheese cloth, fill it with the curds, fold one layer of cloth neatly over the top, put in your follower, pile the rest of the cloth on top and put on the second spacer. Now put under 20 lbs. pressure for 10 minutes. Turn the mold upside down, replace follower and spacer and increase pressure to 30 lbs. Do this twice more at 10 minute intervals, increasing the pressure by 10 lbs each time and finally leave the cheese under the maximum pressure (50 lbs.) for 14-16 hours.
 |
| Sterilizing the cheese press (everything that touches the cheese) |
 |
| Awaiting the next step |
 |
| Spooning the salted curds into the press |
 |
| Getting ready to put the cheese under pressure |
 |
| Pressing |
 |
| Whey draining from the cheese |
 |
| Under maximum pressure |
Remove from the mold and uncover the cheesecloth. The traditional treatment of this cheese is to dry it by sprinkling all over with rice and flour and putting to ripen at 50°F for two weeks, turning it daily (this allows the whey to sufficiently drain). You can also air-dry it and wax it, but it needs an extra week to ripen.
 |
| Taking the cheese from the press |
 |
| Removing the cheesecloth |
 |
| Dusted with flour |
 |
| Ready to age |
Generally, I turn my cheeses twice a day – morning and evening. This keeps the cheese dry, thus stemming any propensity to mold. If I plan on keeping the cheese and not opening it right away, I will wax the cheese and continue to turn it about once a week.
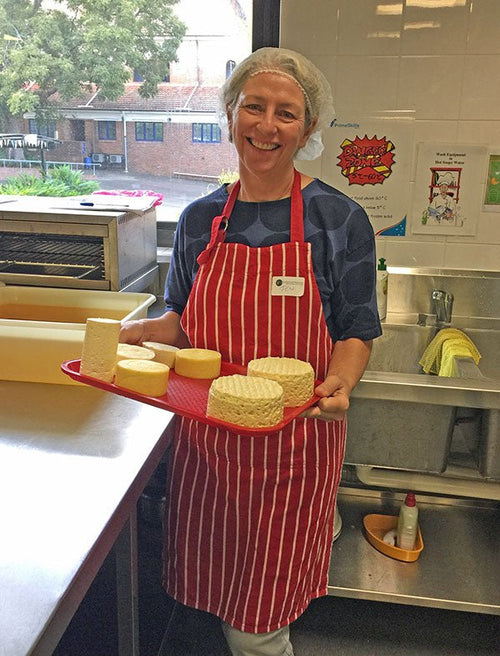
There is nothing quite like homemade cheese. Not only is it wonderful to eat, but there is such a sense of accomplishment when you take a knife to that wheel.
We enjoy Caerphilly on crackers but have also grated it for use in cooking. The longer it ages the sharper it becomes, so if you age it for 3 to 6 months, it makes incredible macaroni and cheese.
Cheese is easy and fun, and, when you are culturing your starters, an incredible survival skill set.


