


Ah! Fantastico!
Suzanne has done it again, (but this time we sort of think she cheated because this cheese is so easy-it can’t be called a challenge)! She’s going to have to make a really hard one next month to make up for this! (Suzanne’s article, below comes from her fabulous website “Chickens in the Road.”
Fresh Cheese, Please (Queso Fresco)
By Suzanne McMinn
Queso fresco (fresh cheese) is a light, mild Mexican cheese that isn’t technically a hard cheese, but is pressed, making the method similar. I’m highlighting queso fresco this month as part of my cheese challenge for New England Cheesemaking because, for the new cheesemaker, it’s an immediate gratification cheese. Queso fresco isn’t aged. It’s a chance to try out your cheese press–and eat the cheese right away.
Because the taste of queso fresco is so mild, it can easily be incorporated into any number of dishes. Mexican food is generally quite spicy, and used in Mexican recipes, it will pick up the flavors of the dish. It can be sliced, crumbled, or shredded. You can use it in enchiladas, pizzas, salads, and just about anything else you can conjure. You can make the cheese plain, or incorporate peppers, onions, garlic, herbs, etc, right into the curds before pressing.
It’s popularly sold in fresh Mexican markets, and in the U.S. you can find the gourmet brands selling for as much as $15/pound. Make your own! (Even if you have to buy the milk, that’s cheaper!)
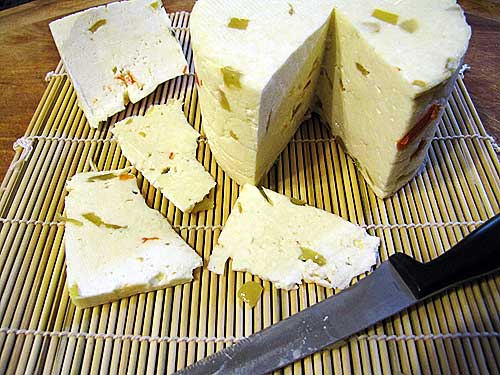
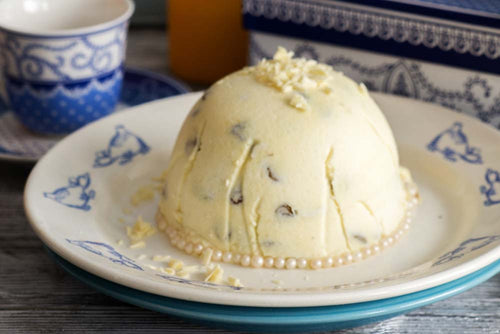
Queso fresco with peppers.

Pretty, isn’t it? You need this cheese in your life!
From pot to press, this cheese takes up a mere 1 1/2 hours of your time. Make it early in the day, and you’ll have cheese by dinnertime. Or make it in the evening before you go to bed and press overnight. (Press time is 6 hours.)
The following recipe is from Ricki Carroll’s Home Cheese Making.
How to make Queso Fresco:
2 gallons pasteurized whole milk*
1 packet direct-set mesophilic starter
1/4 teaspoon rennet diluted in 1/4 cup cool water
2 tablespoons cheese salt
*I use raw milk from my cow to make cheese. If you have trouble setting curds with pasteurized store-bought milk, add calcium chloride. Find out more about using calcium chloride here.
1. Heat the milk to 90-degrees F. Add the starter and mix thoroughly.
2. Add the diluted rennet and stir with an up-and-down motion for one minute.
3. Allow to set for 30-45 minutes, or until the curd gives a clean break.
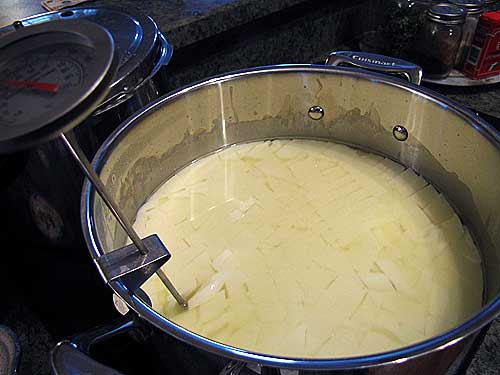
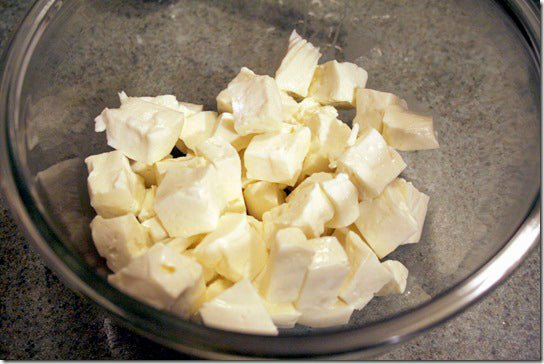
4. Cut the curd into 1/4-inch cubes.
5. Over the next 20 minutes, gradually increase the temperature to 95-degrees, stirring gently every few minutes to keep the curds from matting.
6. Let the curds set, undisturbed, for five minutes.
You’ll see a noticeable rise of whey in the pot at this point.

7. Drain off the whey.
I’ve tried any number of methods for pouring whey off curds still in the pot. It’s a difficult procedure. You don’t want to lose your curds, and with the lid barely cracked (to hold in curds), the whey comes out very slowly. I tried a fry splatter guard recently and it was the best method I’ve come up with yet! I just hold the splatter guard over the pot while pouring–the guard holds the curds in and lets the whey out much more quickly than when using a barely-cracked lid.

8. Add the salt and maintain the curds at 95-degrees for 30 minutes longer.
If you plan to add anything to the cheese (such as onions, peppers, herbs, etc), prepare your additives now. When adding peppers, I add anywhere from 1/2 cup to a cup. How much you put in is up to you.

I don’t usually add the salt right away, by the way. I wait till later in Step 8 (almost till time to put the curds in the mold) to add the salt, and I usually add a little bit more, like 2 1/2 tablespoons. Salt measurements in cheese recipes can be pretty conservative. Experiment to find out how much you like. It’s your cheese! If I’m adding onions, peppers, etc, I mix it in right before putting the curds in the mold.
9. Line a mold with cheesecloth and fill with the curds.

10. Press at 35 pounds of pressure for six hours.
Remove the cheese from the mold and store in a covered container in the refrigerator for up to two weeks.
Yield: Two pounds.
My experience: I’ve been making a lot of queso fresco lately, maybe as an impatient response to all the aged cheese I’ve been putting away. I need cheese. NOW. Queso fresco does the job with style. I love how quick and easy it is to make, and how versatile it is. You can slice it or shred it, just like a hard cheese. You don’t have to worry about incorporating peppers, herbs, etc, and keeping it away from the rind for fear it will introduce bacteria during aging. You can do whatever you want with it because you’re going to eat it right away. I’m wanting to try incorporating some fruit bits into it the next time I make it. That would make a great dessert cheese!

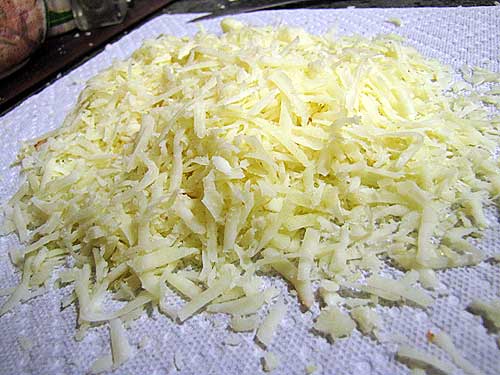
Queso fresco, shredded.
Enchiladas with queso fresco.

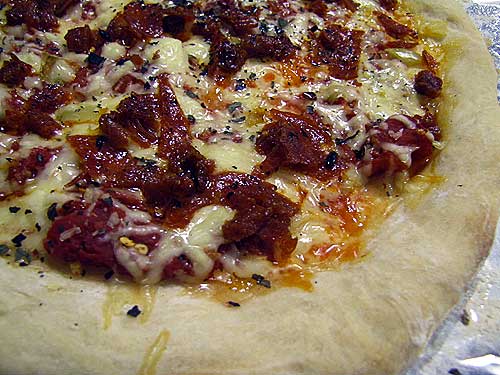
Pizza with queso freso.
If you’re ready to try your cheese press, but you don’t want to wait to try your cheese, this cheese is for you!


