 Our favorite witch stirs up a powerful pot of Feta!
I first interviewed Jayne in April, 2010, when she was just starting to make cheese. (Interview #4 with a New Cheese Maker) Then, in July, I posted her great article about Making Farmhouse Cheddar.
You can find more of her cheesemaking adventures at her popular blog called The Barefoot Kitchen Witch. I love her articles, so I asked if I could publish her Feta post, and, as usual, she agreed:
Making Feta
By Jayne Maker
August 31, 2010
http://www.barefootkitchenwitch.com/the_barefoot_kitchen_witc/2010/08/making-feta.html#more
At long last, after a summer-long painting-induced hiatus, I’m back to making cheese again. I missed it. I especially missed goat cheese.
Fortunately for me, I had close to 3 gallons of goats’ milk in the freezer from earlier trips to the Farmers’ Market this summer. I needed to get the milk out of there so I could organize all the soup stocks and bags of clams and conch before chaos took over, so the timing was perfect. I’d ordered direct set Chèvre and Mesophilic cultures from New England Cheesemaking Supply Company earlier in the week, and they had arrived within a couple of days, so this past Sunday was perfect for cheesemaking.
I figured I’d make a gallon’s worth of Chèvre and two gallons’ worth of Feta, so I divided the milk between pots to thaw and then pasteurize it. Why not do all that in one pot? Apart from the fact that I don’t have a pot big enough to hold 3 gallons of milk, I also figured the one gallon of milk would heat up first, and after holding it at 145F for half an hour, I could drop it down quickly to 86F, add the Chèvre culture, put the lid on and forget about it til the next morning. By then the milk for the Feta would (should) be ready to go.
And it pretty much worked out that way.
The only glitch was that one of the gallon jugs only contained somewhere between half and three quarters of a gallon – not a full gallon. So I figured I could just add whole milk to bring it up to a full gallon once I’d pasteurized the goat milk.
And that’s what I did.
So I’ll skip the heating of the milk and the cooling down of the milk part and the making of the Chèvre and start things off when the other 2 gallons of milk are at 86 F.
I added 2 packets of direct-set Mesophilic starter, stirred, and let the whole thing sit with the lid on for an hour – to ripen.
After an hour the milk temp was still at 86F, which is just where I wanted it. (I’m sure it helped that the air temp was hovering in the same vicinity.) Now it was time to add the rennet. One teaspoon of liquid rennet diluted in half a cup of cool water. I poured that in, stirred it gently “with an up-and-down motion” per the book’s instructions (Home Cheese Making), put the lid back on, and let it sit for another hour.
When I lifted the lid again, the curds looked set, so I checked them with the pointy end of my
thermometer to make sure.
Yep, the curd had gelled and held its shape when I moved the thermometer a bit. Time for the next step:
Cutting!
I cut the curd into roughly 1/2 inch cubes. I’m still getting the hang of that. But I did my best.
And then the lid went back on the pot and the little curd cubes rested for ten minutes. During this time the curds are setting and releasing some more whey. So don’t just think they’re lying around doing nothing!
They’re passively busy.
And, ten minutes later, it’s time to stir the curds. Gently.
You can see right there that some of the curds are bigger than half an inch. I sliced them down a bit more after I took the picture. No, really, I did.
See how they’ve started to shrink? They continue to release whey as the curds firm up. I get kind of fidgety during the stirring phase. I want to be doing other things at the same time, but I’m sort of glued to the pot. But – it’s pretty cool to see how the curds change over time. Cheesemaking is cool.
So. Now that the curds have been stirred for twenty minutes, what’s next?
Draining and straining!
First, I scooped out as much whey as I could.
Then I spooned and poured the curds into a
cheesecloth-lined colander to drain a bit.
And once the majority of the whey had drained through, I gathered the corners of the cheesecloth together, tied them around the handle of a wooden spoon, and hung the bag-o-curds from the top of a tall pot to continue draining.
For 4 hours.
And I took several pictures because I thought the whole thing looked kind of cool.
There really is beauty in everything.
But then, I guess that’s in the eye of the beholder.
Behold!
(Tomorrow the kids go back to school and I think I am giddy because of it. That’s my reason for all the wacky commentary in this post.)
Anyway, after 4 hours it was 9:15 at night and time to peel the cheesecloth away and slice the curd. So here we go….
I untied the cheesecloth, and made an interesting discovery.
The curd now had a kind of…rubbery plastic texture. It was shiny, and where some of the curd had seeped into the narrower areas of the cheesecloth – up where it gathered below the knots – it kept its somewhat ruffled shape. I don’t know how to describe it, but it’s unlike any other curd I’ve unwrapped. Interesting.
Terrible picture, I know, BUT, you can see how the curd is very shiny anywhere it wasn’t in direct contact with the cheesecloth. And the cresting wave appearance – that’s from where the curd had been trapped up near the knots.
I was mesmerized, I admit.
But finally, after taking a series of relatively horrible shots, I put the camera down and picked up a knife.
And then, well, curiosity overcame me, and so I broke off one of the thinner frilly bits and ate it.
First of all, it was pretty bland, which I expected.
But the surprising thing?
It squeaked! Really, really squeaked! Like gossipy mice! I know
fresh cheese curds are supposed to do that, but the thing is, a while back – like, some time in June, I think – I made fresh cheese curds to use in Poutine and, eventually, to write about. I followed a recipe I’d found online, and I made REALLY good french fries and gravy to go along with the whole thing…but the curds just didn’t seem squeaky. They were fresh, of course – I’d just made them. But they didn’t have that squeak.
These, however, most certainly did. I was tempted, at this point (and at 9:15 at night) to whip up some fries and gravy and give them a go…but no, my objective was Feta, and I had to stay the course. But it gave me something to think about for another day, perhaps when the weather cools down (it’s in the 90s again today -ugh).
But anyway, back to the Feta-making.
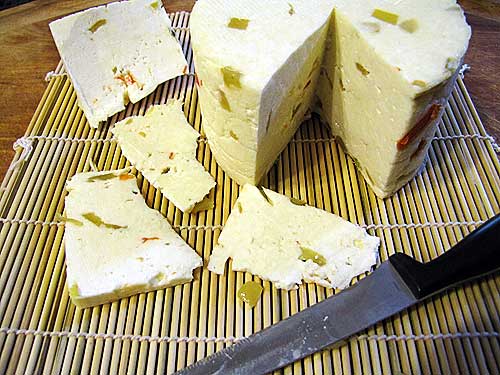
Time to slice.
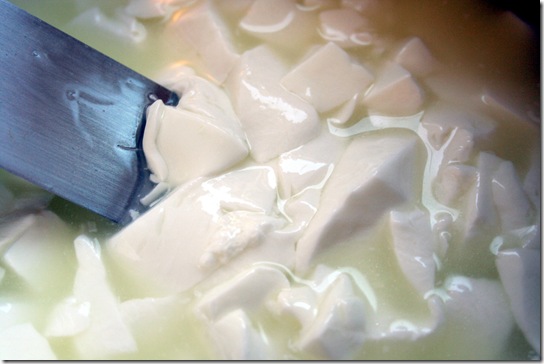
The recipe says to cut the curd into 1-inch cubes, so that’s what I did. First I sliced it length-wise…
Sorta looks like tofu, doesn’t it?
And then I sliced it lengthwise the other way, to form long strips.
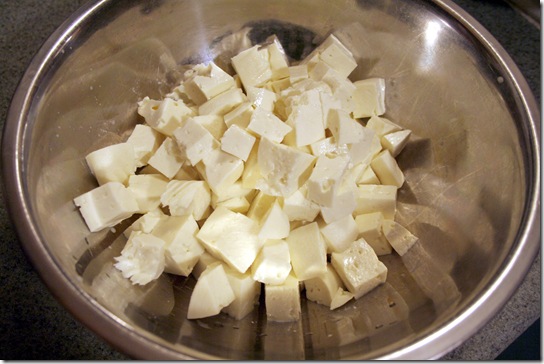
And, finally, I sliced the strips into cubes.
That was pretty easy.
They really remind me of tofu.
When my sister and I were little, my mother got interested in Chinese cooking. She bought a wok – which Bill and I have now – and started creating dishes with what was available at the time – things like LaChoy canned bean sprouts and water chestnuts…and those crunchy Chinese noodles – those were my favorite part of the meal back then. Mom would stir-fry broccoli florets (ugh!) and onion and thinly sliced carrot with the canned stuff…and strips of chicken or beef maybe, and then sometimes she would add cubes of wobbly, watery, anemic bean curd.
Ohhh, my sister and I thought that was the height of grossness. We’d say it tasted yucky, and mom would tell us “It has no taste!” And while I admit to telling my kids the same thing when necessary (why I would think they’re going to believe me is a mystery…I think it’s just some odd mothering reflex), it DID have a taste. Not an overpowering taste, like chicken livers (which, oddly enough, I LOVED), but just a very faint, vegetive (I know, it’s not a word), blah, ever-so-slightly metallic flavorless taste. If that makes any sense. So I rebelled against tofu for many years, until I was an adult, living on my own, and a (temporary) vegan. I went back to meat, but I also brought along a new appreciation for tofu. As long as it’s cooked.
But I digress.
Now, in the Feta recipe, you have two options at this point. You can either toss the curds with a few tablespoons of cheese salt (or Kosher salt), put them in a bowl in the fridge for 4-5 days, and then eat them or crumble them on salads or whatever…OR, for a stronger flavor, you can make a brine with salt and water and leave the curds in the brine in a bowl in the fridge for 30 days, and then eat them or crumble them on salads or whatever.
I couldn’t make up my mind, so I did both.
I divided the curds in half,
and I made a brine out of 1/3 cup of Kosher salt and half a gallon of water. (Note: We recommend adding 1 tsp.
calcium chloride to the brine.)
And to that, I added one half of the curds.
And then I moved them in to a different bowl (one that would fit better in the fridge), covered the mixture with plastic wrap, wrote on it with a Sharpie, and stuck it in the back of the fridge where no one will find it.
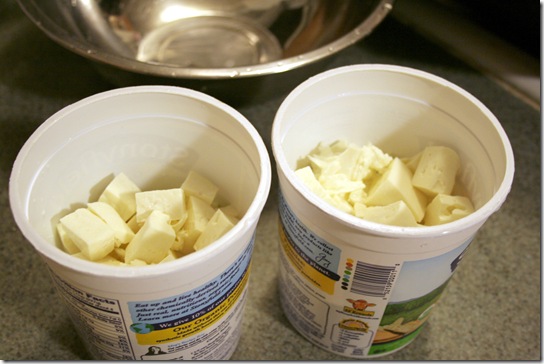
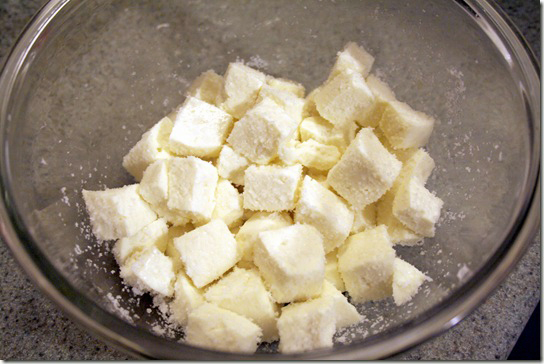
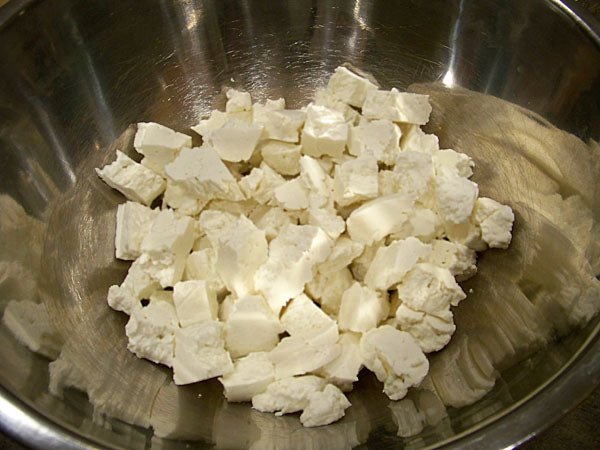
Then I poured the other half of the curds in a bowl,
sprinkled about 3 or so tablespoons of Kosher salt on them, tossed them a bit to distribute the salt,
and then poured them back into the quart-sized yogurt container I’d had them in, stuck a label on, and put the whole thing in the fridge as well.
And then I went to bed.


