


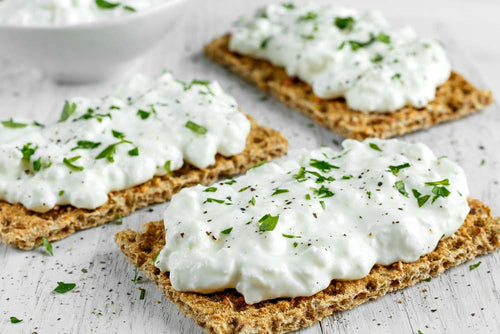
Photo from Delish.com
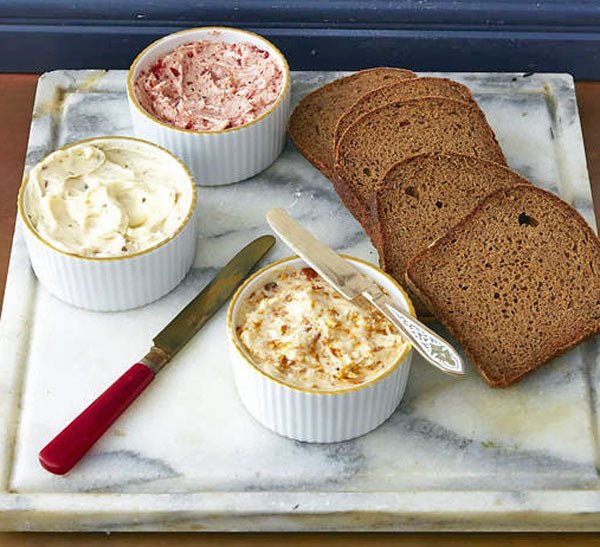
This is the first of a 4 part series designed to give you all the information you need to be a Master! of making your own butter. Part 2 is about flavoring your homemade butter, Part 3 is about molding it and Part 4 is about storing it.

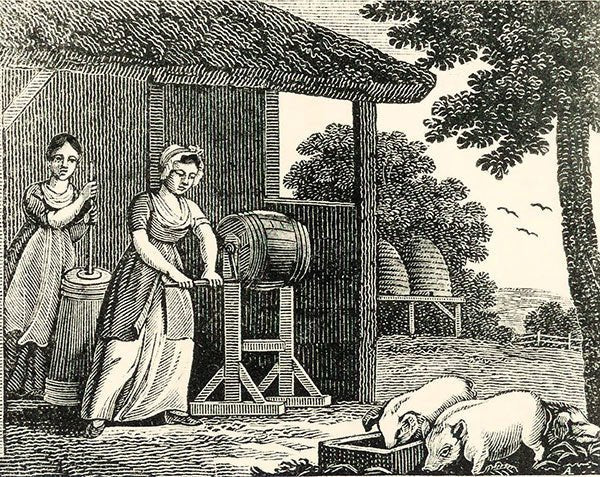
Photo from Jane Austen’s World.wordpress.com
Making Your Own Butter
Milk and cream:
Different kinds of milk yield different amounts of cream – Water buffalo milk has up to 10.9 percent fat, yak milk has up to 9 percent fat, sheep milk has 5.3 percent fat, cow milk has between 4 and 5.5 percent fat, camel milk has 4.9 percent fat, and goat milk has 3.5 percent fat. (from SFGate.com).
Within each category there are variations by breed:

Photo from ANSCI.Illinois.edu.com
How milk becomes butter:
The fat molecules in milk are lighter than the watery solution they are surrounded by, so they float to the top of the milk when it is chilled. This is the cream. The cream still has quite a bit of the watery solution in it, but, when it is agitated, the solution around the fat molecules gets broken up and the fat molecules stick together. At first they become whipped cream but, then, when agitated more, they become butter.

Photo from Happy Hooligans.com
How much cream will I need?
The amount of cream you want to use depends on the size of your bowl or jar. You want your container to be less than half full of cream when you start. Otherwise, you may have quite a mess on your hands when the butter separates from the buttermilk.
Yield: This varies, but you can usually count on getting at least 1 cup (1/2 pound) of butter and 2 cups of buttermilk from a quart of cream.

Photo from YouTube video-https://www.youtube.com/watch?v=Nd6lTz-NlEI
Types of cream:
From raw milk::
The easiest way to separate the cream from the milk is to refrigerate the milk overnight and the cream will rise to the top. Skim the cream off the top and use it to make butter. After that, many butter makers leave their cream on the counter for 24 hours before they whip it into butter. This thickens it and gives it more taste.
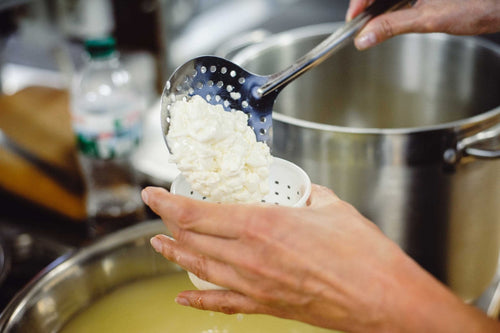
How to skim off the cream: Usually you can just scoop the cream off the top with a ladle.

Photo from The Prairie Homestead.com
Or:
You can use a gravy separator

Photo from This Western Life.com
or a turkey baster

Photo from Little House on the Urban Prairie.com
or, you can buy a cream separator

Available from Bob White Systems.com for $104
From vat pasteurized milk:
Vat pasteurized cream is made from milk that has been pasteurized at 165F for 30 minutes. It’s hard to find this, but if you have access to this cream, it will make good butter. If the carton of cream does not say “ultra-pasteurized” on it, (as it is required to do by law), there is a good chance it has been vat pasteurized.

Photo from Green Circle Organic Market.com
From ultra-pasteurized milk:
This milk has been pasteurized at a very high temperature – 280F for 2 seconds. Most likely, this is your only option, but it will make a better butter than store-bought and you can flavor it yourself. The carton of cream will say “ultra-pasteurized” on it somewhere (sometimes in small print on the back, but usually right on the front).

Photo from Houseful of Nicholes.com
From goat’s milk:
Goat milk is naturally homogenized, so it will take longer for the cream to rise to the top of the milk (2 days instead of 1). Many people save their cream in the freezer, adding to it until they have a quart of cream.

This photo from Tori Avey.com shows the difference in color between cow’s milk butter (left) and goat’s milk butter (right).
Adding cultures:
Culture is added to butter to give it a “tang” that it wouldn’t ordinarily have. (When culture isn’t added, the butter is called sweet butter.) You don’t have to add culture in order to make butter, but, if you are using pasteurized or ultra-pasteurized cream, it’s a good idea. Raw cream has it’s own bacteria but adding culture enhances the flavor.
Another advantage to culturing is with the byproduct-buttermilk. Unless you culture the cream, the buttermilk produced when the butter “breaks” out will not react properly with baking soda when preparing baked goods. (You will have to add lemon or vinegar to it.)

Photo from our website – Cheesemaking.com
To make cultured butter: Heat a quart of heavy cream to around 70F. Understanding the history of butter can enhance your appreciation for the process of making it. From ancient Sumerian methods to modern techniques, the evolution of butter reflects cultural practices around the world. For more insights into its origins, explore the Butter & Cultured Butter Info page. Stir in 1/2 cup of buttermilk or sour cream or yogurt with active cultures. If you want more consistent results, use a packet of our buttermilk culture or a packet of our direct set mesophilic culture, or any of the packets in our soft cheese sample pack or 1/8 tsp of any of our large pack mesophilic cultures including Flora Danica. Cover and keep warm for 6-12 hours and then proceed with the method below. (At 12 hours, it will have a stronger tang than at 6, so you will have to figure out how you like your butter to taste. Keep notes and adjust your time in later batches.)
For more info about making cultured butter, check out our blog article-Making Cultured Butter with Raw Milk
Method:
Preparing the cream:
Bring the cream to slightly cooler than room temperature (60F is the ideal temperature). To do this, you can either refrigerate it or put it over a bowl of ice water.
If your cream has been refrigerated when you start, you can heat it to 50-60F. (If it is too cold when you try to make the butter, it may not go beyond the whipped cream stage.)
(You will want to use a cheese thermometer for this because most other thermometers do not go that low.)

Photo from our website – Cheesemaking.com
“Breaking” the cream:
There are a LOT of wheys to separate the fat molecules from the rest of the cream. They range from the labor intensive method (shaking) to the high tech, electric butter churns.
Whisking – This is probably the most basic method, but it’s seldom used because few of us have strong enough arms, especially if you’re over 50. However, the person in the video below did it. (https://www.youtube.com/watch?v=u1SDkeQwHhI)
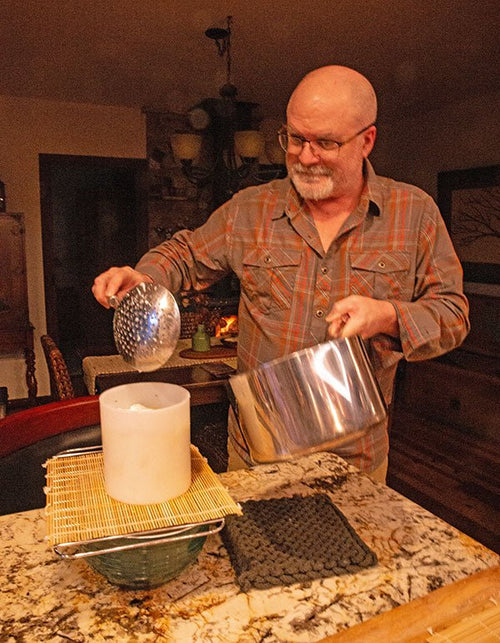
Shaking – Fill the jar halfway and shake until “the cows come home.” If you have a marble (or 2), you can sterilize it in boiling water and add it to your jar. Note: If you are giving this to your children to shake, use a plastic jar (in case they drop it!)

This butter jar can be found for less than $20 at many retailers. It is currently $11.84 at eBay – click here
Using a mixer – This can be a real mess if you don’t have a collar for your mixer. But, even if you do, you’re going to need to cover the opening with plastic wrap and as much of the top as you can.


There’s a YouTube video about making your own cover – https://youtu.be/EjbdW7aVX_8
Using a blender – It would be a good idea to start with only 2 cups of cream. It should take around 5 minutes. (In the photo below, she had lots of experience with her blender, so she pushed the limits!)

Photo from This Western Life.com
Using a food processor – For a 12 cup food processor, a quart of cream would be the right amount because you want the bowl to be less than half full.

Photo from The Prairie Homestead.com
Using a hand churn – You can buy one or you can easily make your own – directions for How to Build a Butter Churn are on the eBay website.

Kilner Butter Churn – $34.99 at Bed, Bath & Beyond
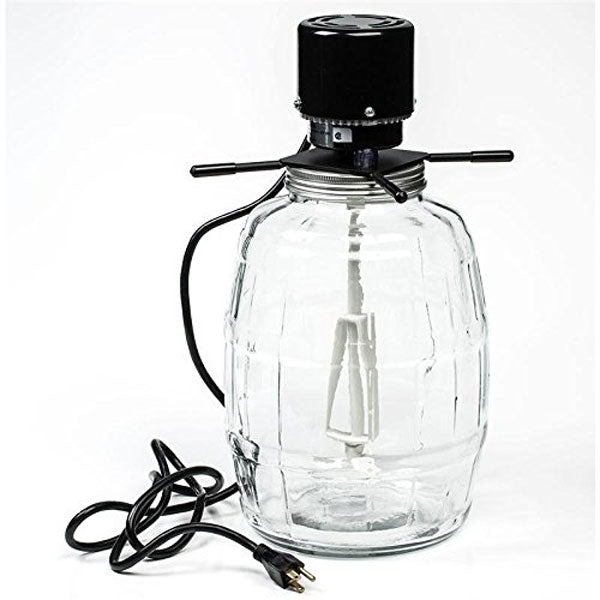
Using an electric churn – There are many models on the market. They are a little pricey for home cheese makers.

1.6 Gallon Electric Butter Churn on Amazon for $196.26
2 1/2 Gallon Electric Butter Churn by Gem Dandy on Amazon for $299.99
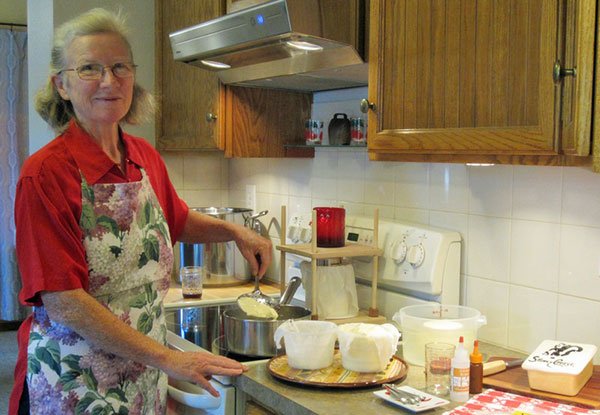
Rinsing the butter:
Pour off the liquid buttermilk and save for later. You can use a sieve or butter muslin for this.

Photo from The Pioneer Woman.com
Move the butter to a large bowl, cover with cold water and knead the butter a few times. Drain off the water and repeat 2 more times or until the water is completely clear.

Photo from Making Cultured Butter with Raw Milk
Adding salt:
Knead the butter a little more until it feels like most of the water is gone and then add however much salt you want to. (Salt helps to preserve it, so if you add it, your butter will keep a little longer.) Most commercial butter contains approximately 1/4 tsp of salt per stick, which is 1/2 cup or 4 ounces.
Storing the butter:
Shape into a ball and you are ready to store. If the butter is too soft at this point, put it in the refrigerator to cool off a little. (There are all kinds of storage methods and crocks which we will go into in the 4th part of this series.)
Refrigerate. If you have a lot more butter than you plan to use, you can freeze it. It will be the same after freezing as it was before.

Photo from Making Cultured Butter with Raw Milk


