


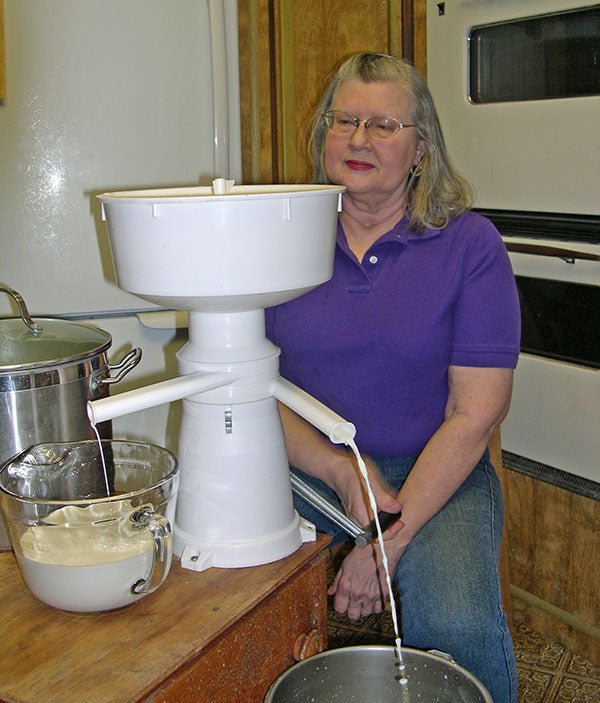
This is the last in a 4 part series about butter – Making It (1), Flavoring It (2), and Molding It (3).

Storing Butter
Homemade butter generally doesn’t keep as long as store bought at room temperature, because, without preservatives it is more vulnerable to ambient bacteria in the air (particularly if it is unsalted). However, once you’ve made your butter, you can leave it on the counter for a few days. If your home is cool enough, you can just cover it in a butter dish.

Beautiful ceramic butter dish by Natalya Sots

Pewter Cow Butter Dish available at Houzz

Many antique butter dishes (and some new ones) are round, like this one from Brys Antiques
It would be a shame to have your beautiful flavored butter go bad, so there are better options:
Freeze It
Freezing butter is a good choice because it won’t change the texture. The taste may diminish slightly, but generally speaking, your butter will keep well in the freezer for up to 6 months. Wrap it closely or vacuum seal it.

Photo from How to Store Butter at wikiHow
Use a Butter Bell
A butter bell (sometimes called a butter crock or a butter keeper) will prevent both air and light from spoiling your butter. It will keep your butter fresh (on the counter) for up to 30 days because it creates an airtight seal for your butter.

Photo from The Prepared Pantry which sells a small butter bell for $10.98
To use a butter bell, simply:
- Fill the lid with butter, being sure to press out any air bubbles.
- Fill the crock half full with water.
- Turn the lid over and put it into the crock of water. The butter will not get wet. It is now sealed.

This photo is from a short YouTube video – How to Use a Butter Bell
Butter bells can be quite beautiful:

Orders taken at Rising Sun Earthworks

French Butter Keeper with Rainbow Stripes available on Etsy

Purple Thistle Butter Crock sold at Moonfire Pottery

Polish Pottery Butter Keepers for sale at Renditions
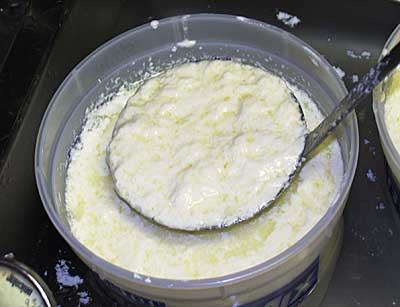
Make Ghee
Ghee is clarified butter which has had the milk solids and water cooked out of it. As such, it is lactose free.
It’s widely used in warm climates and it is being used increasingly by chefs in the US. When heated, it imparts a nutty, buttery flavor, more intense than that of butter.

Photo from Wikimedia Commons
There are many YouTube videos demonstrating how to make it to make ghee.

From YouTube video- How to Make Ghee
Slowly heat the butter until it is melted (but not brown). Turn the heat down and let it bubble until the milk solids have settled on the bottom of the pot and the foam has risen to the top. Then, strain the butter through butter muslin or doubled up cheese cloth.

From YouTube video- How to Make Homemade Ghee
You can then store it at room temperature, if you wish, or keep it refrigerated.
It is often used in paleo recipes as a substitute for coconut oil. Here’s one of several suggestions in a Bon Appetit article – Why Chefs Are Cooking With Ghee and You Should Too:
 Roasted Veg with Nutritional Yeast from Bon Appetit
Ingredients:
2 small heads of broccoli, cut into florets with some stalk attached
2 tablespoons coconut oil or ghee
Kosher salt, freshly ground pepper
2 tablespoons nutritional yeast
Directions:
Preheat oven to 425°. Toss vegetables with oil on a rimmed baking sheet to coat; season with salt and pepper. Roast until deep golden brown and tender, 20–25 minutes. Let cool slightly, then toss with nutritional yeast.
Do Ahead: Veggies can be made 5 days ahead. Cover and chill.


