


Making cheese is one of his MANY accomplishments!
 |
| Erik Diemer |
A couple of months ago, we received this note:
Hi,
My name is Erik, I am 15. My mom owns Kitchen Chemistry in Stroudsburg Pennsylvania and we sell your cheese making supplies!
I have to tell you how much fun it is to tell customers that THEY can make cheese! Every other week we have a demonstration showing how to make Mozzarella and its always a full class!
I myself have ventured into aged cheeses and it is just as fun and impressive! And it’s fun to know that your company and my family’s company is responsible for the cheese makers of Stroudsburg!
Thank you!
Erik Diemer/ DJ E-RoK
 |
| DJ – E-ROK |
After further inquiry, we learned that Erik has his own very cool website – Planet Erok. There are separate pages about each of his hobbies – bee keeping, photography, DJing, buying and selling coins, duct tape art and, of course, cheese making.

His mother, Lisa owns a “cupcakery,” where she makes and sells cupcakes and all kinds of kitchen supplies.
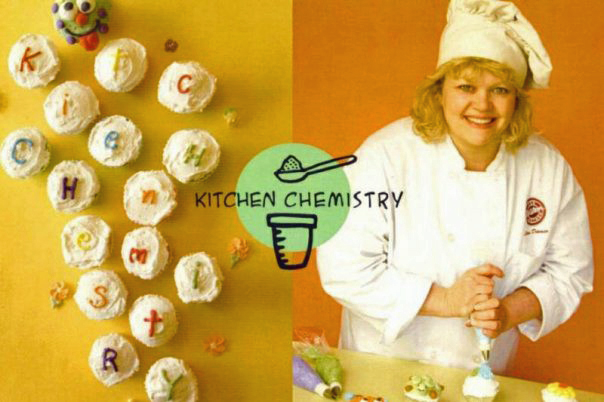 |
| Lisa Diemer |
 |
| How far away is Stroudsburg?! |
 |
| Cheese making section |
 |
| Don’t you think our kits are pretty darned cute! |
What do you teach?
We have many classes at Kitchen Chemistry, classes about cake
decorating, soap making, chocolate and candy making, and classes about
how to make lip balms! Exedra! Every other week we have a free demo
about one of two different cheeses, 30 Minute Mozzarella and my 20 Minute Farmer’s Cheese.*
 |
| The curd from the Farmer’s cheese (what it looks like after Erik adds the water). |
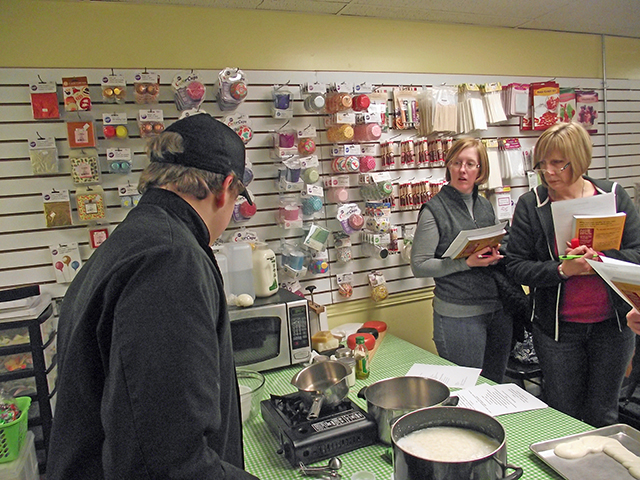 |
| Explaining the reaction of adding the water |
 |
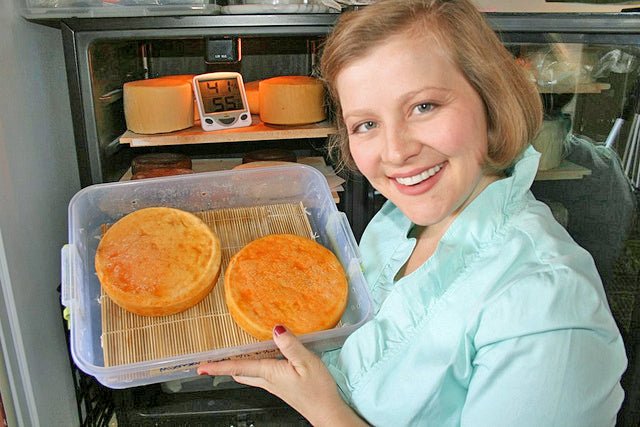
| This is a display showing what the Farmer’s cheese will look like before and after it’s waxed. |
 |
| Explaining future steps and answering a few questions. |

 |
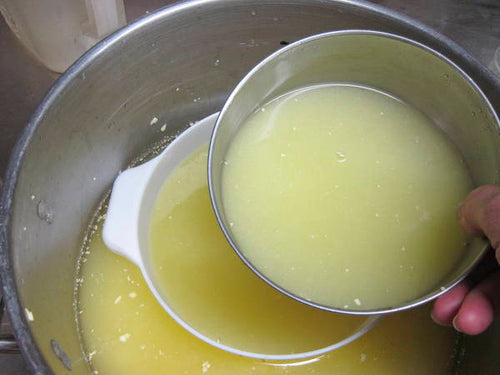
| This is a close up of the curds and whey from the Farmer’s cheese. |
 |
| Everyone looking closely at the milk, mere seconds before the reaction. |
 |
| Stirring the curds, letting them firm up before he scoops them into the basket. |
 |
| Letting the whey drain from the curd in the basket. |
 |
| Flipping the cheese so it looks symmetrical when it’s waxed |
Erik got started because his mother, Lisa, began teaching cheese making
classes in her store (along with everything related to the kitchen)
over a year ago. Erik took the pictures at first, but as he became more
experienced with making cheese, he began teaching the classes.
They use some “unorthadox” methods, like silicone muffin molds and chocolate molds for setting the
cheese. (Erik pointed out that they don’t need to use the non-stick stuff because the whey takes care of that.) They also fill the Mozzarella balls with pepperoni, herbs, spices, and/or seasonings.
What kind of cheese are you making?
I usually work on one cheese at a time and try to get it down pat. I
will pick a cheese, find 4 or 5 recipes for it and make each of them,
then I will take notes and then move on to the next kind of cheese. So
far I have made Colby, Monterey Jack, Cheddar (a few different
variations), Farmer’s Cheese (both fresh and aged), Cream Cheese, Mozzarella, and with all the failed recipe attempts and whey … lots of Ricotta!
 |
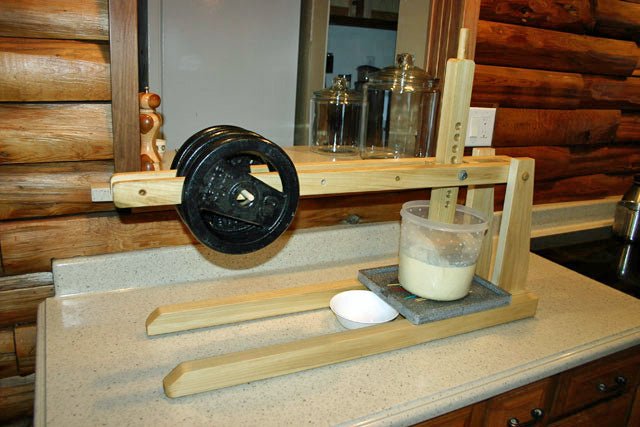
| Erik’s press |
 |
| Wax pot |
 |
| Dipping a Colby |
 |
| The numbers tell him when to flip the cheeses while they’re aging. |


 |
| Some of Erik’s finished cheeses |
What are your goals?
I am
going to teach my mom how to use the camera and she will take pictures!
My goal for cheese making is to be a relaxing fun hobby that I do on
the weekends. Since I am a beekeeper, I would like to get into the art
of making mead (honey wine) so I can pair my homemade cheese with my
homemade mead! I would like to teach classes on cheese making more often
and maybe take some classes in college!
* Erik’s 20 Minute Farmer’s Cheese
By Erik Diemer (modified to be more “fool proof” from a recipe in Home Made Cheese by Janet Hurst)
This cheese can be eaten fresh or aged up to a year.
3 quarts of whole or raw cow’s milk
1 quart boiling water
1 packet mesophilic culture
1/2 teaspoon liquid rennet dissolved in ½ cup non-chlorinated water
1/4 teaspoon calcium chloride
Heat milk to 100F.
Add calcium chloride, stir and wait 30 seconds.
Add mesophilic culture, wait 1 minute and then stir.
Add rennet, and stir immediately.
Wait 30 seconds and then quickly add boiling water. You should see the curd floating in the whey.
Note: when you are adding water, do not gently pour it in! It needs to be a quick reaction with the milk!
Let curd sit for 2 minutes, then ladle the curds into a basket.
With your hands, press out some whey.
Then, flip the curd over so the latchings are on both sides of the cheese.
The cheese can be eaten now!
If you would like to age your cheese, let the curd firm up over night.
Then flip the cheese onto a dry plate or cheese board, then salt the top of the cheese.
After
6 hours or so, flip the cheese onto a CLEAN, dry plate or cheese board.
Then salt the top again. Repeat this process until the cheese is dry to
the touch.
At this point the cheese can be waxed and stored in a cool dry place and aged up to a year.
 |
| Milk in the fridge |
 |
| Culture and rennet |
 |
| Milk on the stove |
 |
| Curds in the basket |
 |
| May be served fresh or aged one year |


