


 |
| Tammy Kimbler |
One Tomato, Two Tomato Equals One Great Blog!
Tammy Kimbler works as an executive producer at a film studio, by day and, by night, she’s an indomitable food blogger. She grew up in California, and she moved to Minneapolis, Minnesota 11 years ago.
When she relocated to the colder climate, her gardening became something of a challenge (to say the least). However, she kept right on growing her own food – canning it, pickling it, fermenting it, drying it and even cooking it.
Her website, One Tomato, Two Tomato, has all kinds of great recipes, including: Tahini From Scratch, Spicy Ginger Mustard Pickles, and Salsa Por Mis Amigos. Her wonderful photography brings out the tastes and smells of her recipes and the result is nothing less than “mouthwatering.”
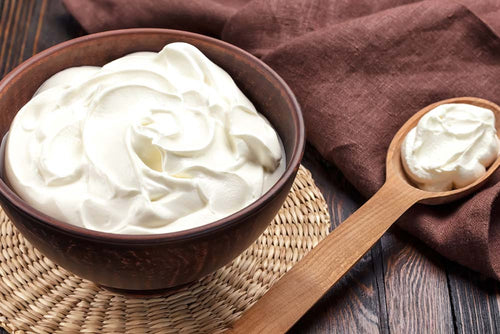
She’s a cheese maker, of course, and she has posted articles about Greek Yogurt and Homemade Kefir and Pancakes. (Apparently, using kefir instead of buttermilk makes a fantastic whole wheat pancake!)
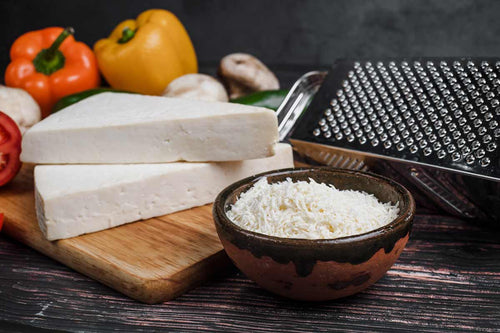
Recently, she made feta and was kind enough to share it with us. (Thanks, Tammy!)

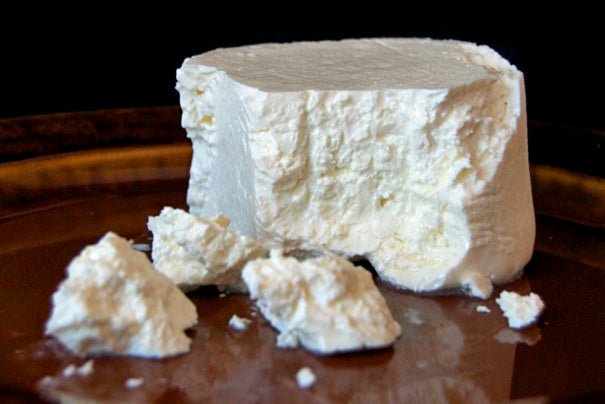
Cow Milk Feta
By Tammy Kimbler at One Tomato, Two Tomato
I’d like to say that feta is my favorite cheese, but that would be a lie. I love cheese, all of it, so I’d be hard pressed to pick a favorite. But feta is one of my favorites to make at home because it is so easy. Most folks think you have to make feta from goat or sheep’s milk, but that’s just nonsense. Cow’s milk can be turned into a lovely feta, you just need a little something called lipase powder to pull it off. Goat’s milk contains this enzyme naturally, giving goat cheese that lovely piquant pucker. But you can purchase lipase in powdered form wherever you get your cheese making supplies. When added to cow’s milk, you get a mild, but pleasantly tangy feta. Extra fresh, local and/or organic milk will also add depth and flavor to any cheese you make.
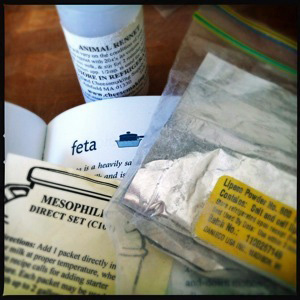
This recipe is based on the feta found in homemade cheese guru Ricki Carroll’s book, Home Cheese Making. I’ve altered the recipe for cow’s milk and also added a pressing step which I think makes a firmer feta, particularly from store-bought milk. My supplies and equipment came from Carroll’s online supply and resource site New England Cheesemaking Supply, which I can not recommend highly enough. Get on their e-newsletter list, it’s fantastic. I bought my French calf’s rennet and my giant curd knife from Hoegger Supply Company, which carries a fantastic selection of goat raising, homesteading, dairying and cheese making supplies, including many European cultures and products.

Making cheese is not complicated but there are some techniques that you need to understand, like sterilizing tools, inoculating and ripening milk and making and cutting curds. If you’d like to read common FAQs and see a great step by step walk through of all the basics, check out the cheesemaking.com beginning cheese making page. Better and more experienced people than I have made the process very simple.

Cow Milk Feta Cheese
1 gal whole cow milk (Use the freshest local and/or organic. Do not use ultra pasteurized, it won’t work.)
1/2 tsp lipase powder, diluted in 1/4 c water for 20 minutes
1 package direct-set mesophilic starter
1/2 tsp liquid rennet, diluted in 1/4 c cool water
1/8 tsp calcium chloride, diluted in 1/4 c water (makes store-bought milk set firm curd)
2-4 tbs salt or
1/3 c kosher salt
1/2 gal water
In a non-reactive pot, add milk, lipase and calcium chloride. Heat the milk to 86 degrees. Add the starter and calcium chloride and stir. Cover and let rest for 1 hour. To keep the milk at temperature, fill a sink full of 86 degree water and place your covered pot in the sink. It will take longer for that much water to cool. Add warm water to sink as needed. It’s handy to leave a thermometer in the milk during this time to check temp.
Stir the milk and slowly add the diluted rennet, stirring up and down to distribute the rennet evenly, as well as to incorporate the cream layer throughout the milk if you are using non-homogenized milk. Cover again and let the milk set for 1 hour. Check for clean break in the curd (see beginning cheese making info). Let milk sit a bit longer if clean break is not quite there.
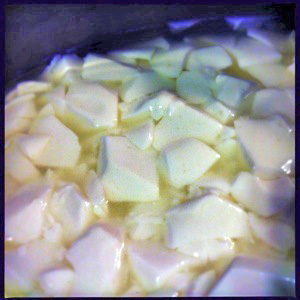
At this point, your whole pot of milk will be one solid, soft cheese curd, kind of at a soft baked custard consistency. Cut the curd into half inch cubes (again, see cheese making basics). Let the freshly cut curds rest for 10 minutes. This cutting will allow the curds to begin losing whey, shrinking as they go. Hard cheeses like parmesan have very small, dry curds. Softer cheeses like feta have bigger, wetter curds.
With a large spoon, gently stir the pot of curds. You do not want the curds to break. Do this slowly for 30 minutes.

Line a colander with two layers of cheese cloth. Ladle the curds into the cheese cloth, allowing the whey to drain. Whey is a great, high protein base stock for soup, so save it you wish. Tie up the cheese cloth into a bag and hang to drain for 4 hours.

At this point there are a couple ways to proceed. You can either cut the curd into 1 inch cubes, sprinkle them with a couple tablespoons of salt and refrigerate them for a week to age.

Or you can form your cheese into a round using a cheese press, then place it in a brine. I think this makes a finer product that lasts longer, and is closer to the commercial variety. To press the cheese, I untie the bag of curds, then place the bag into my cheese mold, folding the extra cheese cloth back over the top of the cheese. Then I apply about 15 lbs of pressure to the cheese over night, which allows more whey to drain from the cheese. If you don’t have a press, you can place your bag of curds on a rack, cover with a plate, then set a heavy weight on top, like a gallon milk jug filled with water (8 lbs). You won’t have the prettiest cheese, but you crumble feta anyway and it won’t change the flavor.

Once pressed, combine the 1/3c salt and 1/2 gallon of water to make a brine. Unwrap the cheese and place it in the brine for about a week. It takes awhile for the brine to penetrate all the way to the center, but the outside inch or so should be ready in a week. The cheese can store in the brine for a month or longer, moving inside at about 1 inch a week. The longer it sits in the brine, the stronger the flavor, which I love.


