 |
| Sarah Kelman |
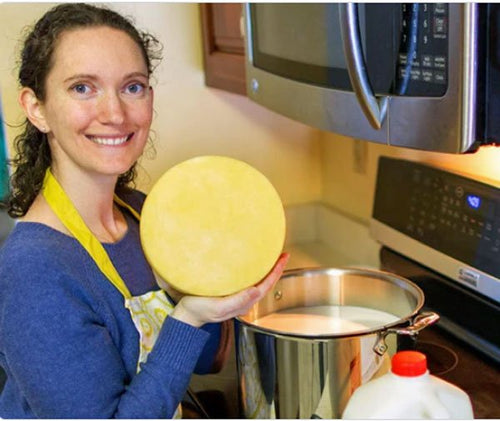
She’s the mother of a 2 year old, but she’s finding the time to make cheese, take pictures and write about it!
Sarah Kelman is one of 4 contributors to an interesting blog called Gnomicon. (Don’t even ask what a Gnomicon is- after much research, I have determined that it has something to do with a computer game, but you have to be young and cool to understand it!)
Speaking about being cool, in 2011, Sarah and her co-blogger, Rebecca, decided to make one cheese every month from our Home Dairy Kit. I asked her how that came about:
I have long harbored a fantasy of becoming an artisanal cheesemaker.
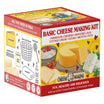
In 2010, I read Animal, Vegetable, Miracle: A Year of Food Life by Barbara Kingsolver in which she describes attending a cheesemaking class with Ricki Carroll. For Hanukkah/Christmas/Solstice/Kwanzaa/New Year 2010, co-blogger Rebecca (my sister-in-law who lives across the continent in Richmond, Virginia) gave me Ricki’s Gourmet Home Dairy Kit. The description of said kit states:
This kit is for novice cheesemakers and success is guaranteed!! With it, you will be able to make 12 varieties of soft fresh cheeses and other dairy treats.
How many did you say? Was that 12? Like the perfect number if you were planning to make one every month? How very convenient. Dairy Product of the Month didn’t have quite the right ring.
After much brain storming, we settled on Au Lait du Mois. Co-blogger Rebecca joined me in making all twelve fresh cheese and dairy treats from the Gourmet Home Dairy Kit and posting about our experiences each month on our blog.
This year we’re embarking on mozzarella. We hope to graduate to aged cheeses in 2013.
March’s Au Lait du Mois: Panir (Paneer)
By Sarah Kelman at Gnomicon
Yes, yes, I know it’s April (2011). But I started the panir . . . O.K. I didn’t even start the panir until April 1st. But I thought about it and bought all the ingredients in March. So it still counts as March’s Au Lait du Mois.
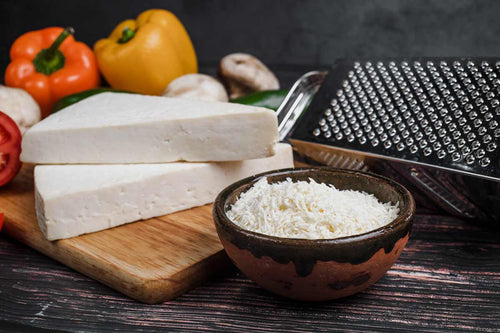
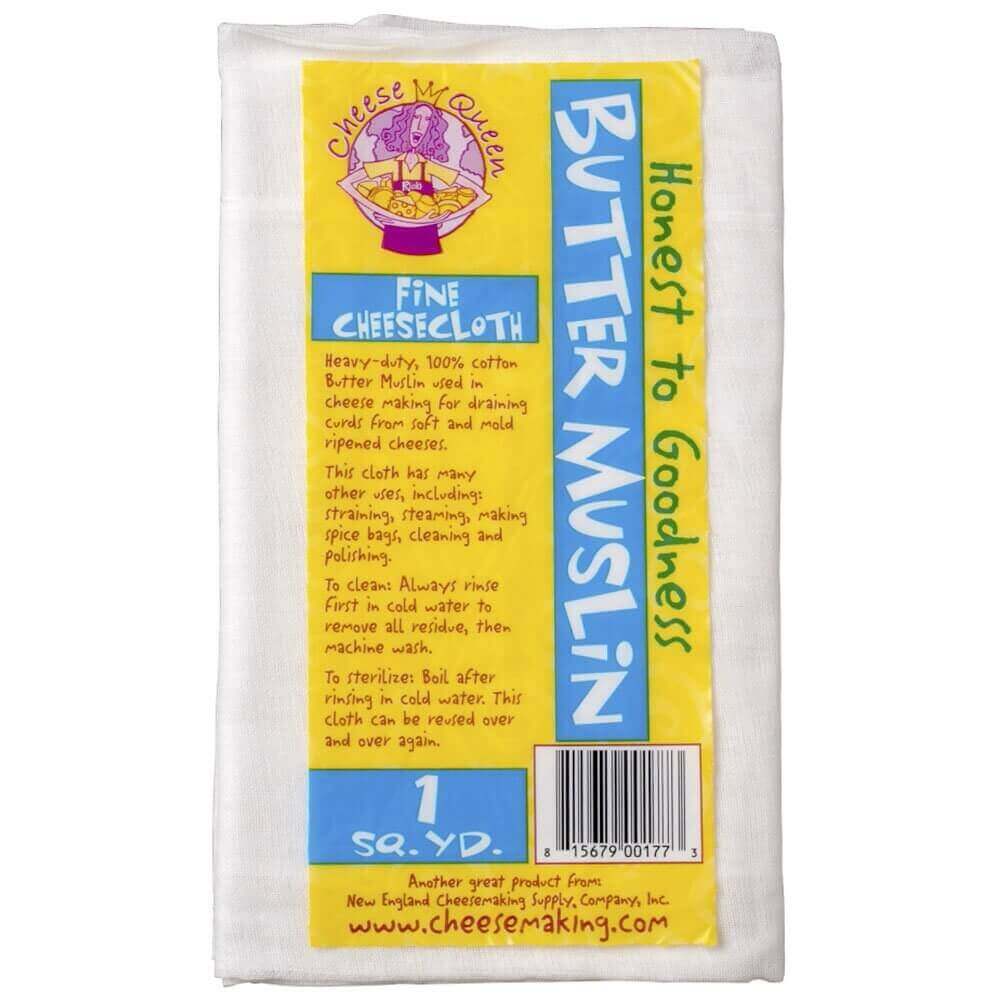
Panir is super easy and requires no esoteric cheese making supplies (if you substitute any clean, smooth cloth for the butter muslin, which you could if you were butter muslin-less). So, if you’re contemplating the idea of cheese but you don’t want to make any investment, start with panir. I don’t even think you need a thermometer considering both Rebecca and I didn’t follow the temperature guidelines in the recipe and still had successful panir. Just wait until the curds really start separating from the whey and glomming together and you’re ready for the next step.
I didn’t use raw milk this time. Instead I used organic creamline milk, which has been pasteurized but not homogenized. I picked up half a gallon at Trader Joe’s.
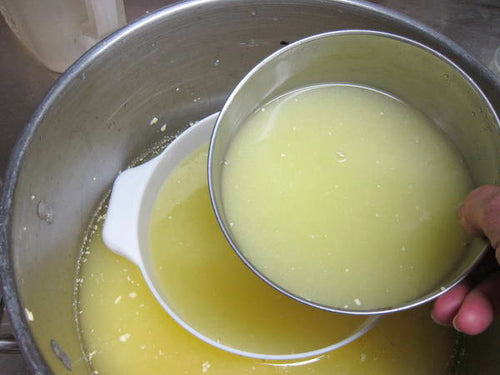
I tried the whey lemonade as suggested in the booklet from the Gourmet Home Dairy Kit. Maybe if I had clearer whey it would have been more “refreshing.” As it was, there was sort of a creamy background to the whey lemonade that did not really appeal to me. But it’s certainly worth a try.
I made the curried panir potato rounds following the recipe in Home Cheese Making: Recipes for 75 Delicious Cheeses by Ricki Carroll. An almost identical recipe appears in the booklet that comes with the Gourmet Home Dairy Kit. I made a smaller spice-free version for the wee bairn. She dug ’em. She also dug the panir straight. I served the curried panir potato rounds with Thai Yellow Curry Sauce from Trader Joe’s as a dip. They were a big hit.
The directions for panir in Home Cheese Making: Recipes for 75 Delicious Cheeses by Ricki Carroll are pretty different from the directions in the booklet that comes with the Gourmet Home Dairy Kit. Not sure which one was published first. I followed the pamphlet’s directions, so that’s what I adapted below.
Panir adapted from Ricki Carroll’s Gourmet Home Dairy Kit
Ingredients:
1/2 gal. milk
juice from 2 lemons
salt to taste
Implements:
3 qt. pot with lid
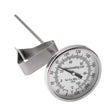
dairy thermometer
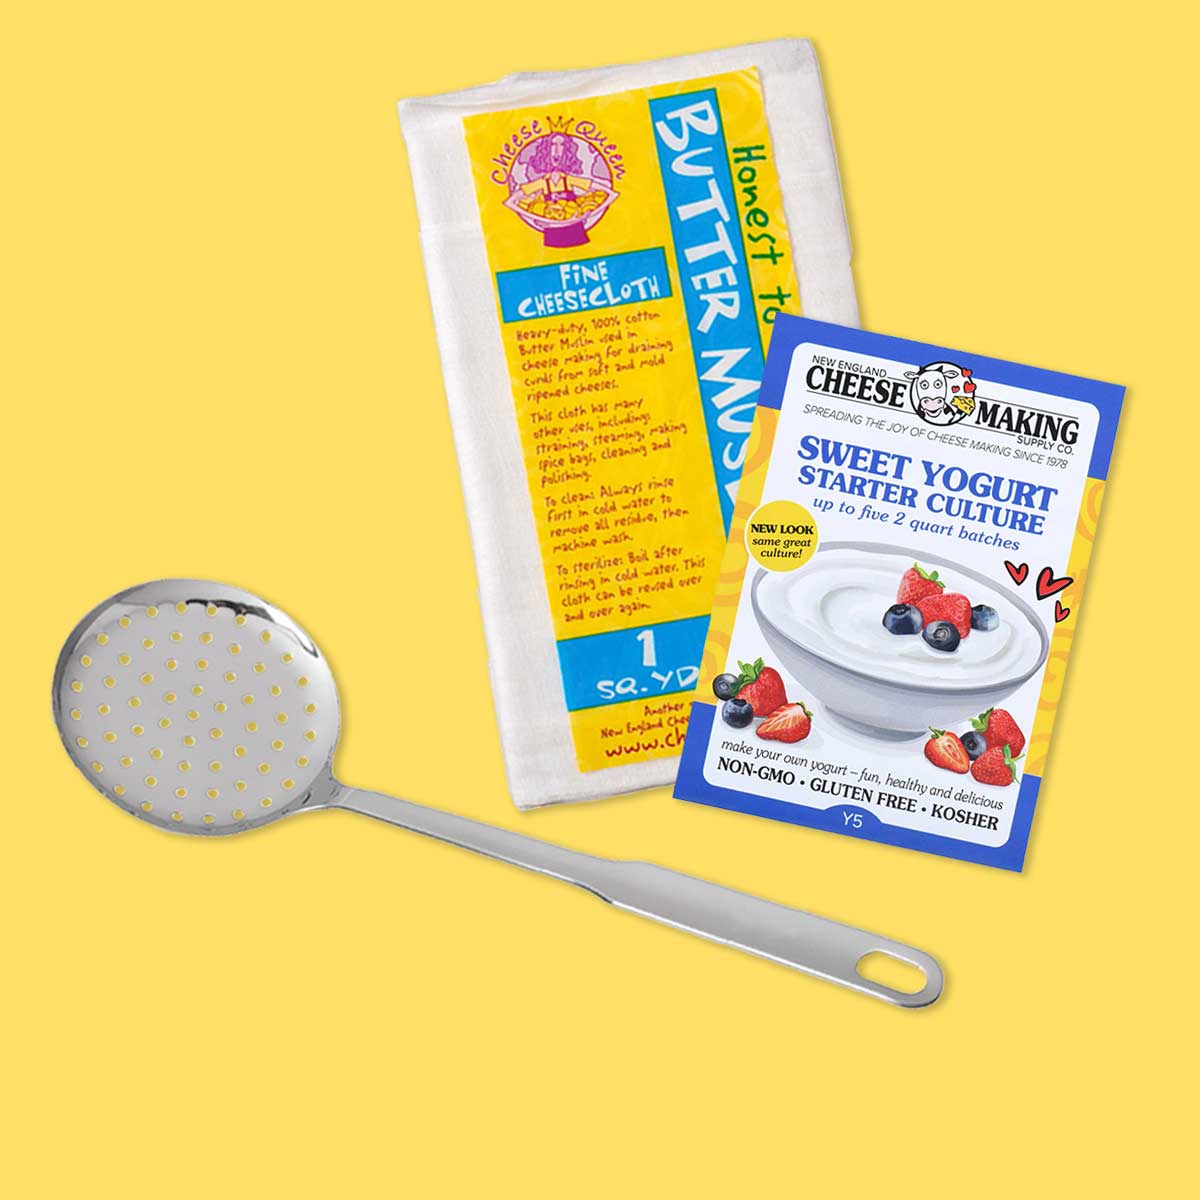
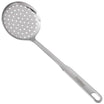
slotted spoon
sieve
bowl
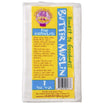
butter muslin
Procedure:
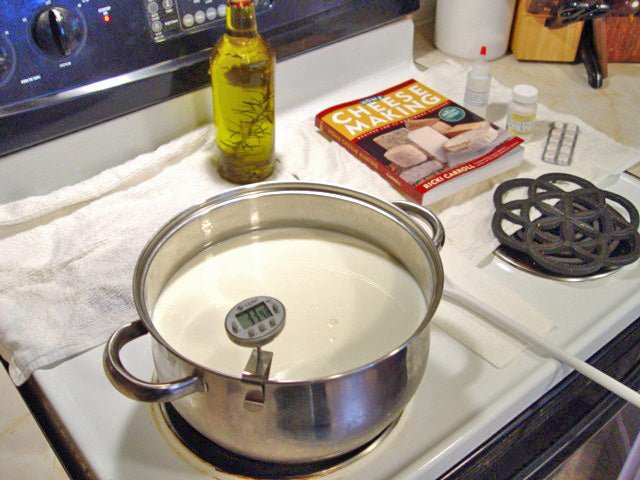
Pour the milk into a 3 qt. pot and affix the thermometer in a readable position.
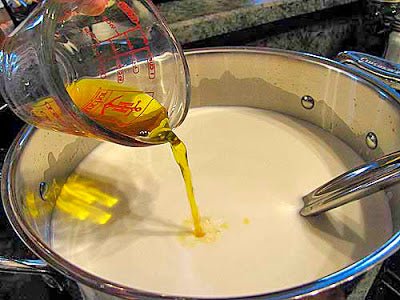
Stir in the lemon juice.
Heat the milk and lemon juice over medium heat and stir constantly until the curds separate from the whey. Ricki says this happens between 165 and 185 degrees Fahrenheit. Rebecca said it happened around 120 degrees and was overcooked by 165. My curd was as separated from the whey as it was going to get at about 145. I let it get up to 165 just to see if anything magical would happen and it didn’t. So the best advice is keep an eye on the whey. Mine never got as clear as it did with the fromage blanc, but it was definitely more transparent than skim milk.
Take the pot off the heat, cover with the lid, and let set for 15 minutes.
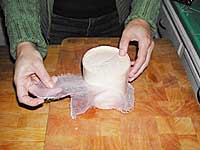
Meanwhile, set a sieve over a bowl and line the sieve with butter muslin.
Pour the contents of the pot into the muslin-lined sieve.
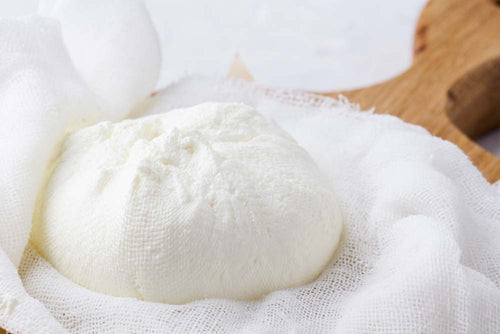
Tie the four corners of the butter muslin together and hang it over the sink to drip. In the booklet that comes with the Gourmet Home Dairy Kit, it suggests that this might take about an hour. In Ricki’s book Home Cheese Making: Recipes for 75 Delicious Cheeses, the recipe suggests hanging the cheese for 2 to 3 hours. As a busy, sleepless Mom, I hung mine for about 12 hours.
If you’re storing the cheese, you can put it in an airtight container in the fridge for about two weeks.
Curried Panir Potato Rounds adapted from Home Cheese Making: Recipes for 75 Delicious Cheeses by Ricki Carroll
Ingredients:
6 medium potatoes, cooked, peeled, and mashed
1 t salt
1/4 t ground turmeric
1 lb. frozen peas, thawed and mashed
6 T lemon juice
1/2 t sugar
1/2 t salt (I know, I’ve got 1 t salt listed above . . . but trust me on this)
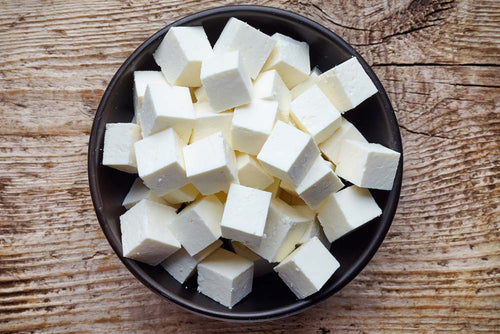
2 C (1 lb.) panir, cut into 1-inch cubes
3/4 C water
3/4 C flour
1 C fine dry unseasoned bread crumbs
1/2 t curry powder
1/2 T chopped fresh cilantro
1/2 t cumin powder
Procedure:
Preheat the oven to 400 degrees. Combine the potatoes, 1 t salt, and the turmeric. Cook over medium heat in a large, nonstick skillet, stirring often, for about 4 minutes. Remove to a bowl and reserve.
In the same skillet over medium heat, cook the peas, lemon juice, 1/2 t salt, and the sugar, stirring often, for about 4 minutes. The juice from the pea mixture does a good job of loosening up any potato stuck to the bottom of the pan from the previous step. I think this helps make the pea mixture more sticky which is important later on. Remove from heat.
Place a scoop of the potato mixture in the palm of your hand and flatten it into a 3- or 4-inch-diameter circle that is 1/2 inch thick. Repeat with the remaining potato mixture to make 12 to 14 rounds.
Put a panir cube in the center of each round. Fold the potato mixture over it. Roll until sealed and rounded. Press firmly to eliminate air pockets.
Press the pea mixture around each of the potato rounds.
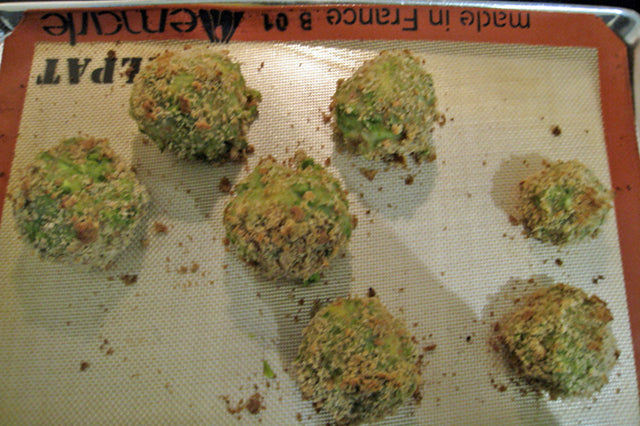
Whisk together the water and flour to make a smooth, thick paste. Spread the bread crumbs in a shallow pan. Roll the balls in the flour paste, then in the bread crumbs. Set each panir potato round on a baking sheet lined with a non-stick mat or parchment paper.
Bake for 14 minutes. Rotate the sheets halfway through.
Cut the cooked panir rounds in half. Spoon curry powder around them. Sprinkle with fresh cilantro and cumin powder.


