-

Boost Your Gut Health with Homemade Yogurt
There’s something so satisfying about turning a simple jug of milk into rich, creamy yogurt. It’s...
-

How to Make Cheese at Home: Beginner’s Guide
Have you ever wondered how to make cheese at home? Good news—you don’t need a barn, or a science ...
-

Parmesan vs. Romano: Differences, Recipes and Cheese Making Tips
Lessons from the Masters in Italy
Cheese is culture—literally and figuratively—and few cheeses ca...
-

Ingredients for Cheese Making
It's easy and fun to make cheese at home. When starting out, there are three basic compon...
-

Equipment for Cheese Making
It is easy and fun to make cheese at home. When starting out, there are three basic compone...
-

How to Make Cheese
It is easy and fun to make cheese at home. When starting out, there are three basic compone...
-

Cheese Waxing FAQ: How to Wax Cheese for Perfect Aging
Learn How to Wax Cheese
Looking to seal in flavor, lock in moisture, and keep unwanted mold at ba...
-

Rennet for Cheese Making: The Ultimate Guide to Types, Techniques & Troubleshooting
Welcome to your go‑to guide on rennet—the magic enzyme that transforms fresh milk into the cheese...
-

Draining Soft Cheese: Tips for Creamy, Delicious Results
Draining is a crucial part of soft cheese making—it directly affects your cheese’s final texture,...
-

Cheese Making pH Guide: How to Test and Control Acidity for Perfect Cheese
Understanding pH in Cheese Making: A Beginner-Friendly Guide
When it comes to making cheese at ho...
-

How to Store and Age Cheese in Brine
Learn how to properly store and age Feta, Mozzarella, and other Mediterranean style cheese in a l...
-

Learn About Cultures for Cheese Making
Some of the top questions we receive about cheese making have to do with cheese making cultu...
-
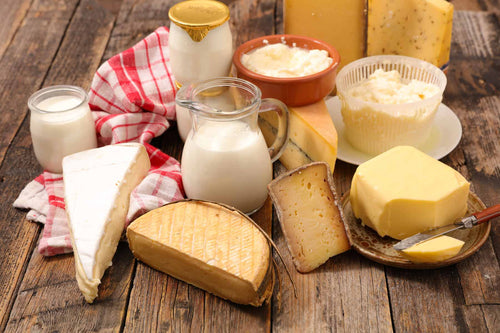
Finding Good Milk For Cheese Making
When trying to find good milk for cheese making there are a few things to consider and s...
-

The Evolution of Milk For Cheese Making
Most milk comes from cows and we’d like to think they are all out on pastures eating gra...
-

Affinage Cheese Course in Vermont
Affinage is the final phase in the life cycle of cheese. This is where the fresh pressed curd ...
-
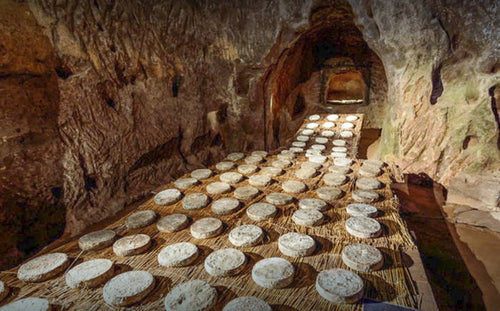
Making Traditional Saint Nectaire
This article details how Saint Nectaire is traditionally made in the Auvergne
The farms where ...
-

The Spanish Cheese Sessions at UVM
Recently I spent a few days at the VIAC program on Spanish cheese. If they had to pick one p...
-

Learning About Parmigiano-Reggiano in Italy
Over the past several years I have spent a good deal of time visiting cheese makers around t...
-

Slow Food Festival in Bra Italy 2007
In Sept Jim Wallace (our cheese specialist) spent another 2 weeks visiting traditional cheese ...
-

Making Cheese in School
Cheese Making in Kriss Guptill's 5th Grade Classroom
Yes, that is right, learning can be f...
-

Laurie Higgins Making Cheese
This Article was Contributed by Laurie Higgins
Quick Tips for Home Cheese Making
Qu...
-

A Guide to Cheese Tasting Terms
Corky
Firm, hard, tough consistency, hard to break in fingers. When it breaks it does s...
-
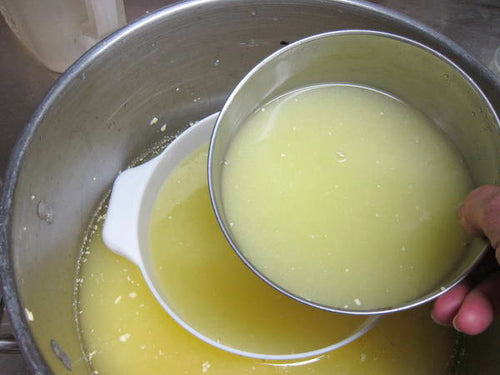
Ways to Use Whey
Learn About Whey
Ways to Use Whey
.
Learn About Whe...
-

Jim Wallace
Meet a Cheese Making Guru
Tell us a little bit about your background
It has been a long ro...
-
Andrea Lewis
A True Home Cheese Maker
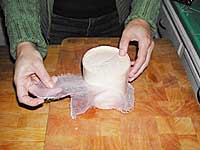
Andrea is a new startup cheese maker and what drew her to my atte...
-

Sister Joanna
The Monastery of Saint Nektarios in Doridos, Greece
Sister Joanna leads the sisters of t...
-

Terry and Linda Clapp
Little House Cheeses
This is true Home or Farmstead cheese making on a small scale.
Just t...
-

Cheese Makers Traveling Through Spain
This is my first trip to Spain for this so it shows a lot of how I go about making contacts. I...
-

Cheese Makers Traveling Through Italy
Susan Marquis from Arlington VA. has been a cheese lover and home cheese maker for quite some ...
-

Labneh Cheese Making Recipe
This recipe was sent in from Ursula Weiland in Knoxville TN.
Ingredients
1 gallon whole milk
3 ...
-

Queso Fresco Cheese Making Recipe
This is a fairly easy cheese to make in the kitchen. Exploring different cheese varieties can lea...
-

Problems with Ultra Pasteurized Milk
Problems with Ultra Pasteurized milk (UP) and how it affects 30 Minute Mozzarella Cheese. Unfo...
-

Milk and How it Has Changed
For years we have been told of the benefits of milk.
Milk builds strong bones
A milk mustache...
-

Cheese Makers Traveling Through Republic of Georgia
A few years ago, Ricki had the pleasure of visiting the Republic of Georgia, formerly part of ...
-
Yogurt Cheese Recipe
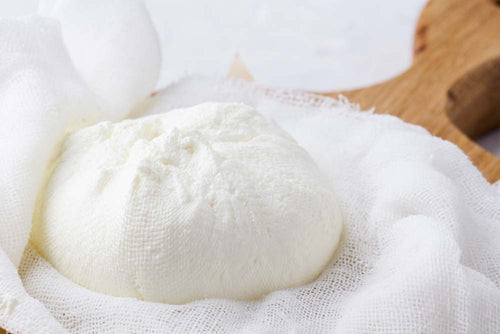
Yogurt Cheese may be made simply by draining the whey out of you yogurt. Understanding the proces...
-

Shankleshe Cheese Recipe
Shanklish, the word is either derived from Arabic or Turkish, I'm not sure.This cheese is great...
-

Saint Maure Cheese Making Recipe
A soft Goats milk cheese, shaped in an elongated cylinder or log. While youre experimenting with ...
-
Queso Blanco Cheese Making Recipe
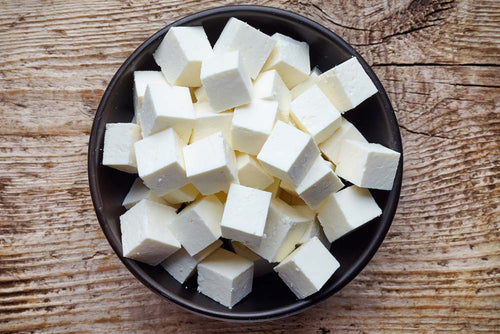
Queso Blanco is a South American cheese similar to the Indian cheese Panir. It is an excellent co...
-

Ostkaka Cheese Making Recipe
This is a Swedish, Scandinavian, dessert dish, traditionally served at Christmas. Not really cus...
-

Lemon Cheese Recipe
This rich and delicious cheese may be made in the evening and will be ready to spread on hot cro...
-

Latvian Easter Cheese (Pashka) Recipe
Oma's Pashka submitted by Brent Alderman Sterste
My father's family is Latvian and we make a swee...
-

Juustoa Cheese Making Recipe
This Finnish, squeaky cheese recipe from Eleanor Miller in MI. It is eaten in cut pieces put into...
-

Oma's Janu Siers (John's Cheese)
Submitted by Brent Alderman Sterste
Traditionally made for the summer solstice - the longest day...
-

Guban Cheese Making Recipe
This is a Lebanese cheese using the simplest of ingredients. This finished cheese may be used in ...
-

Fromage Blanc Recipe
Fromage Blanc is a wonderfully creamy cheese that may be used in place of cream cheese in any re...
-

Farmers Cheese Recipe
There is a lot of variation in this white cheese because each person makes it slightly differentl...
-

Edam Cheese Making Recipe
Traditionally a Dutch cheese, made with partially skimmed milk & eaten when young. This chees...
-

Cup Cheese Recipe
This is a Pennsylvania Dutch Cheese made by the Amish and Mennonites since before the time of the...
-

Creme Fraiche Recipe
Creme Fraiche is one of those dairy delights that you try to eat just a little of but once you ta...
-

Clotted Cream Recipe
This is a specialty of Devon and Cornwall in Southern England. It is made from rich cows milk of ...
-

Home Cheese Maker Spotlight: Bernard’s Feta-Style Cheese with Kefir
We love hearing from home cheese makers who are finding creative ways to make delicious cheese in...
-

Curds, Goats & Gratitude: Life on Bluebird Meadow Farm
The First Goat, The First Cheese
Eighteen years ago, on a quiet stretch of land in Ada, Michigan,...
-

5 Fresh Spring Cheeses to Make at Home | Easy, Seasonal Cheese Recipes
Spring: A Season of Renewal (and Cheese!)
Spring is a season of beginnings. The days grow longer,...
-

Good Cultured Cottage Cheese: Fresh and Healthy
What Is Cultured Cottage Cheese?
Cultured cottage cheese is a fresh, creamy cheese that’s natural...
-

Kristy Foster in Yorba Linda, California
Kristy Foster and ?
If you live near Yorba Linda, CA (35 miles southeast of downtown Los Angele...
-

Leon Graafland in Toronto, Ontario, Canada
Leon Graafland in the tulip fields, 20 miles outside Gouda.
I grew up in the Netherlands; just ...
-

Which Rennet is For You?
Submitted by Kate Johnson and Kelly Liebrock of The Art of Cheese in Longmont, CO
February 21, 2...
-

Pictures from the Winter Fancy Food Show, 2023
Colleagues Ritz Guggiana (RG Consultants) and David Viviani (www.vivianimarketing.com)
Ten year...
-
Tidbits - 075
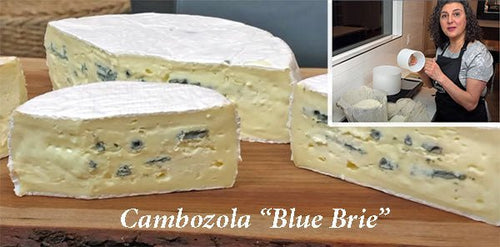
Bloomy Blue: New Cambozola video from Mary Anne Farah. (click here)
Participate in a Sleep St...
-

Rita den Otter in Duncan, BC, Canada
Rita with her old Springer, Farley (14 1/2) and her pup, Abby (4 months) on a camping trip to Qu...
-

Andres Schneiter in Maple Ridge, British Columbia, Canada
Andres Schneiter with his Raclette
If you’re on our mailing list at cheesemaking.com, you’re fa...
-
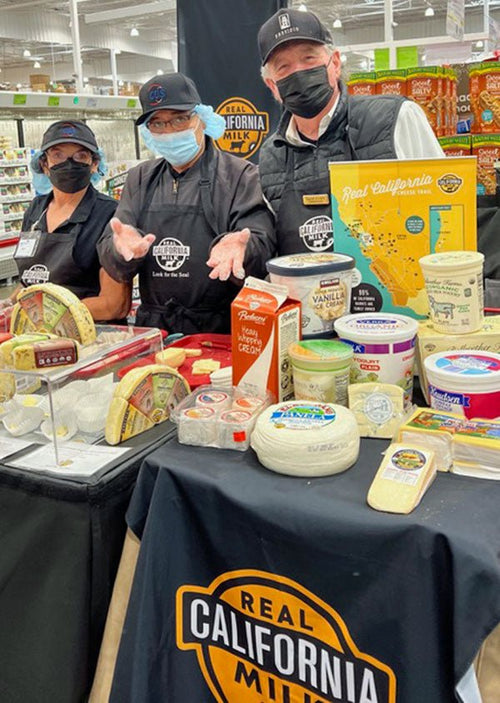
Celso David Viviani in San Francisco, California
David Viviani at a reception for President Sergio Mattarella of Italy, at San Francisco’s Fairmo...
-

Tidbits - 074
Fun Video! Do not visit London without watching this first. (click here)
Butter Candles: Melti...
-

Kylie Carnegie in Melbourne, Victoria, Australia
Kylie with Rémy, her 18 month old Schipperke.
Kylie is just starting her cheesemaking adventure...
-

Tidbits - 073
Where Did Cheese Really Come From? Light and fun – the perfect video for high school students (...
-

Fat Sheep Farm in Hartland, Vermont
Todd Heyman and Suzy Kaplan of Fat Sheep Farm
When Suzy Kaplan & Todd Heyman decided to get...
-
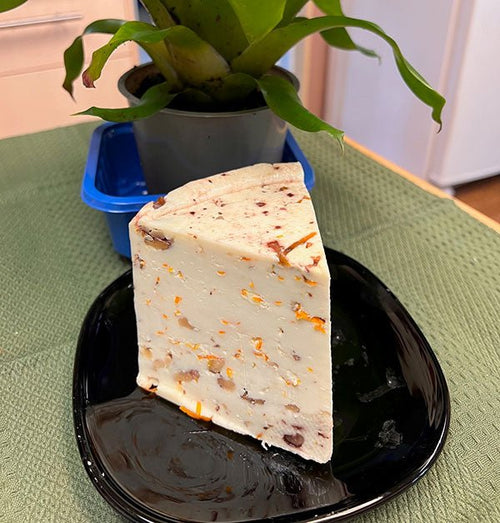
Marybeth Bullington's Orange-Walnut Holiday Cheese
Marybeth’s fabulous holiday cheese.
Good news! It’s not too late to make cheese for the holida...
-
Gift Ideas for Cheesemakers and Cheese Lovers
Pin, $2, teepublic.com
The giving season is coming up! It’s a little early but we think it’s a...
-
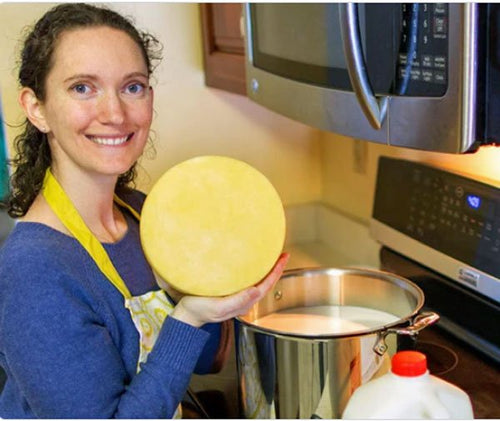
Cheesemaking Classes in the U.S. (Current)
Sarah Carroll at her Cheesemaking 101 workshop at New England Cheesemaking Supply Co.
We first...
-
Tidbits - 072
Results are In: List of winners of 2022 American Cheese Society Competition.
Making Burrata: Th...
-

Yoel Blumberger: On the Role of Cheese in Israel
Yoel Blumberger making Camembert
Yoel lives in Tel Aviv where he belongs to a group of cheesema...
-

Grant Fritch in Lansing (Okemos), Michigan
Grant Fritch
It’s always a surprise when we delve into a cheesemaker’s life and discover talent...
-
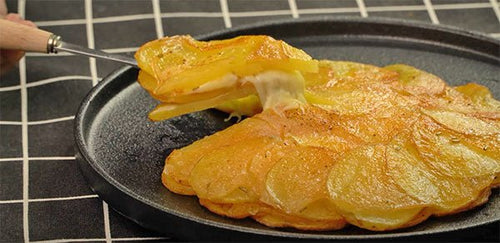
Tidbits - 071
Potato and Cheese Pizza Video: Made on stovetop – no oven required. (click here)
Two new video...
-

Yoel Blumberger: Camembert de Normandie AOP and the Flocculation Point Method
Picture by Yoel Blumberger. Sources: freeworldmaps and Dairy Products of France
In this arti...
-

Ivy Netzel in Gourley Township, Michigan
Ivy Netzel, making kefir
Ivy’s Story
I live in a quiet little hamlet called Jam Dam (unincorpor...
-
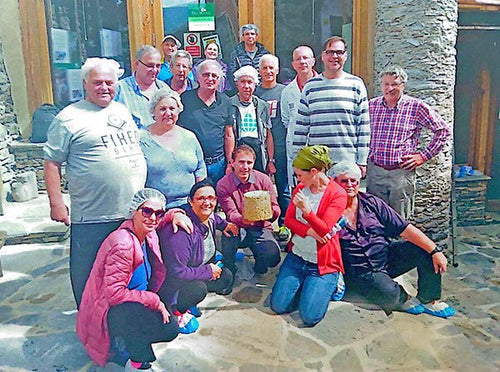
Yoel Blumberger: Cheesemaking Group in Israel and a Recipe for Castelmagno
Part of the group (with Castelmagno cheese) in front of a dairy high in the Italian Alps. Yoel i...
-

Hilda Elena Thielen in Marietta, Georgia
Hilda Elena Thielen
Hilda loves to cook with natural/minimal ingredients so cheesemaking is a p...
-
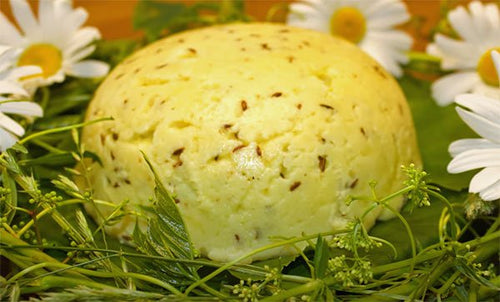
Tidbits - 070
Cumin cheese
July is cheesy video month!
We couldn’t help but notice that there have been a lot...
-
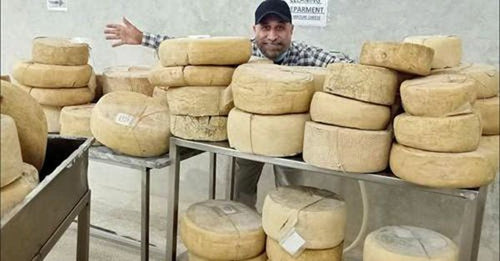
Imran Saleh in Pakistan - Camel Milk Cheese
Imran with a few of his artisan cheeses.
This is our 9th post about Imran since 2013. Since we...
-

Kathy Lynch in Queensland, Australia
Kathy Lynch in her studio
I live on 45 acres of beautiful land on the Sunshine Coast with an a...
-

Erol Sozen in Bloomington, Illinois
Erol Sozen
Erol comes from Turkey, a country where cheese is highly valued. Most of the cheese...
-

Dennis Woods in Portland, Oregon
Dennis with Tomme, after light press
They say if you want to get something done, ask a busy per...
-
Upcoming Cheese Festivals (Current)
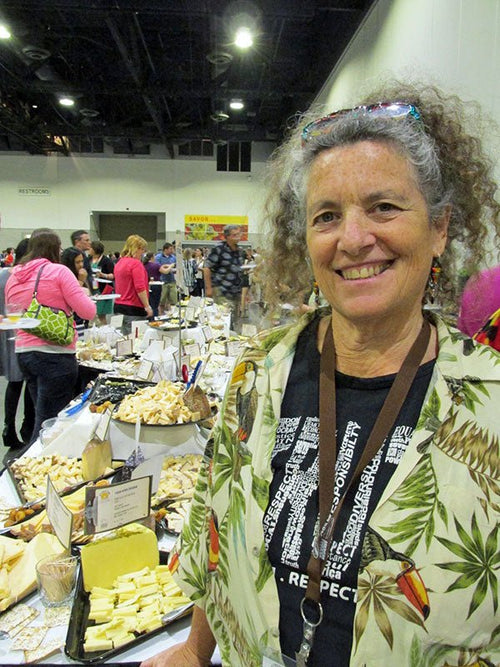
Ricki Carroll (The Cheese Queen) at the Festival of Cheeses in 2015. This used to be the last e...
-

Tidbits - 069
Cheese Scented Nail Polish: It’s real! Velveeta teamed up with Nails, Inc. (click here)
12 H...
-

Maureen Blais-Gestrich in Sarasota, Florida
Maureen with Butterkase, Dunlop and Red Leicester on the press, Mountain Tomme on the platter an...
-
Making Cotija (Mexican Parmesan)
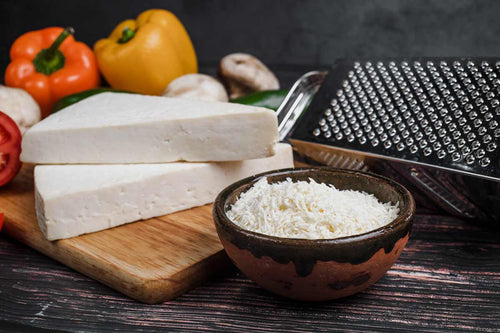
Lately, it seems like every recipe I see online and feel like making has Cotija in it. The corn ...
-
Tidbits - 068
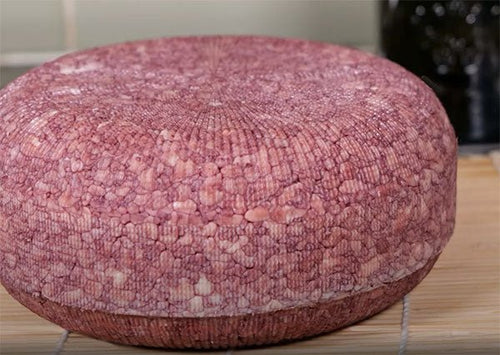
Gavin Webber’s Latest Cheese: The incredibly beautiful Red Windsor. (click here)
Cold Pizza?:...
-

Vivian Lucero's Trip to the California Artisan Cheese Festival
Cheese please!
In 2019, we had the pleasure of interviewing Vivian – Vivian Lucero in Otis, Ore...
-
Hal Wentzel in Niagara, Wisconsin
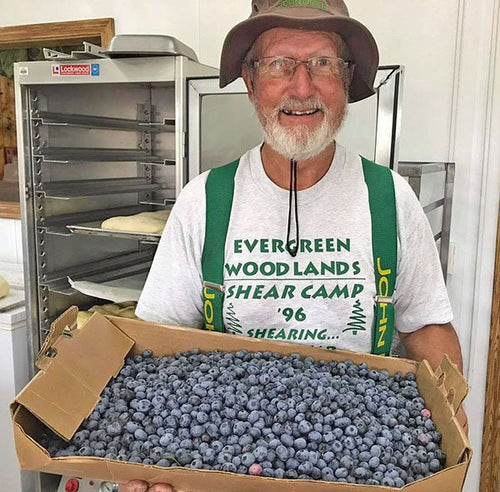
Hal pointing to an apricot blossom a few weeks ago. The trees were just planted last year.
In ...
-

Jennifer Rollins in Sydney, Australia
Jennifer in her kitchen with a couple of vacuum packed cheeses and a tomme.
Jennifer seems to b...
-
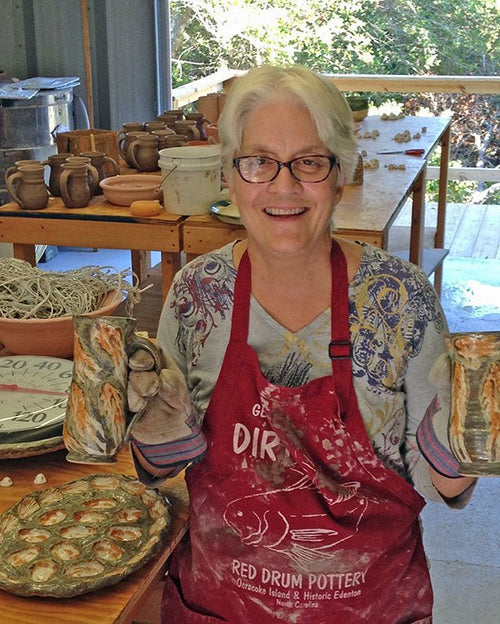
Rhonda Bates in Frisco, North Carolina
Rhonda with Earl and Louise
Rhonda is a professional artist with many talents. When she was yo...
-

Tidbits - 067
Simple but Spectacular: Yummy cheese balls with mozzarella inside. (click here)
Cheese Heist: ...
-

Molly Brown in Altoona, Pennsylvania
Molly at left with her grandmother, mother, and dog Muffin.
Molly Brown is no stranger to adven...
-

Whoops! Cheese Making Disasters
Molly Brown in Altoona, PA told us her first bandage wrapped cheese, a Lancashire looks worse th...
-

Shirley Hampshire in Kingston, Michigan
Shirley Hampshire
Shirley and her husband, Randy have 6 grown kids and 9 grandchildren, so far....
-

Tidbits - 066
Gruyere from a small dairy in Switzerland: Maker at left holding 1st place trophy (for the thir...
-

Gert and Connie Kok in Pretoria, South Africa
Gert & Connie Kok
South Africa is a long way from most of us. However, the internet brings...
-

Keith Stuart Phoenix in Warboys, Cambridgeshire, UK
Keith Stuart Phoenix
There are a lot of good things that came out of the Covid lockdown. Many f...
-

Deb Pero in New Boston, Texas
Deb told us these little guys are the reason she moved to Texas. (They’re not required to do fa...
-

Alan Stables in Colombo, Sri Lanka
Wishing you all the best!
To all cheesemakers – check this out if you sell your own cheese. Th...


