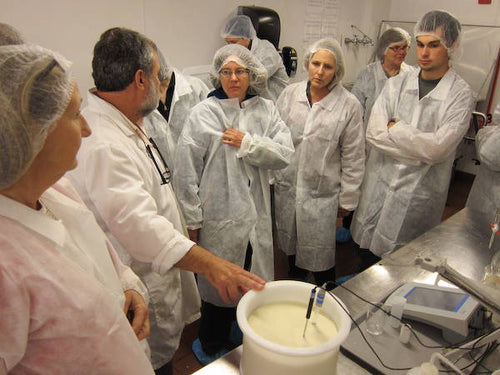
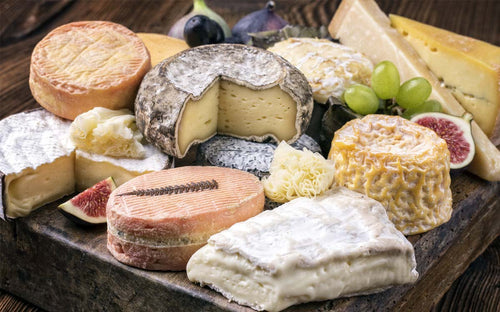
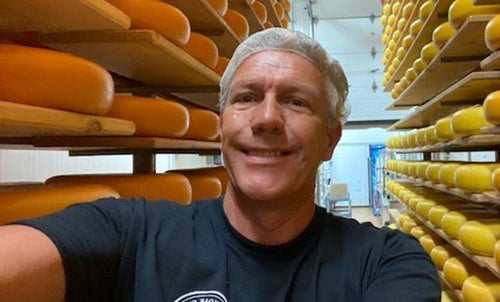
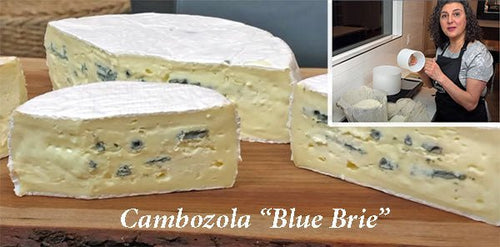
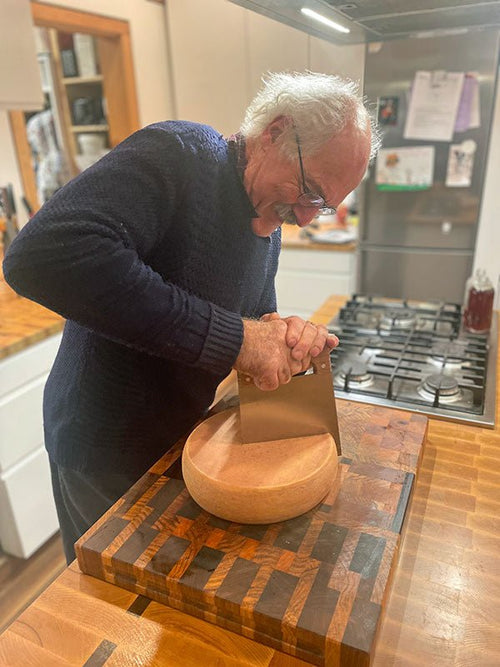
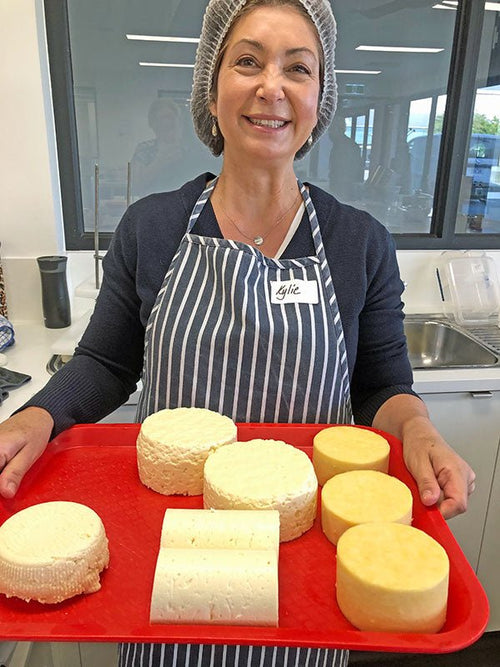
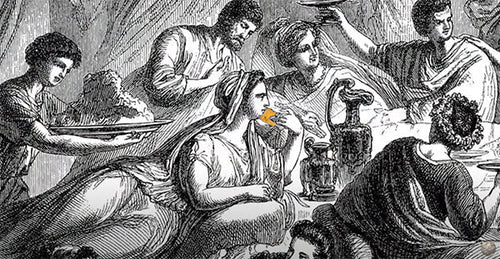
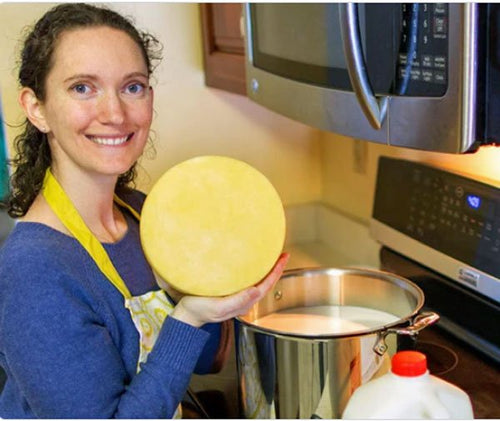
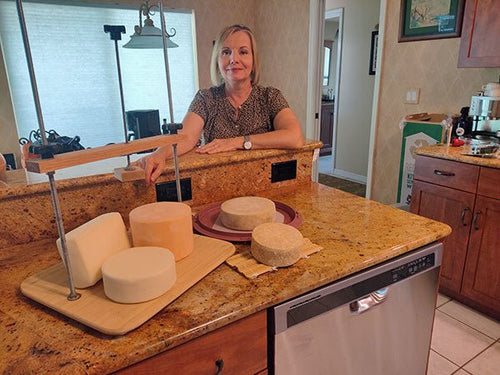
 Suzanne McMinn is gearing up to make some serious cheese!
In case you missed it in our last Moosletter, we challenged Suzanne to make a new “hard” cheese every month for the rest of her life, although when she’s really old we might let her off the hook. If you haven’t read it yet, we did an article about her a few weeks ago. Of course, the whole story can be found at Suzanne’s website where she shares her “back to basics” way of life.
Suzanne is now busy preparing her Chickens in the Road readers for making cheese, so they can follow in her footsteps and become fabulous cheesemakers (which we know they can). If any of you (our own much appreciated “followers”) have been hesitating to take the plunge, now is a great time to jump right in.
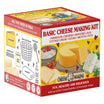
By the way, Suzanne is giving away one of
Ricki’s Basic Cheese Making Kits (K1) free, by random comment from 6pm November 1st until midnight (EST), November 2nd. (In other words, if you make a comment during that time, you might be picked! Just
click here.) She will draw the winner Wednesday morning.
Here are Suzanne’s pre-challenge recommendations (taken directly from her website, with permission, of course.):
Getting Ready to Make Cheese
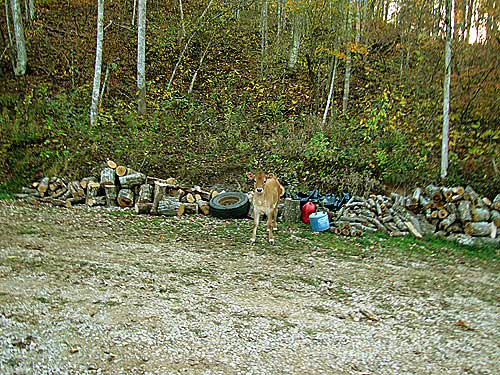
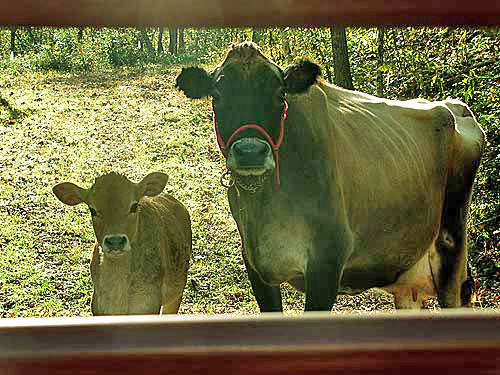
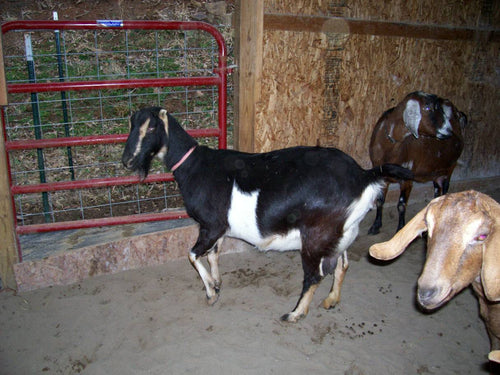
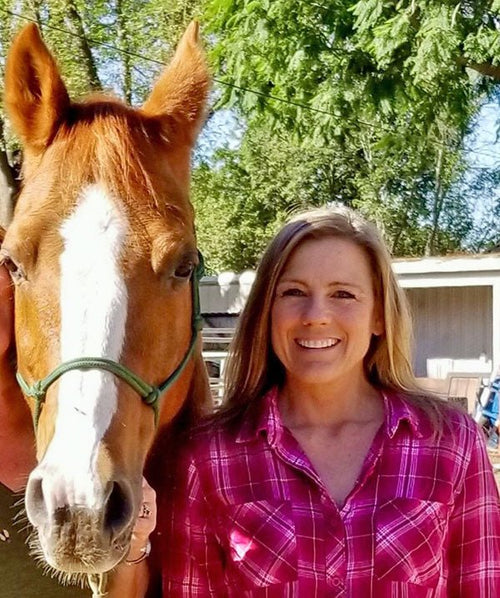
I’m gonna get a halter on Glory Bee any day now! Really!
Glory Bee, on the driveway, on the other side of the house from her mother.
Soon as I chase her down…..the driveway….. Seriously, she’s killin’ me. We’re working on a secret plot to foil her forever. Stay tuned.
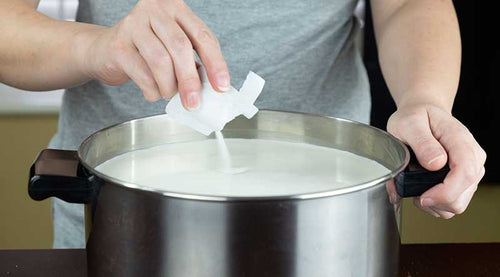
And now! For those of you joining me in the cheese challenge, I want to go over a few of the basic supplies and equipment you’ll want to gather now, if you don’t already have them. The good news is that many of the things you need to make cheese are probably in your kitchen right now, such as colanders and measuring spoons, etc. Normal kitchen stuff. There are a few specific things, though, and if you’re like me, when you try something new, you don’t want to spend a big wad of money. (What big wad of money?) Luckily, it doesn’t take a big wad of money to gather up the few things you need to get started making cheese.
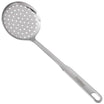
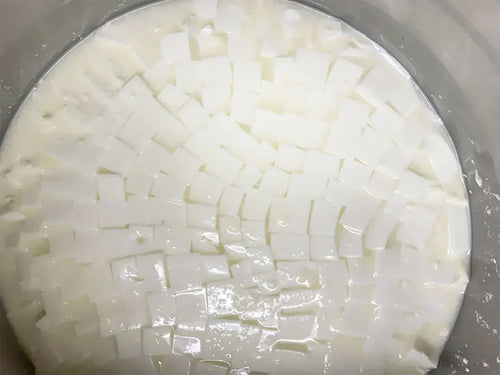
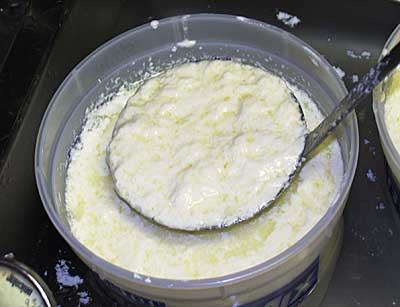
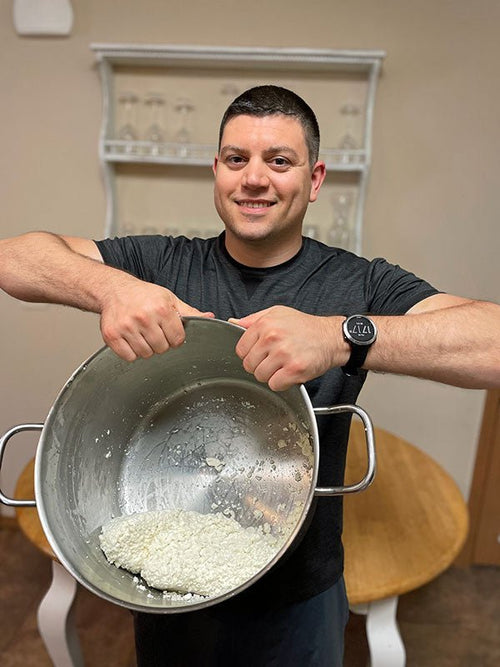
For one, you need a large pot (stainless steel, glass, or unchipped enamel) and either a perforated ladle or
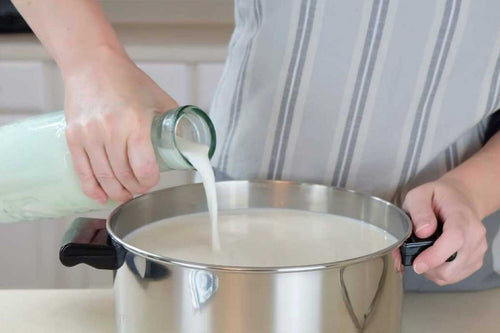
large slotted spoon. (Stainless steel is best.) Hard cheese recipes usually call for two gallons of milk. You need a big mama pot. I found my big stainless steel pot at Wal-Mart for about $40. You may have a huge pot already. If you don’t, go looking for a “stock” pot-they make excellent cheese pots. And you can also use them as….stock pots! (I just used mine to blanch a ton of tomatoes all at once. A giant pot-you need one anyway!)

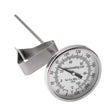
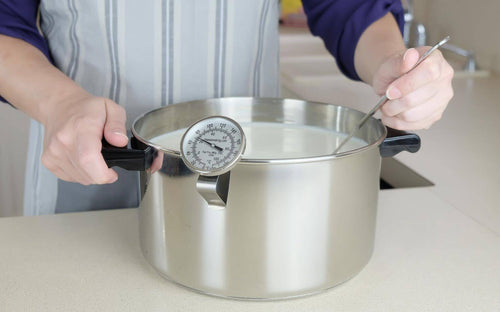
You also need a
dairy thermometer, or any cooking thermometer that registers temperatures in the correct range. (Many candy thermometers, for example, don’t register low enough.) For dairy purposes, the thermometer needs to register below 100F and up to 220F. I have a couple of different thermometers I use for cheese. One is a “real”
dairy thermometer that is nice and tall and clips to the side of the pot, which is handy. The other is actually a meat thermometer but it’s digital and registers in the lower temps needed for cheesemaking. You only absolutely need one thermometer, and you can use any thermometer as long as it registers in the right range, so check the ones you already have.

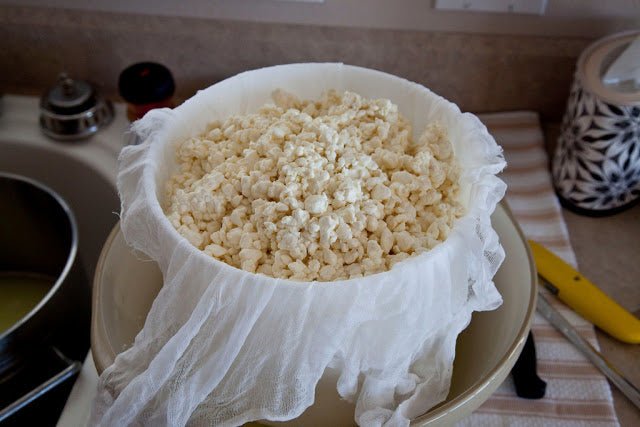
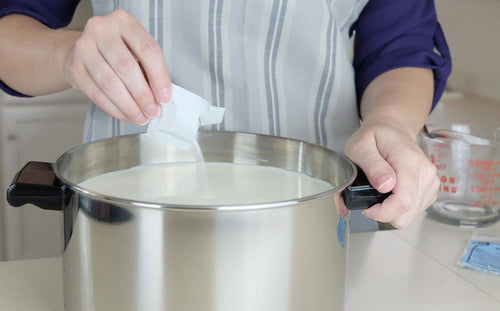
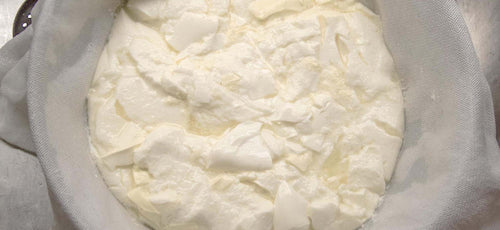
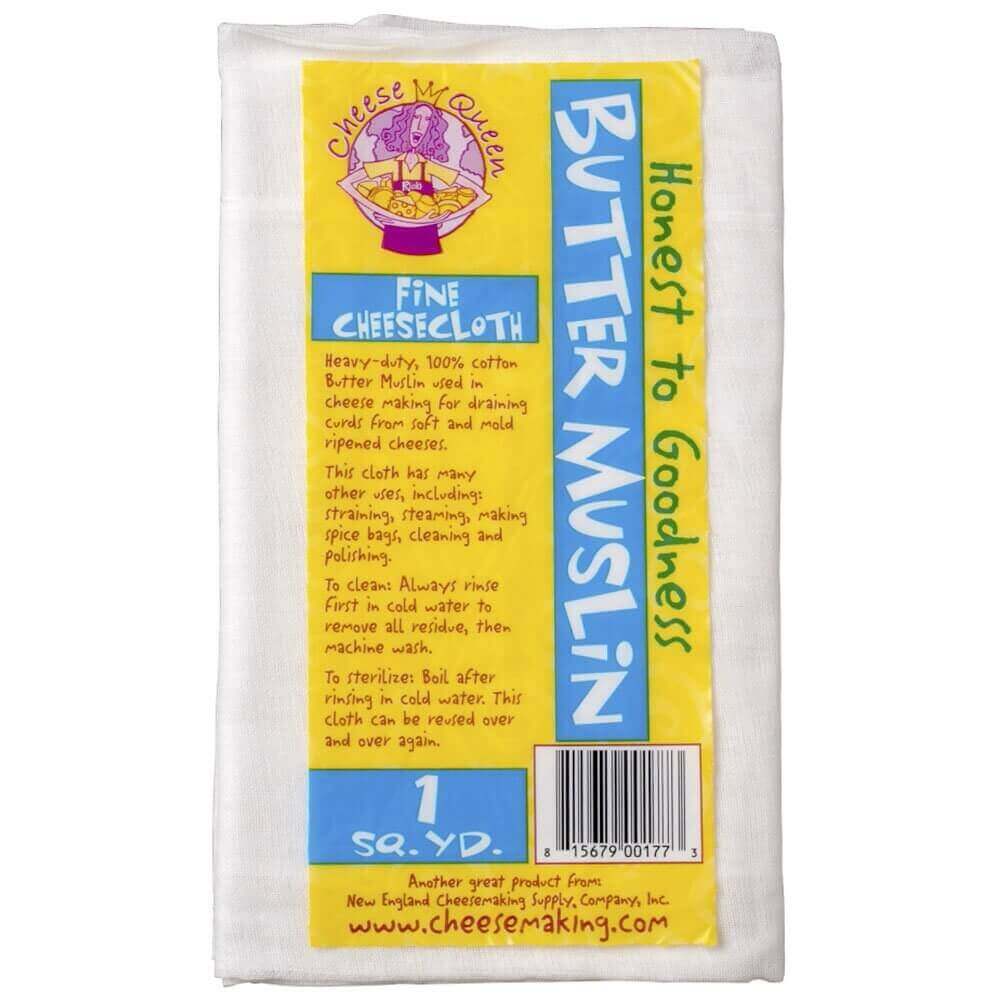
You also need
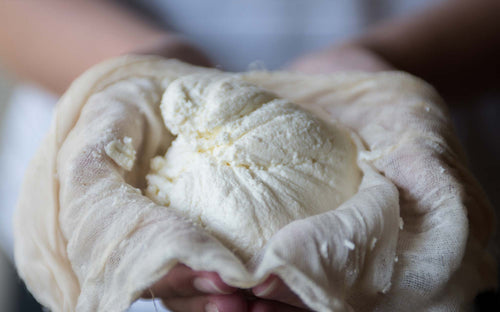
cheesecloth-and be careful about cheesecloth from hardware or grocery stores. It’s often not of the quality needed for cheese. The weave may be looser, which can cause you to lose your curds, and it also won’t hold up to washing for repeat use. (Be frugal. Re-use your cheesecloth.) It’s best to buy cheesecloth for cheese from a
cheesemaking supply house – the quality will hold up to repeat use, which makes it cheaper in the long run. For many hard cheeses, you also need
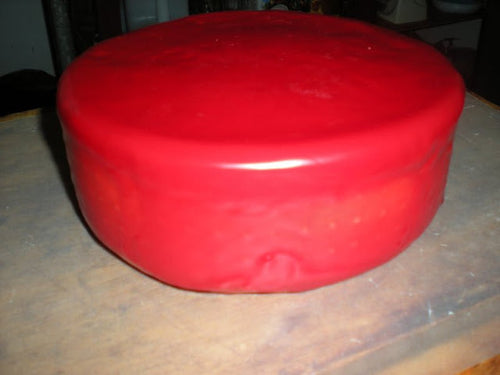
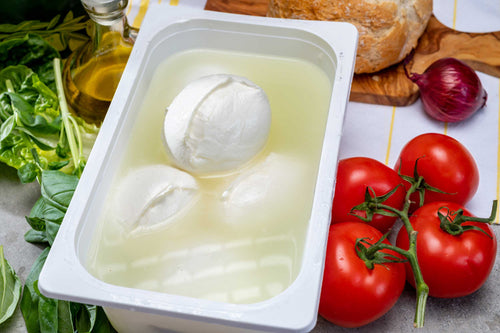
cheese wax and a
wax brush. (Cheese wax keeps the cheese from drying out during the aging process.) Or you can dip your cheese in wax instead of brushing it on, and after some hassles with the cheese brush during my
cheddar-palooza, I’m now moving to dipping. I use an old crock pot to melt the wax, and when I’m done, I just put the lid on to keep the wax clean and handy for the next time I’m waxing cheese.

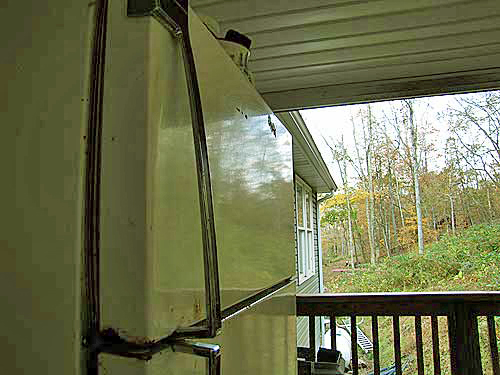
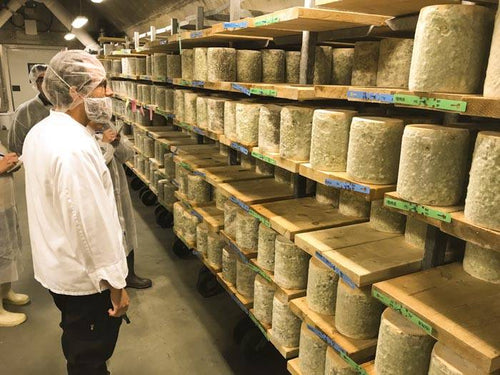
For aging cheeses, you need a “cheese cave” and that can just be an old fridge, large or mini. My cheese cave is an old fridge on my back porch. (It was free!) In a pinch, you can even use your regular refrigerator to age cheese, but it’s not ideal because the temperature required to keep normal refrigerated food is lower than what is optimal for most cheeses. Most cheeses age in the 45 to 55 F range. I keep my cheese cave fridge at 50 degrees.
A good way to monitor your cheese cave temperature is to keep a thermometer in a glass of water in the fridge. When you open the door, the temperature of the air changes, but the water will maintain temperature better and make a better spot-check on the real temperature your fridge is holding.
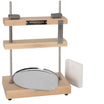
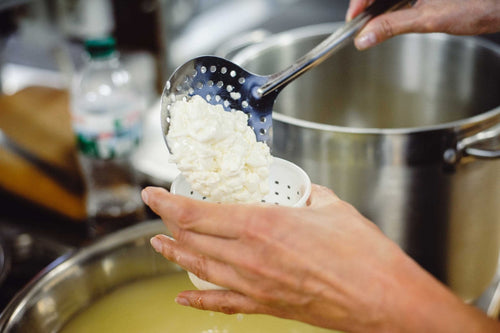
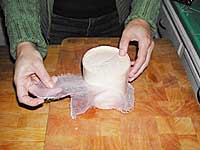
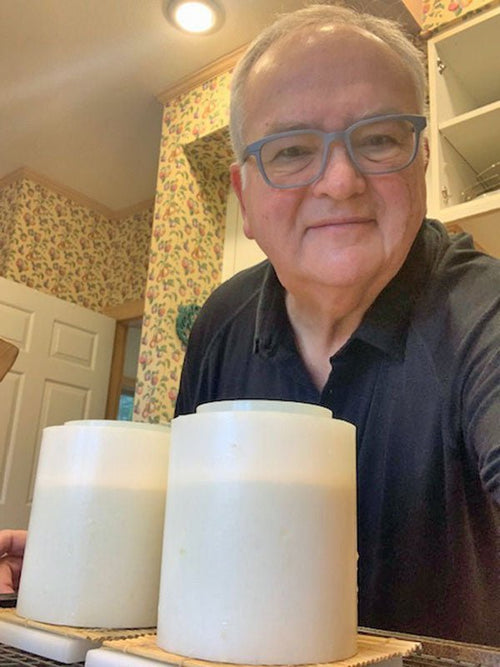
You’ll also need a
cheese press. You can see
how I made my homemade press here. I’ve made a few changes since I wrote the post about my press based on my experience using it. Overall, it works great. I love it. I did have some problems with the mold and the follower. For one thing, the mold didn’t have drainage holes in the sides, and PVC is a bit thick to punch holes in. Also, unless you have special woodworking tools, it’s difficult to make a follower that exactly fits your mold, which results in ridges around the edges of the cheese where the follower didn’t press it. Yeah, I know, that’s so cosmetic! But, as with any craft, the more you get into it, the more you want your result to be pretty. I also had trouble with the drip tray-I was using an upturned salad plate at first. Similar problem as with the ill-fitting follower-it left an impression on the bottom of the cheese. It wasn’t pretty.
I can’t take it!
I NEED MY CHEESE TO BE PRETTY!
And properly drained.
As an inexpensive upgrade, I now use a professionally-made cheese mold in my homemade press. I think this is a great compromise between homemade and, well, pretty. I love, love, love this cheese mold. (It was only $15.95.) It came with a follower that FIT. It also has nice, neat drainage holes on the sides. (I got it
here and it fits just right in my homemade press.)
You can go with this inexpensive compromise between a homemade press and professional equipment, or you can go with your own homemade mold. You can make a mold out of just about anything-just be sure to use a food grade plastic material and punch holes in the sides.
To solve my drip tray problem, by the way, I now use the bottom out of a springform pan. It’s flat, so it doesn’t make an unwelcome impression on the bottom of my cheese. I off-balance the press just slightly with a cutting board tucked under one side so that it’s a little lopsided to promote drainage. (This is a yet unperfected area of my homemade cheese pressing. But it works. And leaves my cheese pretty!)
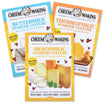
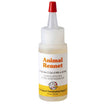
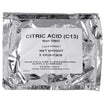
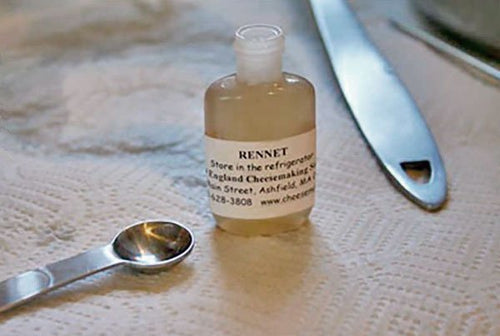
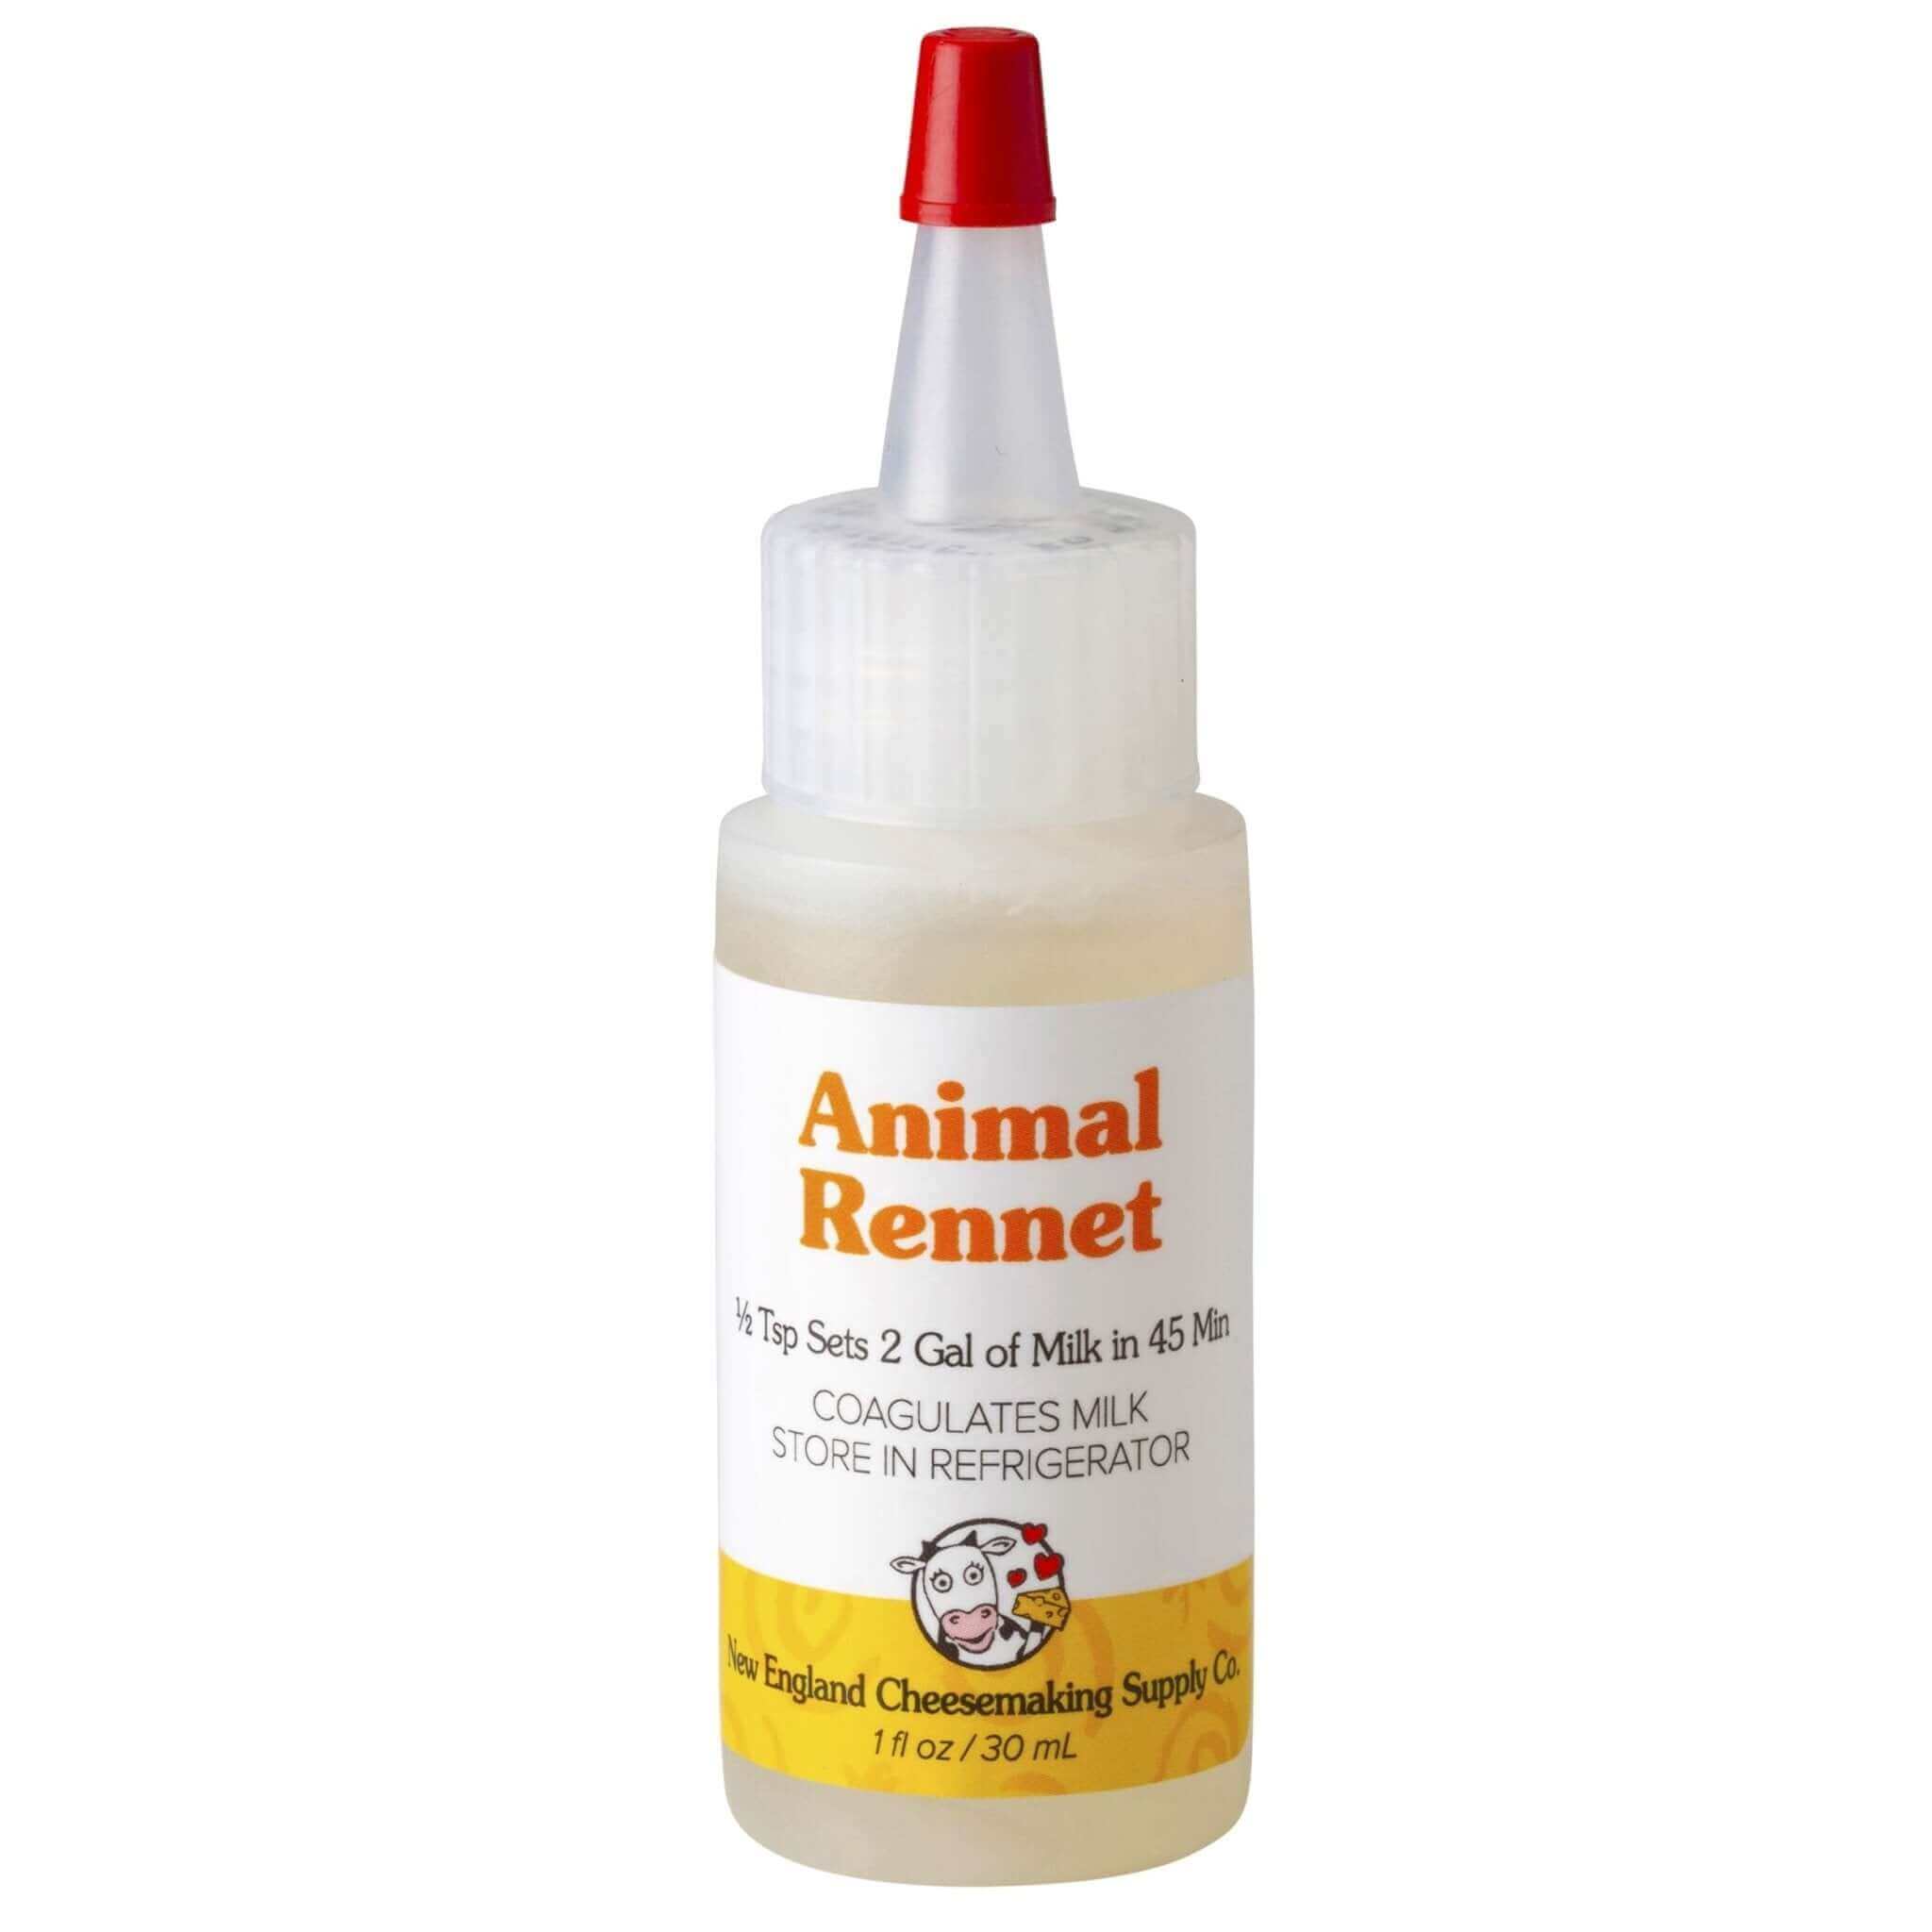
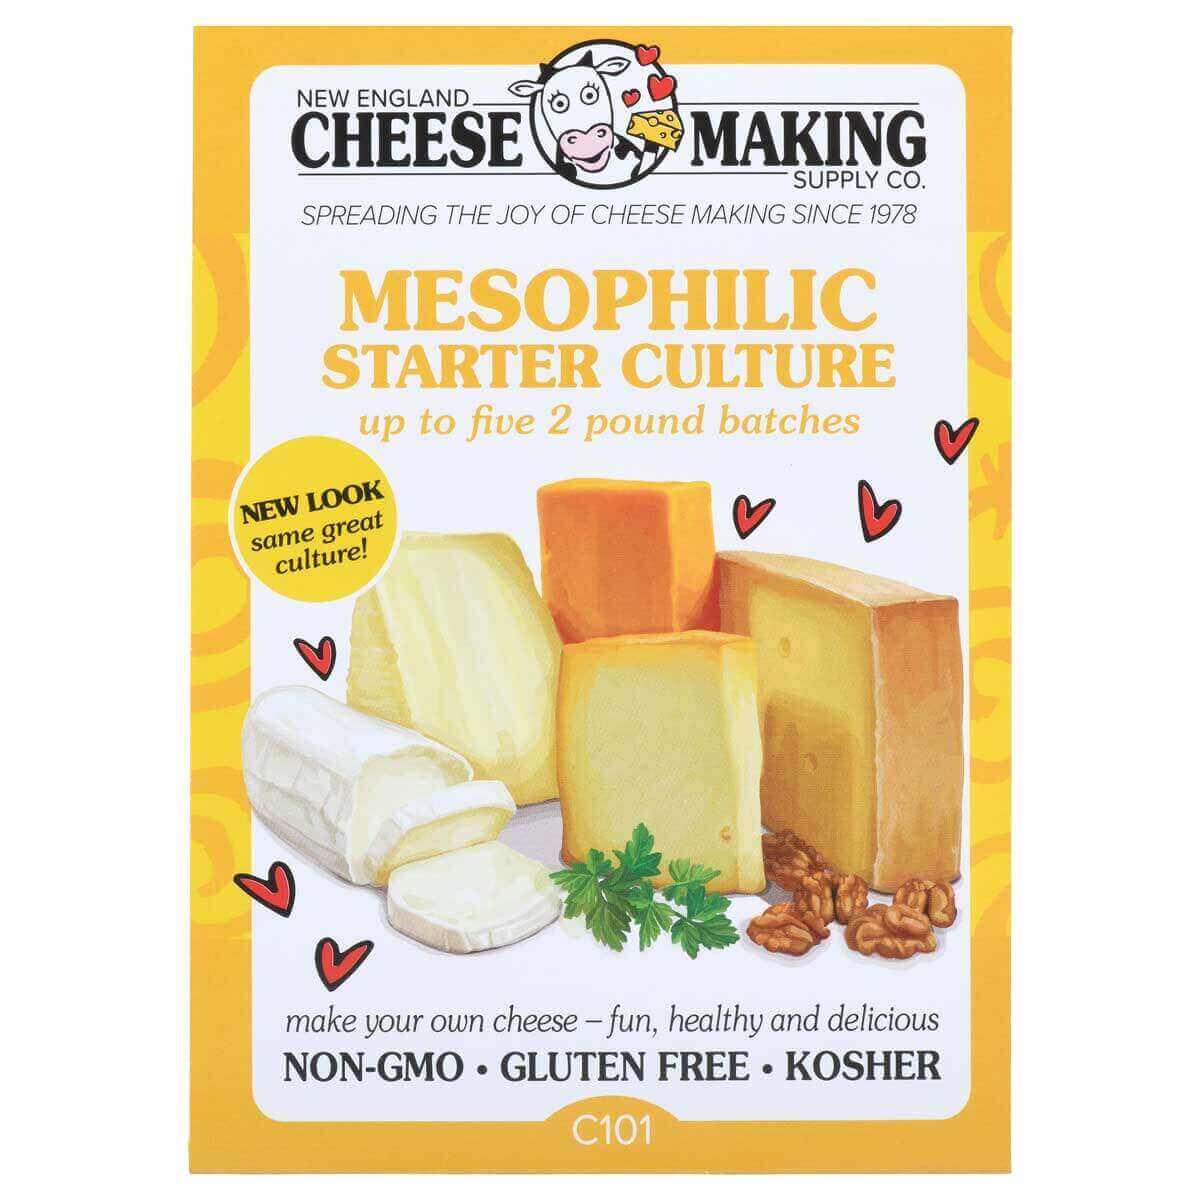
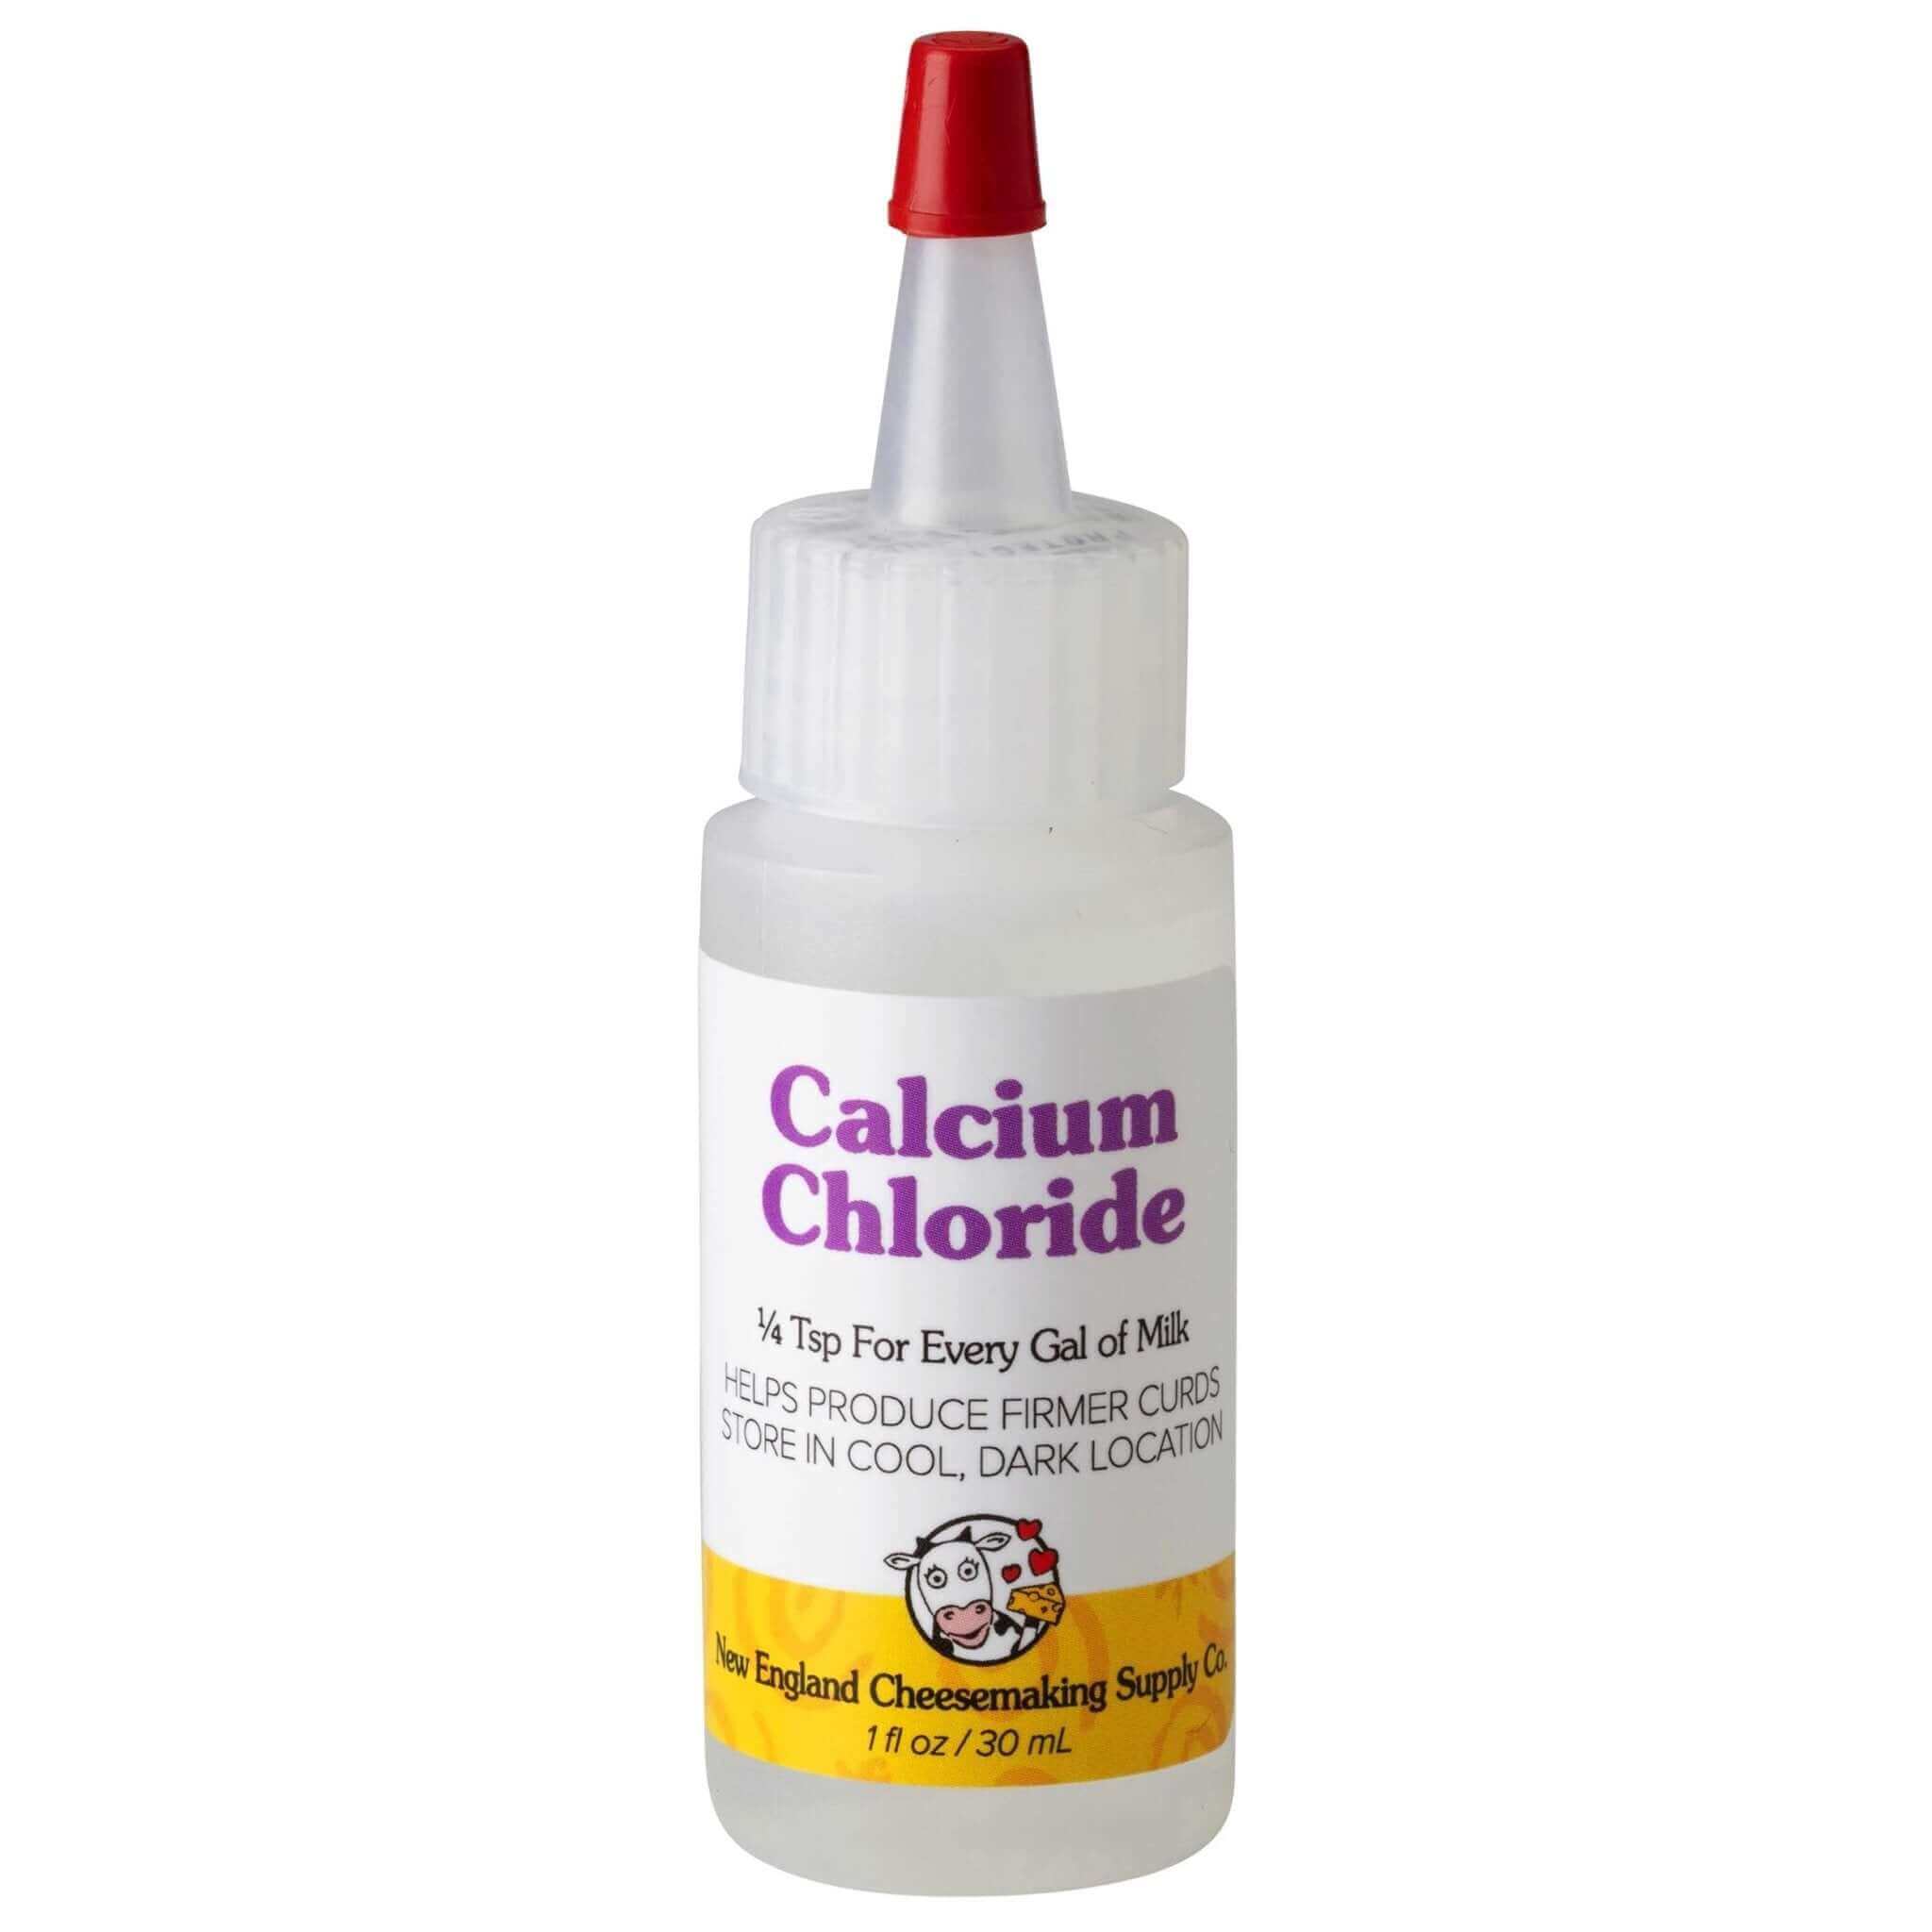
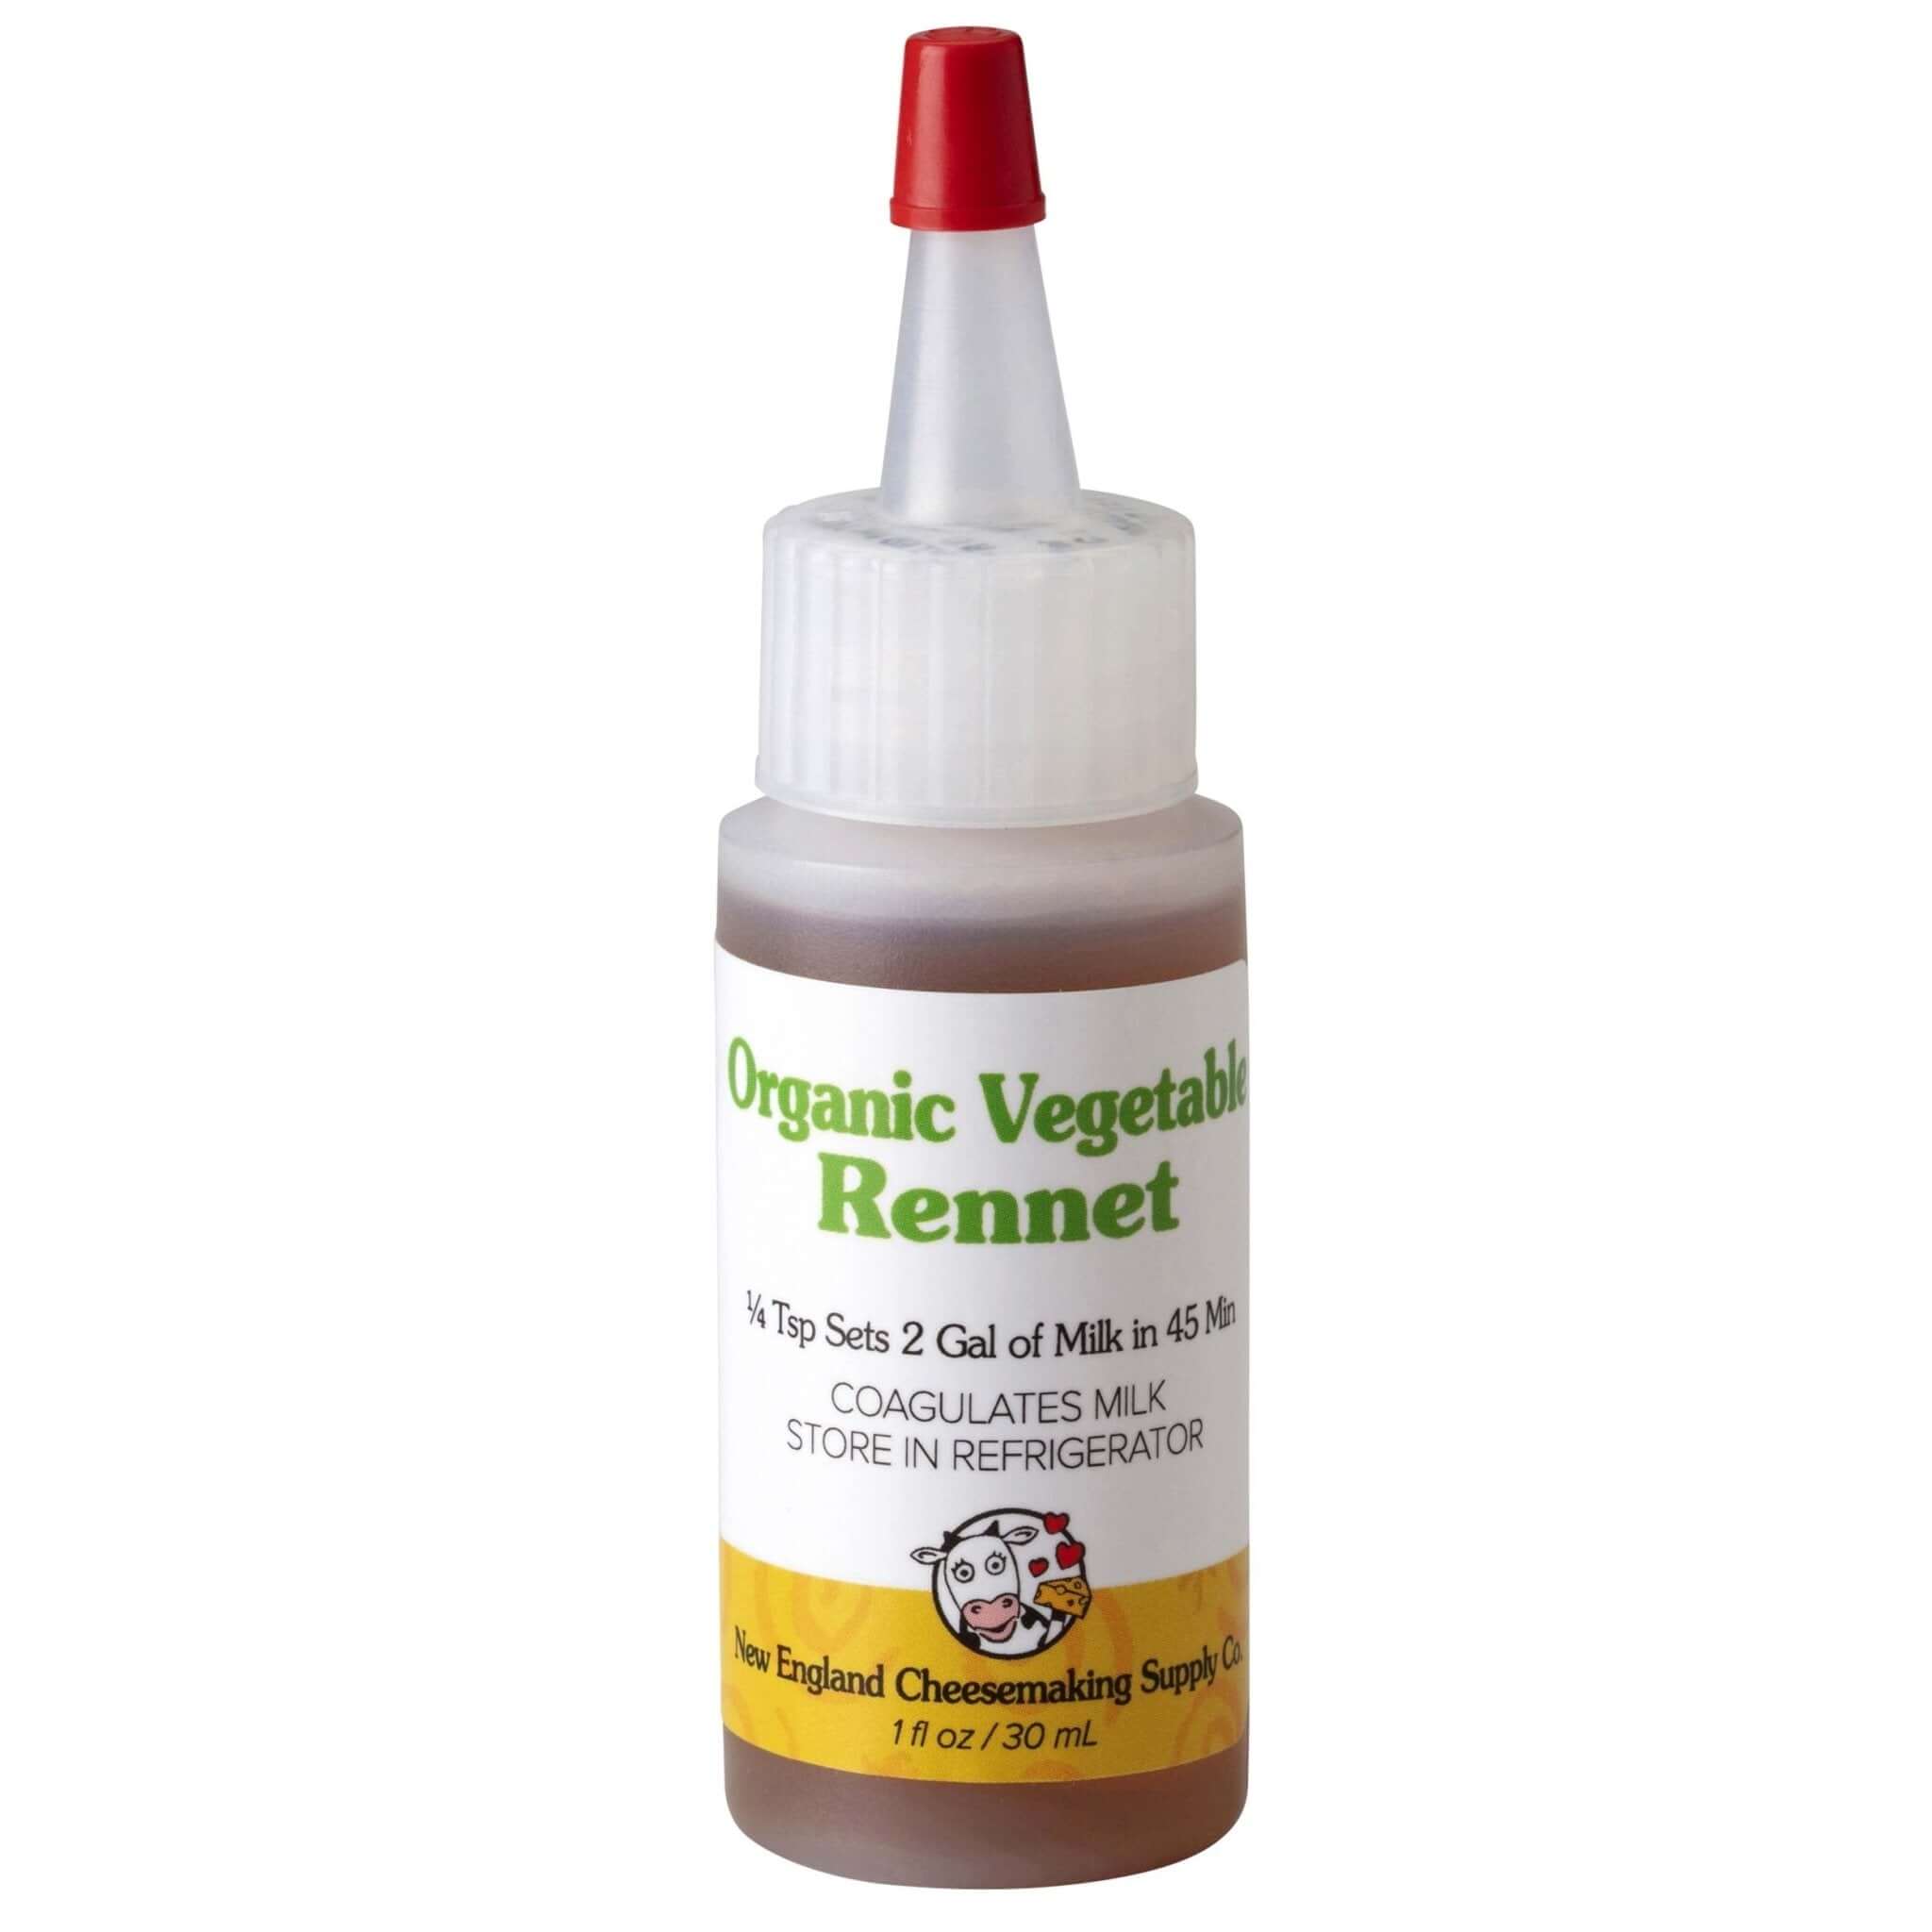
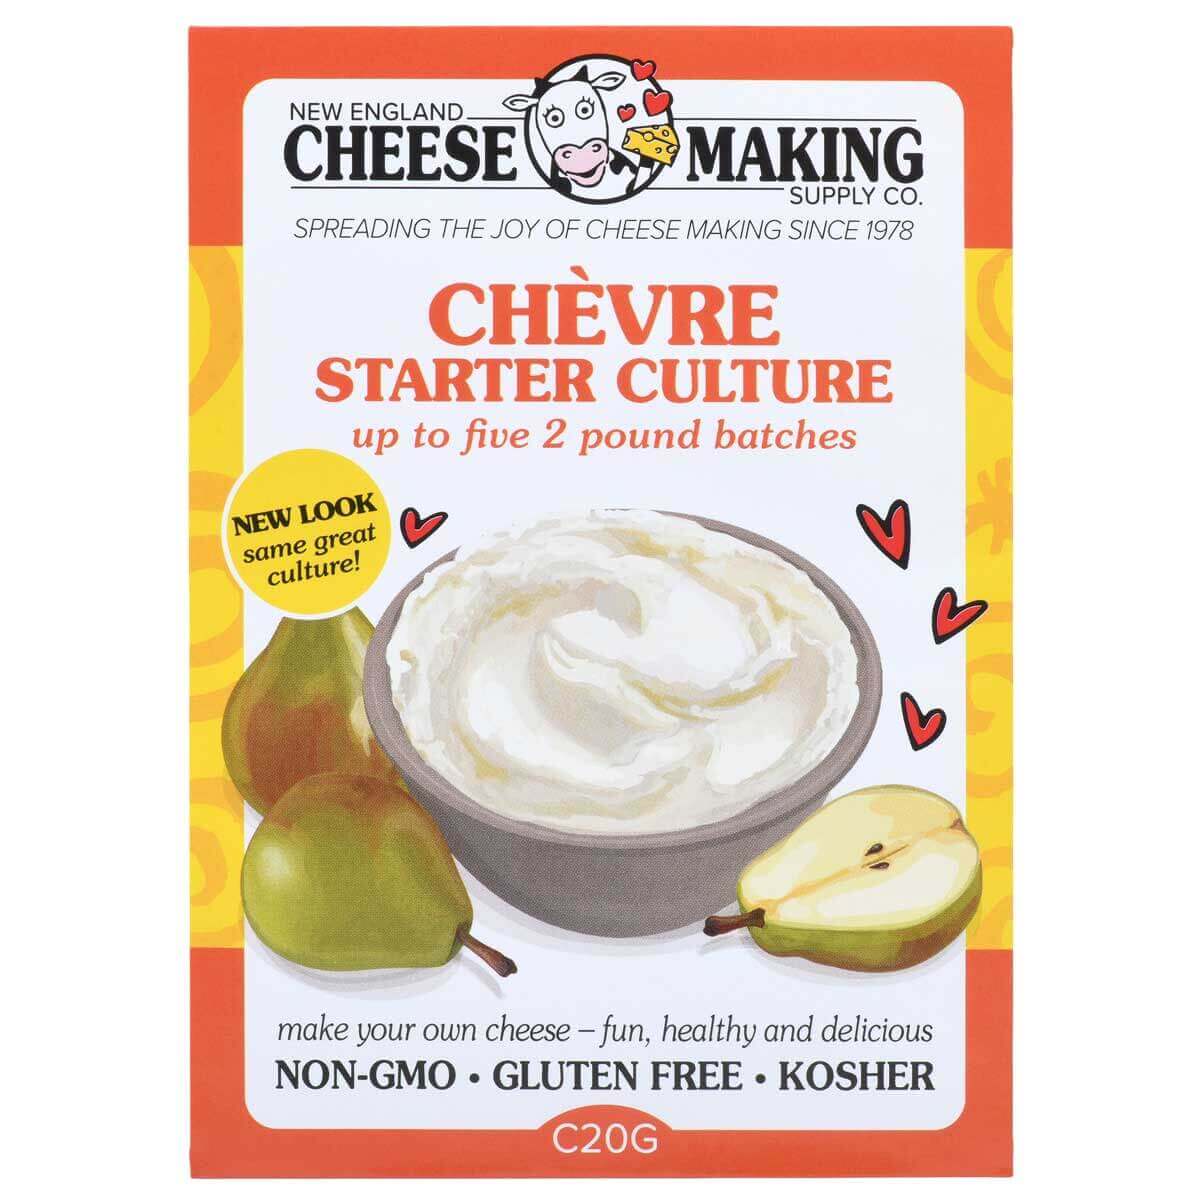
Ingredients such as rennet, starters, cheese salt, and so on vary per recipe. The first cheese challenge recipe (post date: November 15!) will be Monterey Jack. For Monterey Jack, you will need
mesophilic starter,
rennet, a small amount of
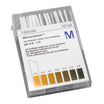
cheese salt, and
cheese wax. (These are inexpensive supplies, similar to buying lids and pectin, etc, if you’re canning.)
The only other big piece of equipment you need is-
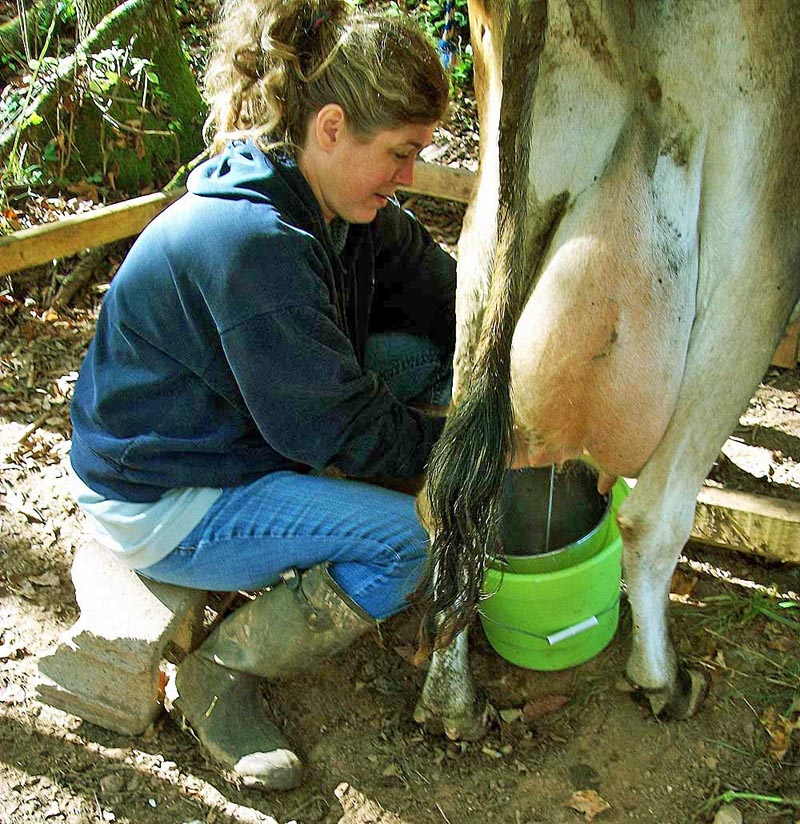
I’m just kidding. Don’t be scared. You can use milk from the store. You’ll just miss out on all the ornery calf fun.


 Suzanne McMinn is gearing up to make some serious cheese!


