


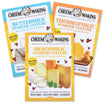


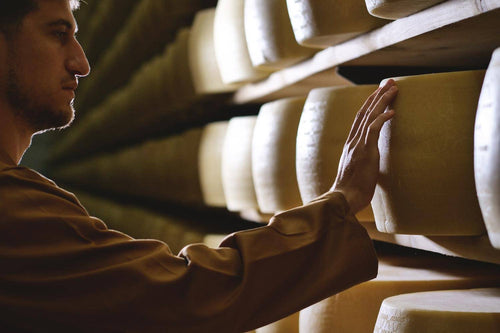
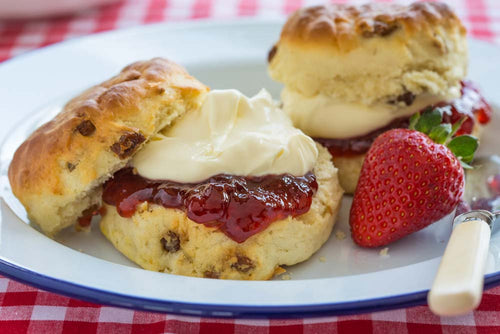
Cheese Making Recipe of the Month
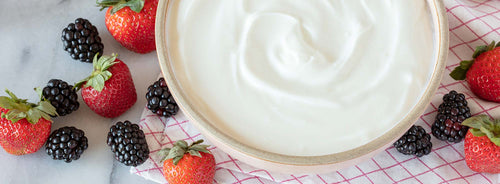
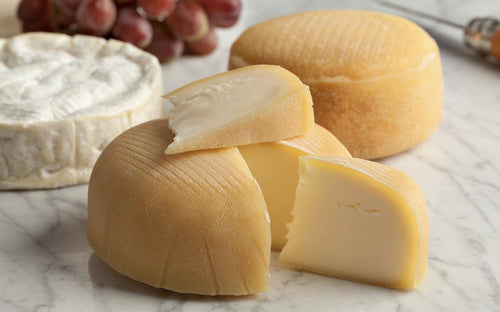
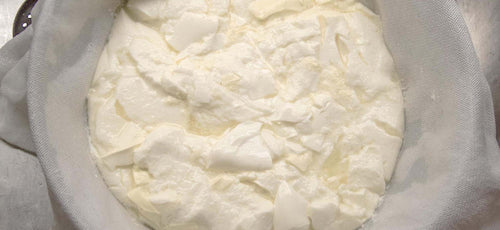
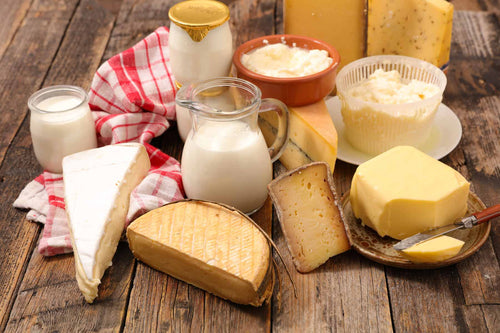
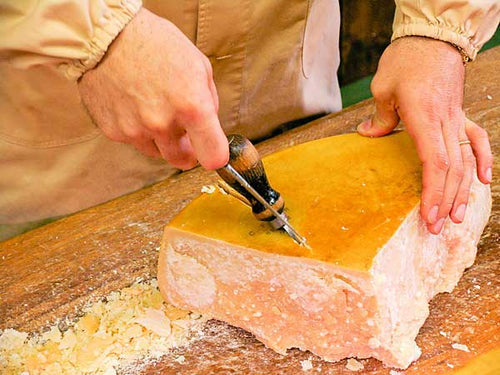
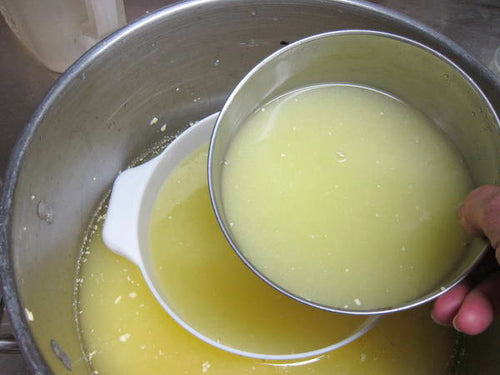
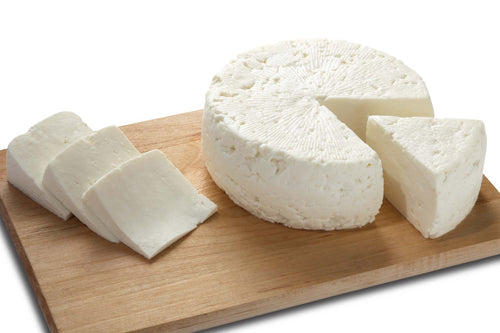
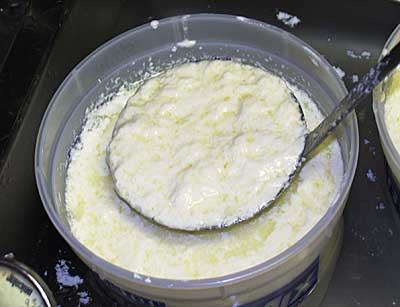
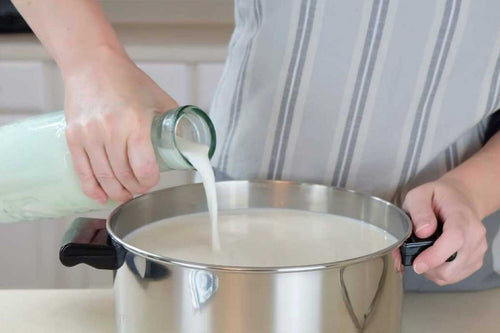
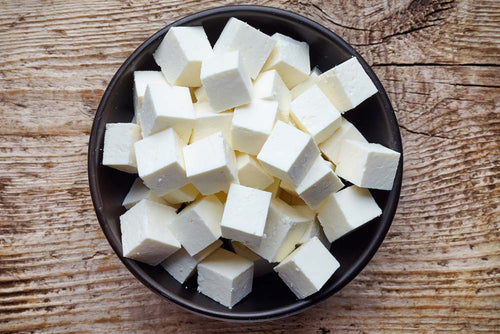
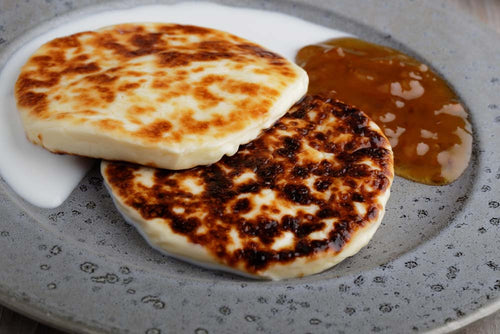
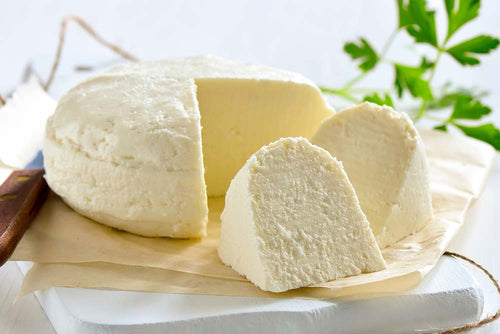
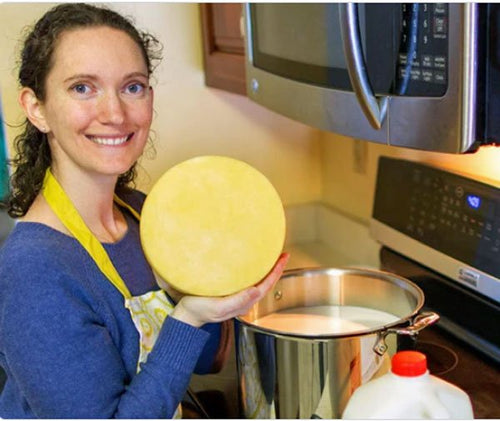
Crescenza
This is a soft, moist Italian cheese which is, at the same time, sliceable, spreadable and meltable. Yum!
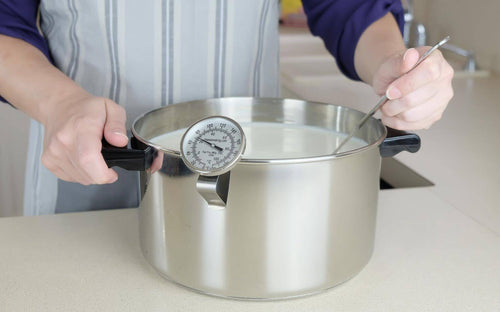
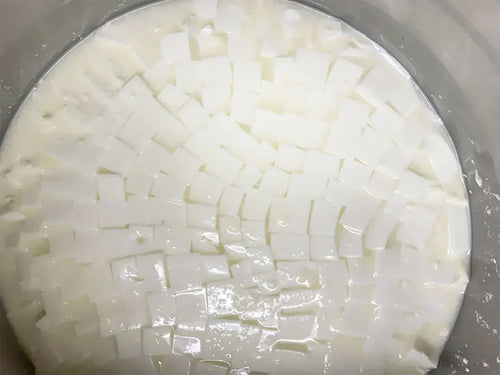
Jim did his research to find out how the Italians traditionally made Crescenza, and he discovered an unusual technique they used to retain the moisture; adding salt to the milk before the culture! This slows down the acid development which limits the loss of whey.
Chances are you've never tried this before, so here's an opportunity to widen your repertoire. Be sure to let us know how it goes!
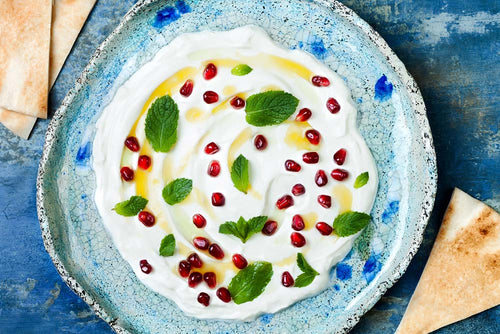
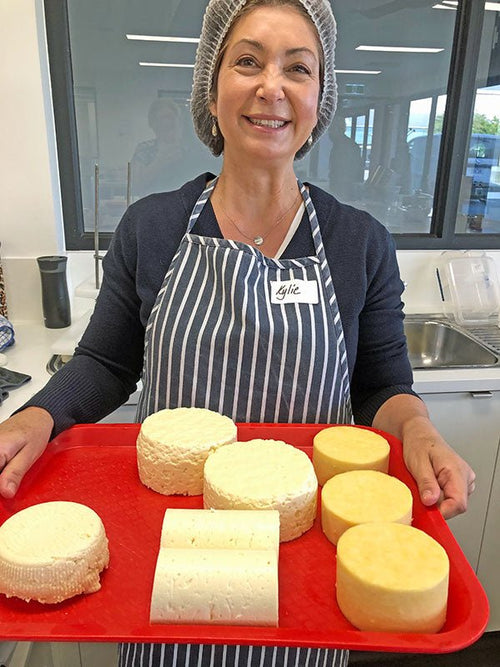
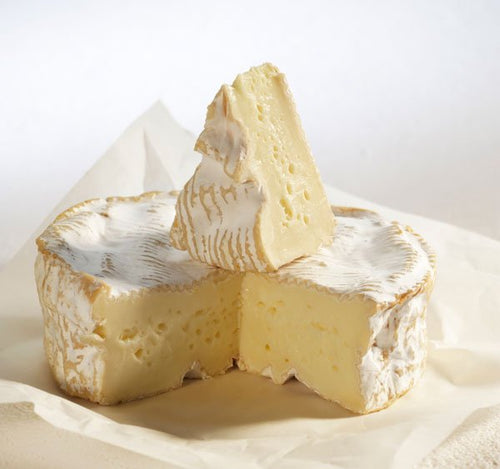
Crescenza Recipes from Simona
Simona Carini lives near San Francisco and works at the University of California. In her spare time, she cooks fabulous food and documents her recipes at her food blog called Briciole.
In the last five years, she has attended several of Jim's advanced workshops and we have featured her experiences in 6 blog articles since 2011 (the all-time record!)
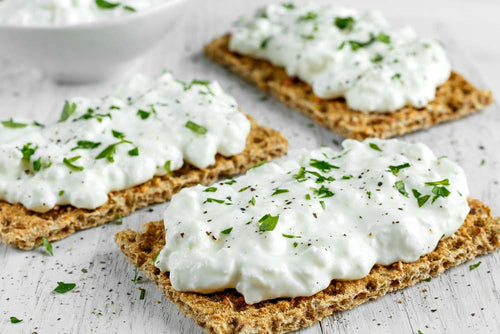
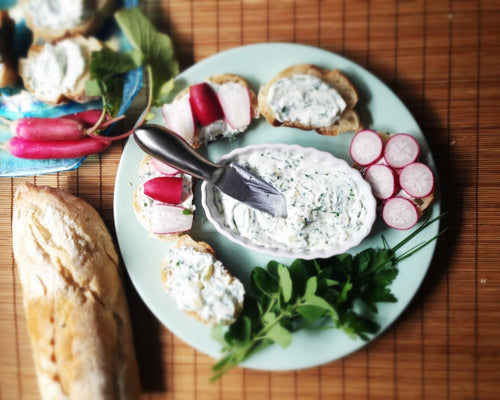
Simona did a post about Crescenza in 2012 after she read about it in Cheezapalooza. We asked her about it and she told us she uses it a lot in cooking, because it melts nicely. She said it makes a quick dressing for pasta in this recipe: Chestnut Flour Handmade Spaghetti and here: Handmade Pasta Shapes. She also uses it in: Savory Tart with Baby Kale and Crescenza.
Simona is a gourmet cook, but for those of us who haven't made it there yet, she suggests this simple whey of using Crescenza with her homemade spaghetti:
Ingredients for the cheese dressing:
- 1/2 tablespoon (7 g) butter
- 1 3/4 oz (50 g) Crescenza cheese cut into small pieces
How to cook and dress the spaghetti:
Bring a small pot of water to a rolling boil, add some coarse salt, stir and then toss the spaghetti in it. The time needed to cook it is a bit variable, depending on size, how dry it is, but it is not long.
In the meantime, melt the butter in a skillet on gentle heat, then add the cheese and stir while it softens. You want to time this so that the cheese is just melted by the time the pasta is ready to join it.
Taste and stop the cooking when the spaghetti is ready. Pour a glass of cold water in the pot, stir and drain leaving a little bit of the cooking water clinging to the spaghetti. Drop the pasta into the skillet with the melted cheese. Stir well over medium-low heat for half a minute or so, until the spaghetti is coated with the cheese. Plate and serve immediately.
Have a cheese making question, we're here for you: info@cheesemaking.com
Cheese Making Questions & Answers
Does Salt Matter?
Q. I made a traditional cheddar yesterday and forgot to put in the salt before pressing. I took it out of the press this morning and put it into a brine, and I guess I will continue with the final pressing tonight. Is this going to work or have you another suggestion?
A. Unfortunately, this was a critical step. Without the salt, the bacteria will continue making acid in the cheese and this may now become a cheese that is brittle and crumbly in a short time.
Our suggestion at this point would be to break or cut the cheese into small cubes and add salt to taste. This will not consolidate at this point but may make nice snack curds, if not too acid already.
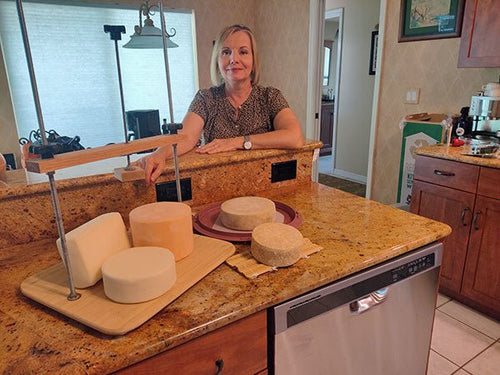
Making St. Marcellin
Q. I have a recipe for St. Marcellin, but it's for cow's milk. I want to make it with goat's milk now that I finally have a raw source. Is there a conversion from raw cow's milk to raw goat's milk?
Also, it is recommended to finish St. Marcellin in ceramic or clay crocks and I can't find any. Do you know of anyone selling such a thing?
A. A lot depends on the particular herd but here are some general considerations:
- Goat's milk takes less rennet, about 25-50% less.
- Raw milk is far more active, of course, and so it needs less culture. This will be true of raw goat's and raw cow's milk.
- Goat's milk may require heating to a lower temperature than cow's milk, in many cases.
The content of milk changes dramatically during the milking season. After all, the purpose of milk is to feed a baby animal, and as this baby grows, it's nutritional needs change, and Mamma knows best. Summer milk is relatively low in fat content, which shoots up dramatically in the fall. This summer milk is superior to fall milk if you are making hard cheeses meant to last (high fat content can lead to spoilage issues). Generally, more culture is needed as the solids increase.
For the containers, we suggest you find a local potter to make a few of these for you.
Penicillium Candidum
Q. I have purchased P. candidium from you to make camembert. In the past I have added the bacterium directly to the milk. My recipe says I can also spray the cheese with the bacterium but only gives the spay concentration in one package to a quart of water. What would the concentration be if I was only making a small quantity to spray for 2 gallons of milk? My sprayer is a one pint container. Any thoughts?
A. You are going to be much better off if you add this to your milk.
The spray is primarily for industrial applications where they have a lot of cheeses to do (saves money) AND they have the means to control the moisture they have added, which small cheese makers do not.
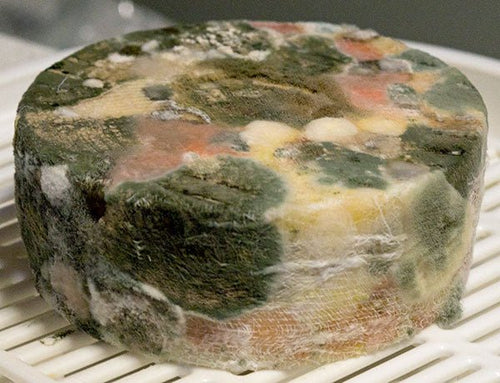
Aging Caciotta
Q. I've made the caciotta recipe from your website. It has been aging for 2 weeks and 4 days. I missed a day of wiping with brine due to illness and now mold is growing. My question is whether I should cut into it or continue aging. The rind is still very "fresh" feeling and not like the dry, calloused rind I've seen in other cheeses I have made. Is this normal?
A. This should be a very moist rind that does not dry down much. The mold can be wiped down and even a soft toothbrush used on the dark spots, but some staining may remain.
The term in Italian is "Morbida" for the rind you have and that is what you want in this fresh cheese. It means soft and flexible.
The cheese is probably ready at this point. There may not be much flavor due to ripening, but the taste of your milk will be the star. During the peak of summer, the raw Jersey milk here tastes of peaches and honey and most tasters can pick up on that.
Drying Before Waxing
Q. I made 3 kinds of cheese - Colby, Jarlsberg and Edam. They all dried for a week and I already waxed the Colby and Jarlsberg. I don't know if I made the right decision waxing them at this stage. That is why I still haven't done anything yet with the Edam and I'm writing to you. My house is about 73F which is too warm, so I'm thinking about buying a mini fridge.
In summary, can I wax all the cheeses after they dry for couple of days?
A. The swiss style cheeses that develop gas can produce enough gas and expansion to split the wax, so we do not recommend waxing these until after the final warm room gas development. Wipe or brush them daily to keep the mold down. You can then wax them or just continue with the natural rind care if you like. Traditionally, Emmenthaler is not waxed, nor are most of the Alpine style cheeses.
For the other cheeses that you do wax, there is no need for extensive dry time. Put them in a lower moisture (65-70%) cool room (50-60F) and then wax as soon as the rind darkens slightly and there is no sign of any surface moisture before waxing - 3-5 days is often enough.
Have a cheese making question, we're here for you: info@cheesemaking.com
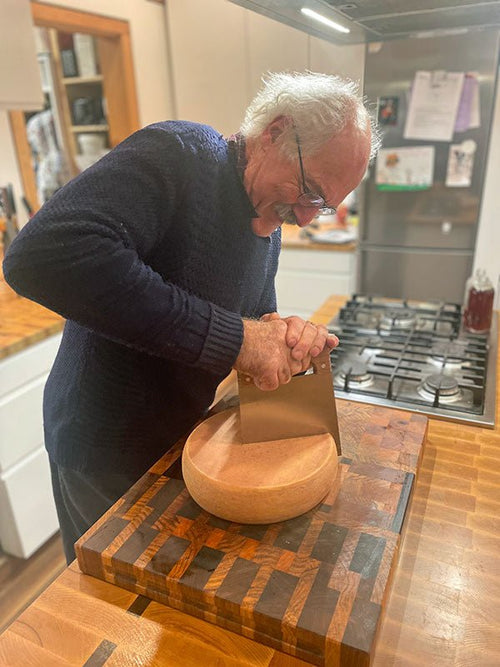
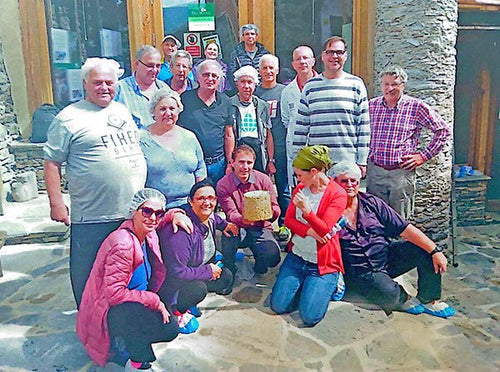
Meet a Fellow Cheese Maker
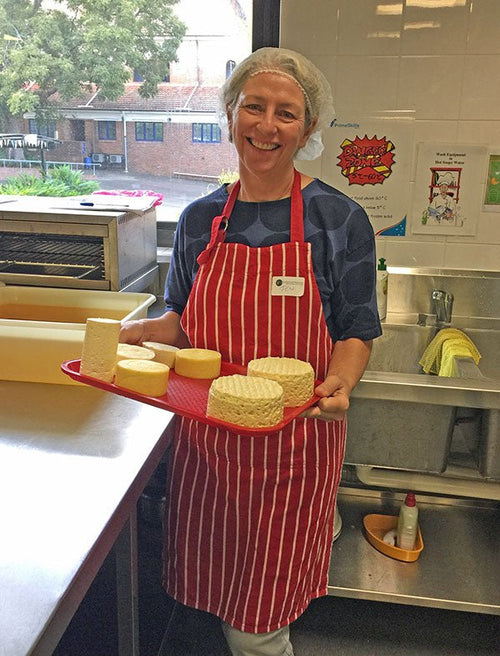
Cameron Arsenault (16) Millers Falls, Massachusetts
There's something so cool about young people who are open to new experiences and willing to try anything. It just makes us smile and, of course, it gives us hope for the future!
We met Cameron (and his mother, Melody) at a local event and he was interested in learning how to make cheese. So, we suggested he begin with our 30 Minute Mozzarella Kit. He was excited, so we asked if we could snap a few pictures while he did it.
We didn't coach him (because that wouldn't be much fun!), but we did share in the magic when he realized he could make cheese in less than an hour. Have you tried it yet?!
News From Fellow Cheese Makers
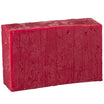
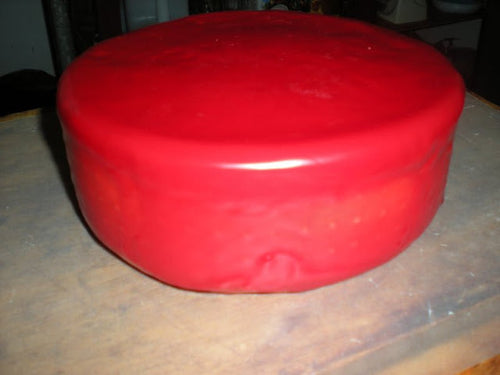
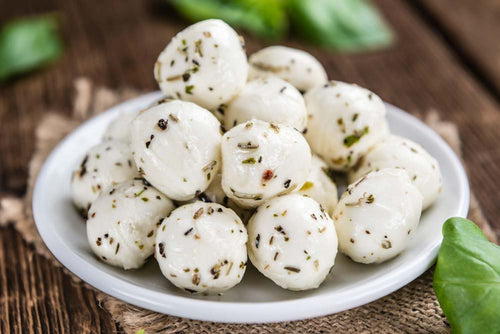
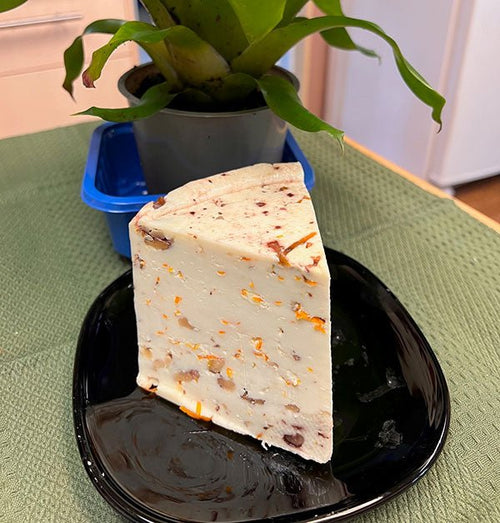
Loving Belper Knolle
I saw the recipe for the Belper Knolle cheese and immediately wanted to make it. It's a simple recipe, looked intriguing and I knew I could also play around with it, and so I did.
The recipe made 6 balls and I couldn't see rolling them all in black pepper. Only one received black pepper, the bottom right ball. The rest are rolled in - clockwise from bottom middle: paprika, paprika, cumin, dried oregano, Aleppo pepper.
My favorite was the cumin. Just wonderful. My next favorite was the Aleppo pepper. Great flavor! I ended up taking a few shavings from each ball and combining them. That was surprisingly good too!
I just thought you might want to see and hear of my experience with this excellent cheese. Thank you for the recipe!!
Robin McPeek, Colorado Springs, Colorado
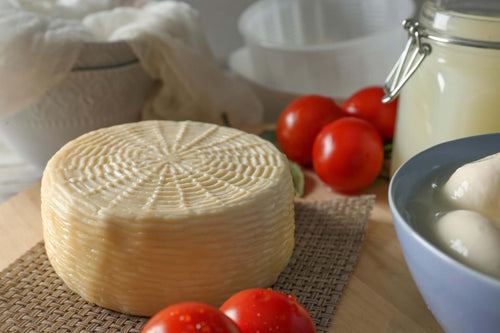
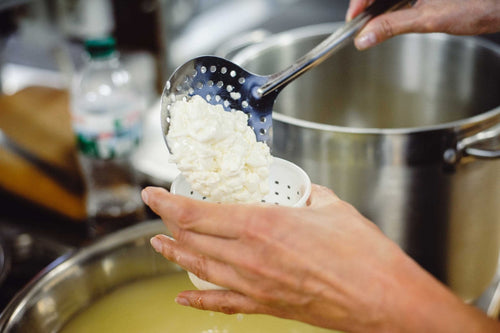
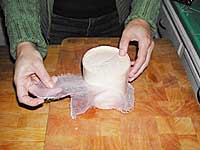
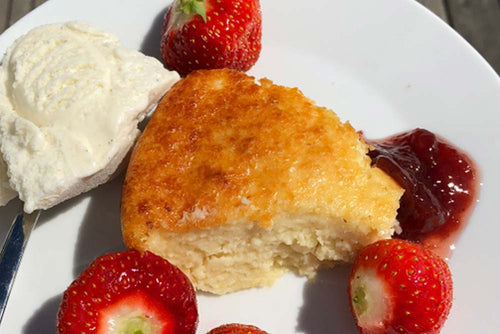
Easy Basket Cheese
Being Italian, you learn from an early age that Easter is a major eating event. Our family has always started off the celebration the day before with the serving of Pizza Gane aka Pizza Rustico aka Easter Pie. One of the main ingredients is basket cheese.
Even though $4.29 is not hard to swallow, pardon the pun, I figured I would buy one and try and make one. Well, I have to say that we used your homemade basket cheese recipe because it came out really good. It was obviously fresher than fresh and, after all, I made it. One gallon of milk yielded 2 nice pound baskets of cheese that everyone said were better than the ones off the shelf. So, for $3.29 I got double the amount.
With the extra, we just cut it in slices and sprinkled a little coarse ground sea salt and ground pepper and devoured the rest. The process was so easy that we will be seeing this mild cheese on the table more often, especially when we can start getting fresh tomatoes. Thanks for the recipe.
Guy Guarino, Hamden, Connecticut
Sweet Pear Bread
Maggie Parkinson of Poulsbo, Washington wrote two cookbooks many years ago under the name Carylton Cooper. She contributed several recipes to us in 2013, including pizza and saag panir.
I just wrote a cool piece about how to make some very cool bread and wondered if you could use it!
There is a bunch of hoo-ha about this bread and people are looking for recipes for it. Mine is vastly simplified, but tastes pretty much the same to me!
I did the work for myself (and because I promised to send the simplified version to my sister). It was a lot of work, but well worth it. I make one at least twice a month.
It's an unusual recipe but it's not meant to be a sandwich bread - it's more of a tea and breakfast bread. My friend Adam says it's the best bread ever! It's rare that I bake a bread this often!
Please send your cheese making news & photos to: moosletter@cheesemaking.com


